Assess the condition first
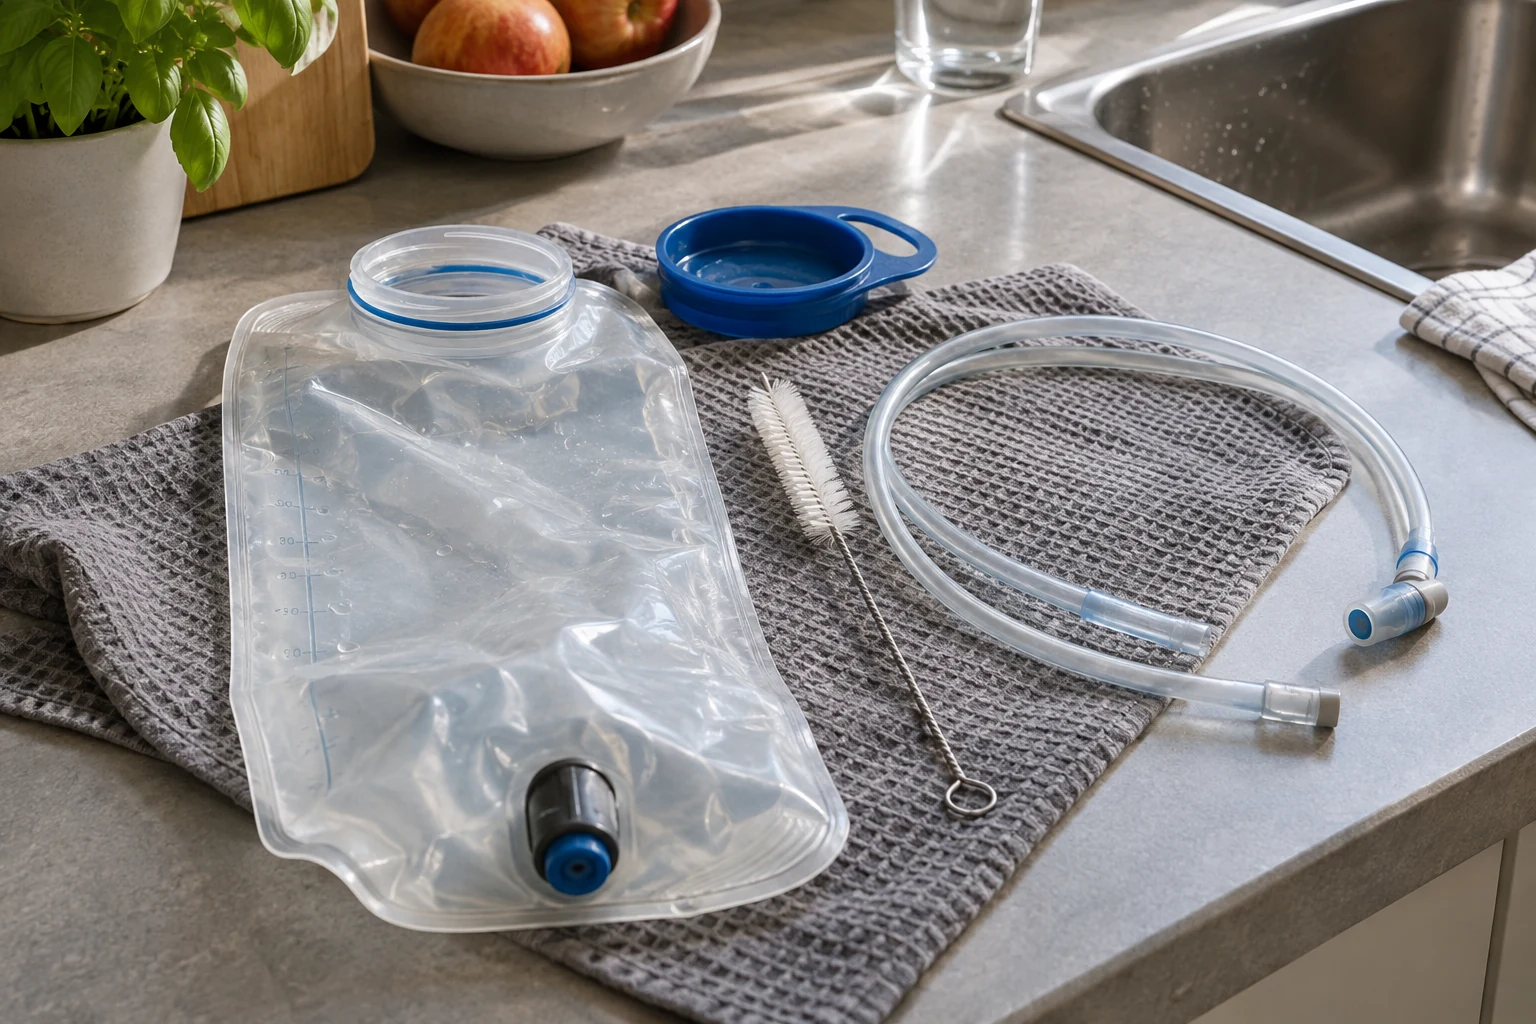
Empty the reservoir after use. Open it in a clean suitable place and examine the body, tube, and valve. Residue may remain in different locations. A clean-looking large interior does not establish that the narrow tube is clean, nor the areas around a closure or connection.
Read the instructions before pulling components apart. HydraPak distinguishes how different models open or reverse; CamelBak likewise describes care of the complete system. Quick connections, internal baffles, and valve sleeves can require different disassembly. Images of a similar product are not a reliable procedure.
Treat tears, altered sticky material, and parts that no longer assemble properly as separate defects. More intensive cleaning does not automatically replace a damaged component. Check approved spares or consult support. Do not heat a tube or force a connector in an attempt to make it fit.
Clean the body
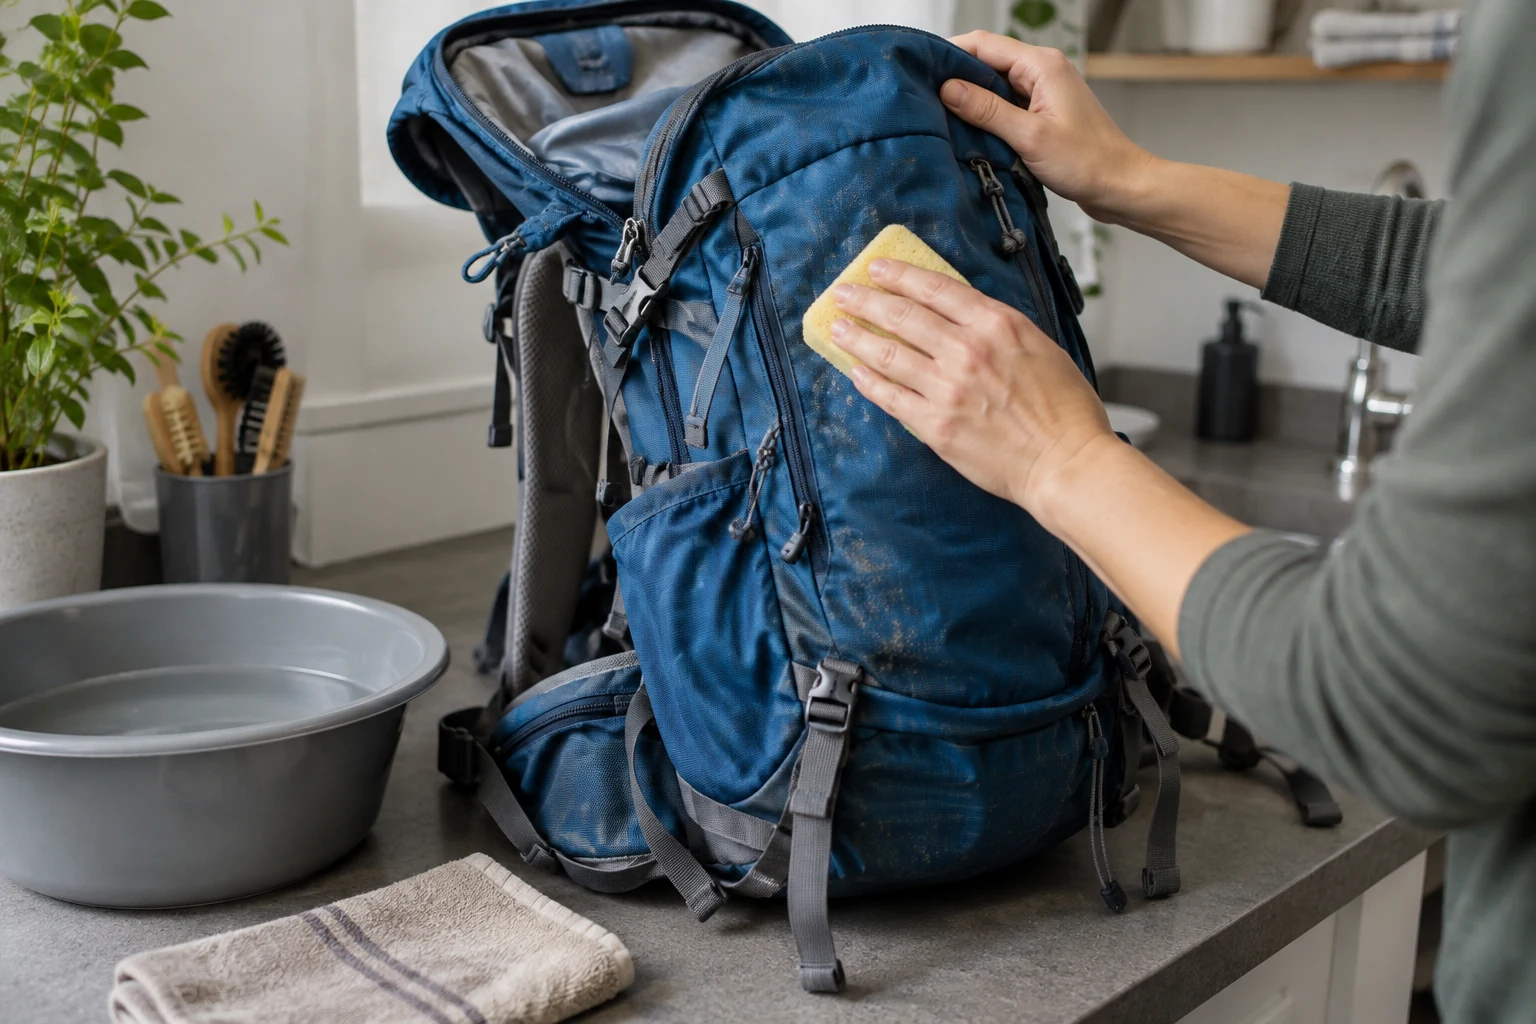
Use the approved cleaner and temperature. Makers describe mild washing and thorough rinsing for routine care. Dosage and compatibility of additional cleaning tablets depend on the product. A larger dose is not automatically better and may leave more residue.
A reversible reservoir makes the inside more accessible. Reverse only a construction designed for it, releasing any internal baffle as instructed. Do not pull against fixed connections. With a non-reversible body, use recommended tools that fit through the normal opening.
Dishwasher permission is model-specific too. Some HydraPak bodies can go on the upper rack, but that does not approve every reservoir and accessory. Check body, closure, and mouthpiece separately. Do not place unidentified parts near a heating element because another reservoir tolerates that method.
Include tube and valve
Pass the permitted cleaning solution through the tube and valve. A suitable long soft brush may reach the internal path. Check tool length and diameter; an oversized hard brush is not an improvement if it damages the tube or becomes stuck.
Dismantle the mouthpiece only as directed. Keep small sleeves and seals together in a clean container and note their positions. On reassembly, ensure openings and moving areas return correctly. An apparently plausible exterior can conceal an incorrectly fitted valve component.
Rinse away residue
Rinse every cleaned part with fresh water. Deliberately include the tube and valve rather than merely filling and emptying the body. Check access to narrow areas. The objective is to remove the cleaner as directed, not leave a fragrance as evidence of work.
Cleaning is not automatically sterilization. Avoid such promises and follow the maker's guidance for particular problems. Aggressive household mixtures can alter materials or taste. If residue or an unidentified deposit remains, investigate rather than continually increasing chemical strength.
Dry the complete system
Keep the body open and arrange the tube for drainage and air access. Use a drying accessory only as intended. Collapsed reservoir walls can lie together and obstruct drying. Permitted reversing helps with suitable models.
Examine small connection areas and the valve too. The exterior may be dry while droplets remain inside. No fixed drying time covers room conditions, remaining water, and different constructions. Store only after assessing the whole system.
Before filling again
Reassemble approved components as instructed and check the closure. Test the connection over the sink before placing a filled reservoir beside dry clothing. Arrange the empty clean equipment so you can identify whether every component is present at the next packing session. A clear routine is more useful than elaborate washing followed by storage inside a damp closed pouch.