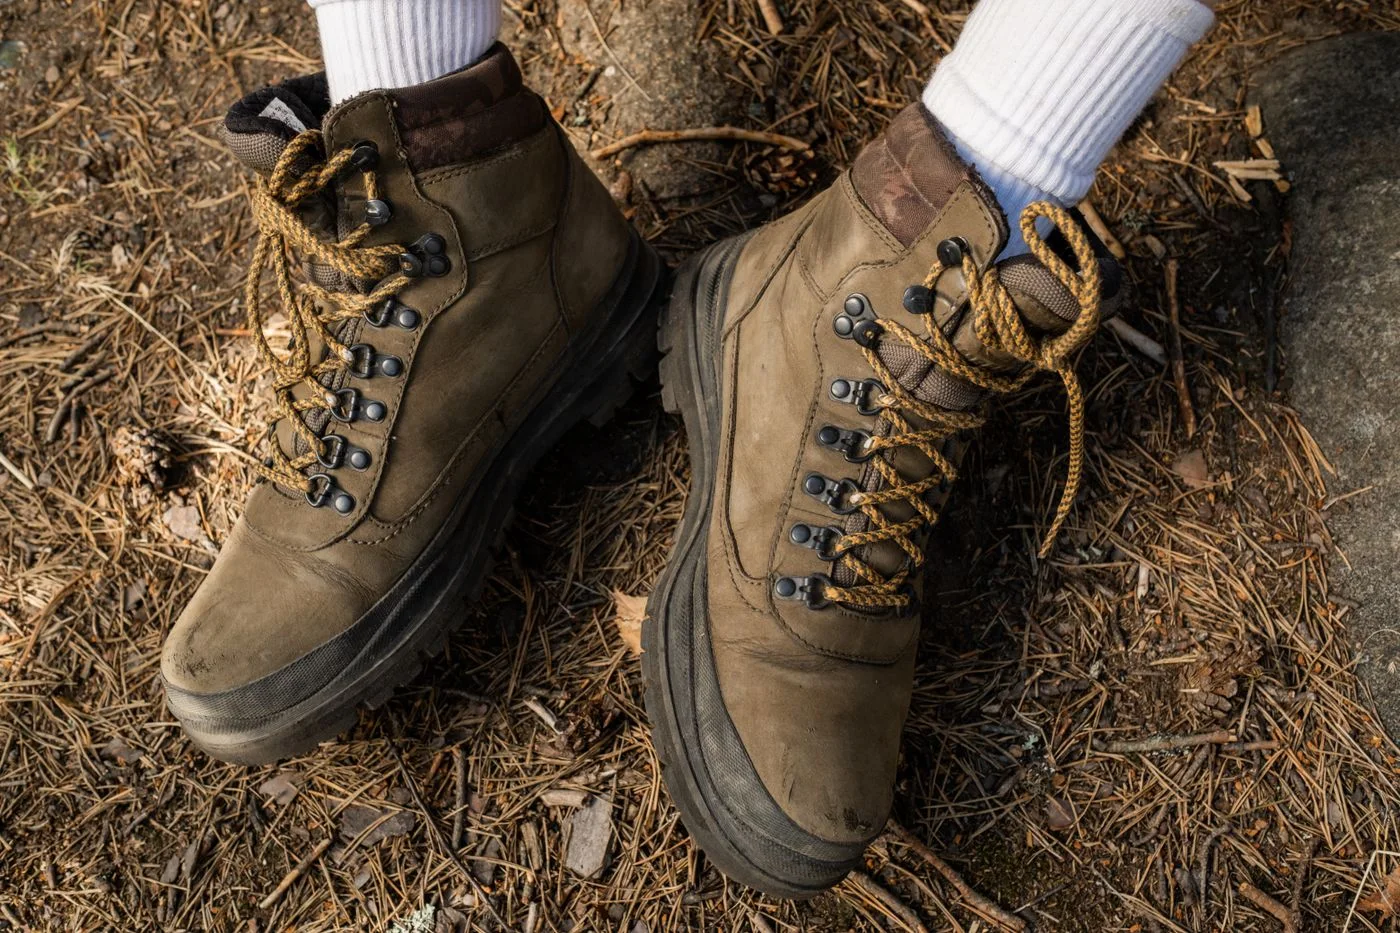
Try hiking boots with your walking socks
Boot fit is easier to judge when socks, lacing and movement resemble the walk you plan to take. Toe space, heel hold and internal volume need to work together.
RASTEP / ARTICLE LIBRARY
All our subjects in one place. Search for an item, a question or a kind of walk.
Boot fit is easier to judge when socks, lacing and movement resemble the walk you plan to take. Toe space, heel hold and internal volume need to work together.
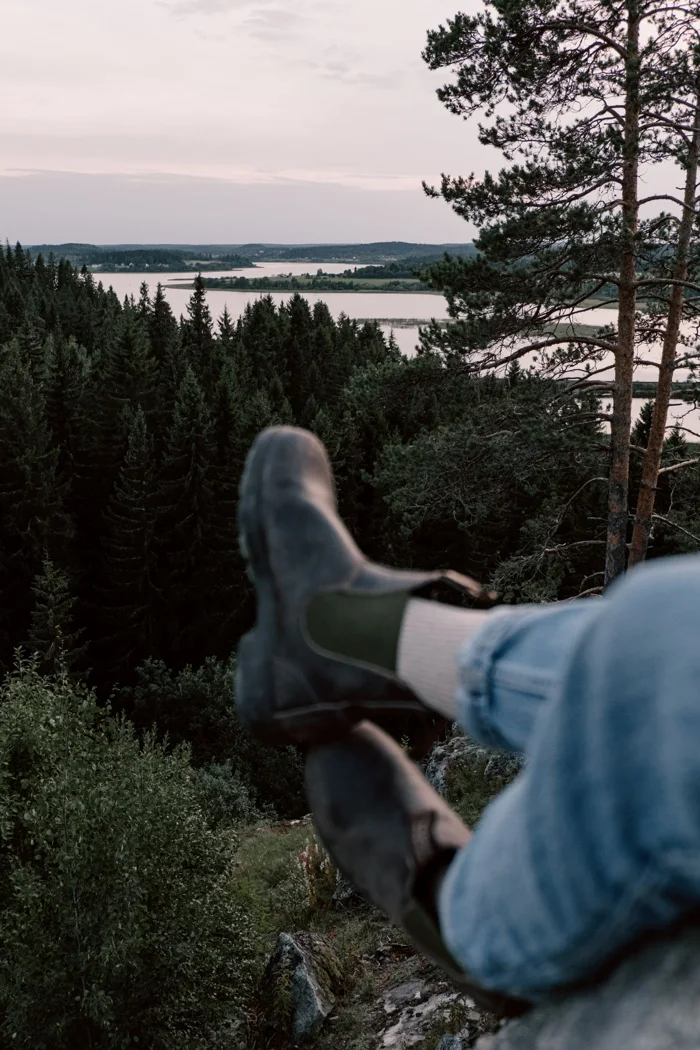
Upper height is only one part of choosing footwear. Trail surfaces, sole construction, fit and your experience help you compare two suitable candidates for the same day route.
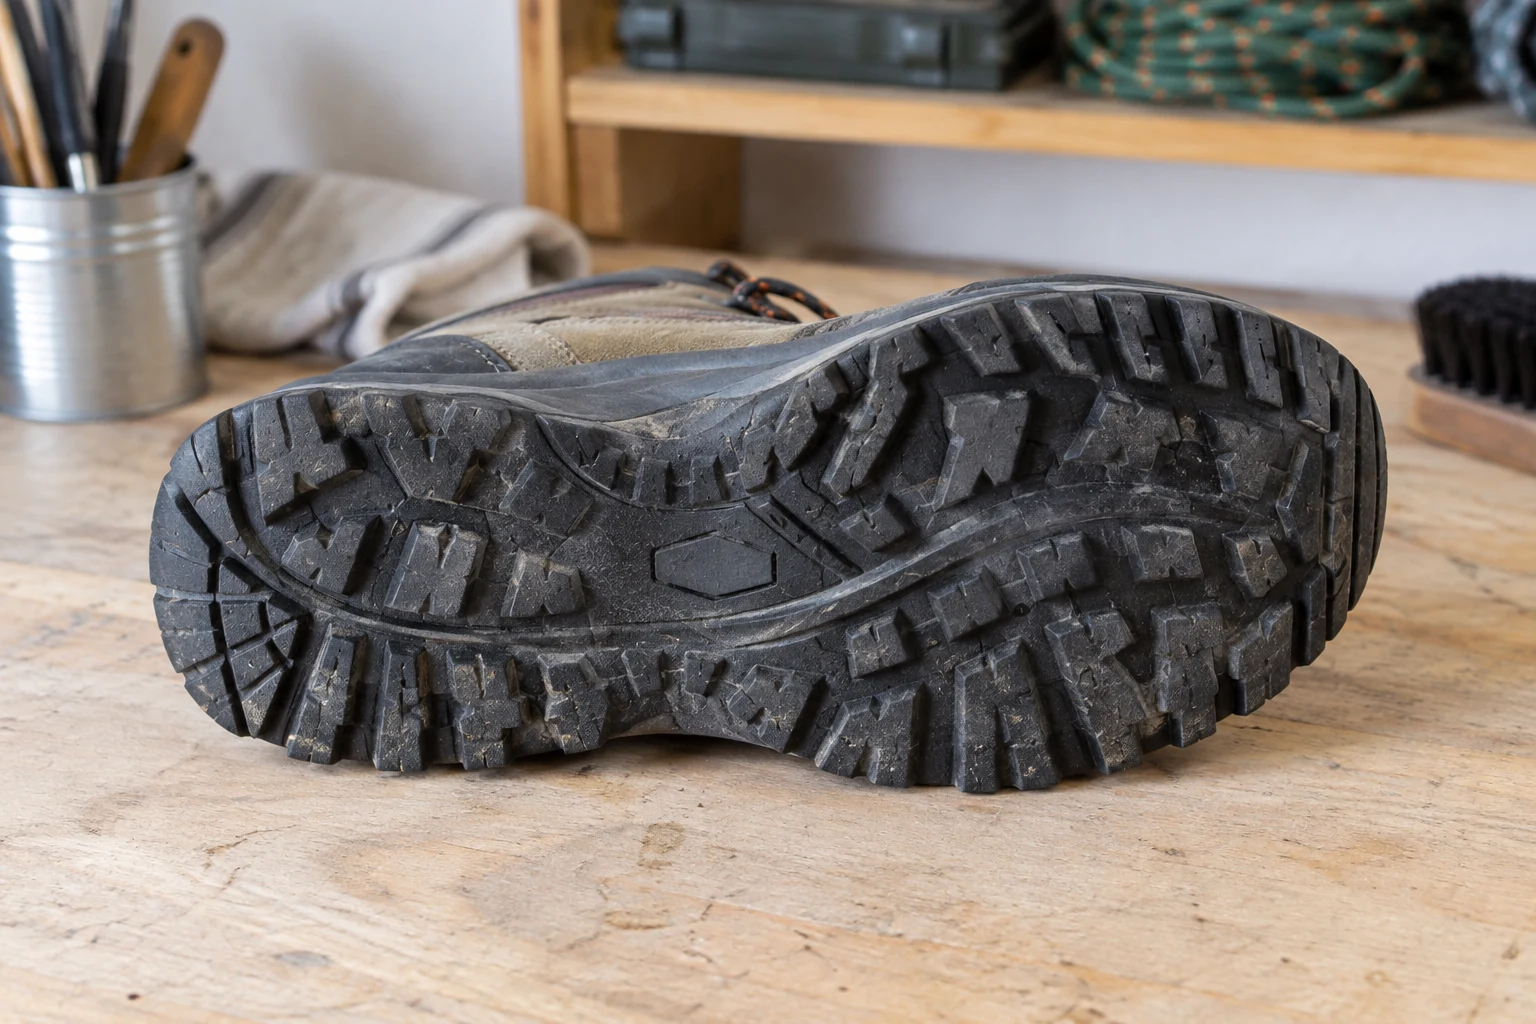
Lugs, gaps and heel shape are visible clues. They tell only part of the story, though: rubber compound, condition and the intended use also belong in an outsole assessment.
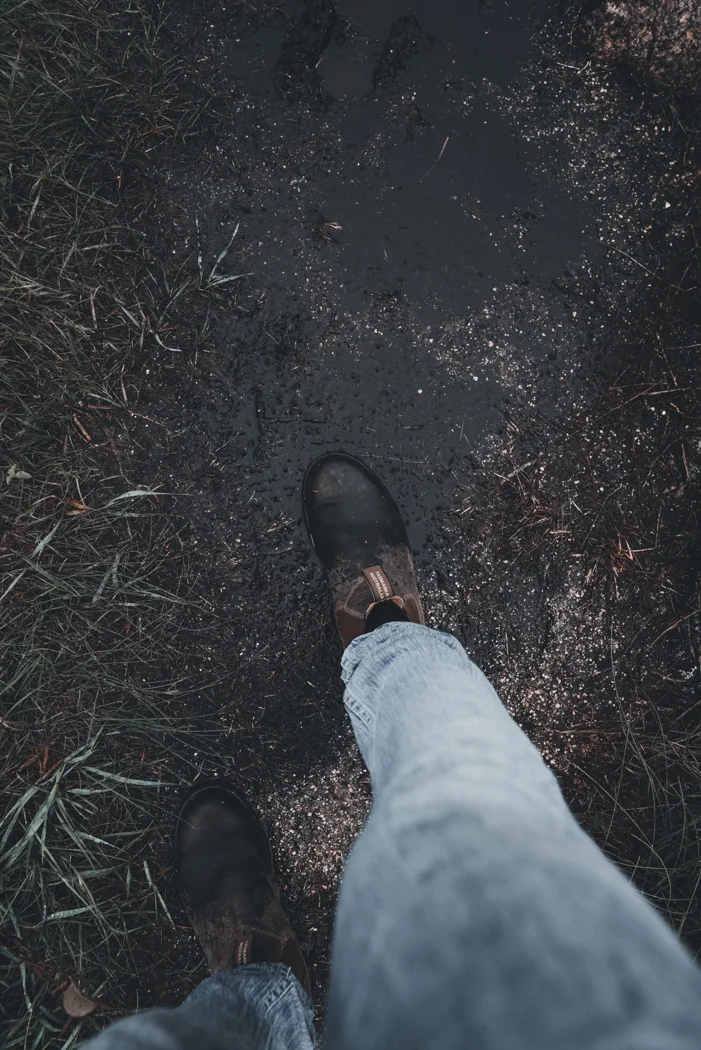
Wet grass raises different questions from a brief shower on pavement. The waterproof construction matters, but so does the way the collar meets your socks and trouser hems.
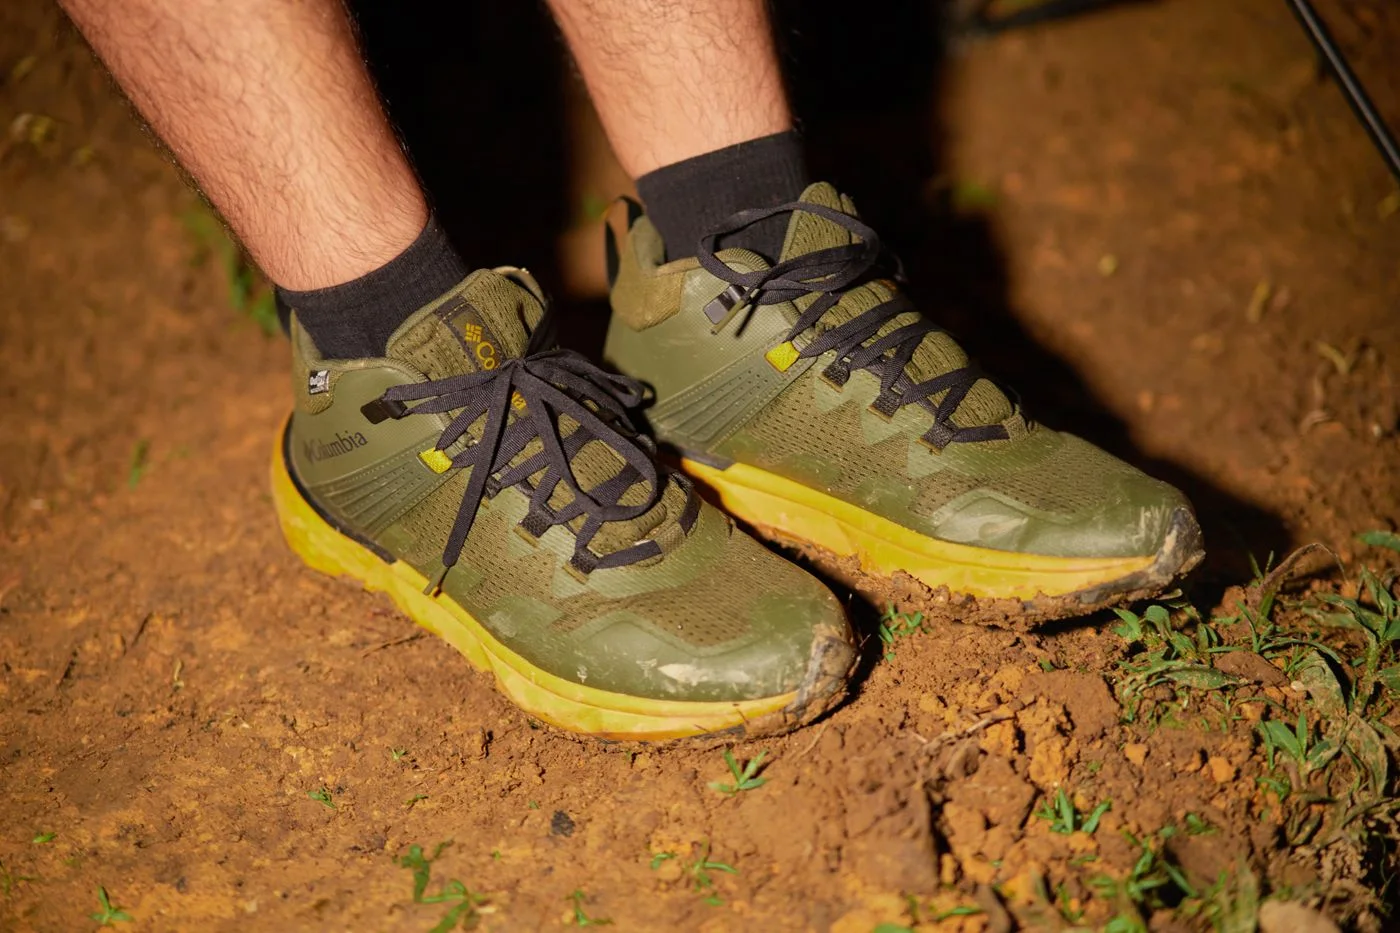
For dry summer routes, examine the upper, lining and the paths you actually use. An airy-looking product photograph cannot tell you how the complete shoe will feel on your foot.

The forefoot and upper need not share the same tension. A suitable two-zone arrangement lets you adjust them more deliberately once the basic shape of the boot already fits.

A purpose-made shop ramp reveals something different from a brief level walk. Try both shoes and assess the whole foot's fit instead of relying only on a measurement ahead of the longest toe.
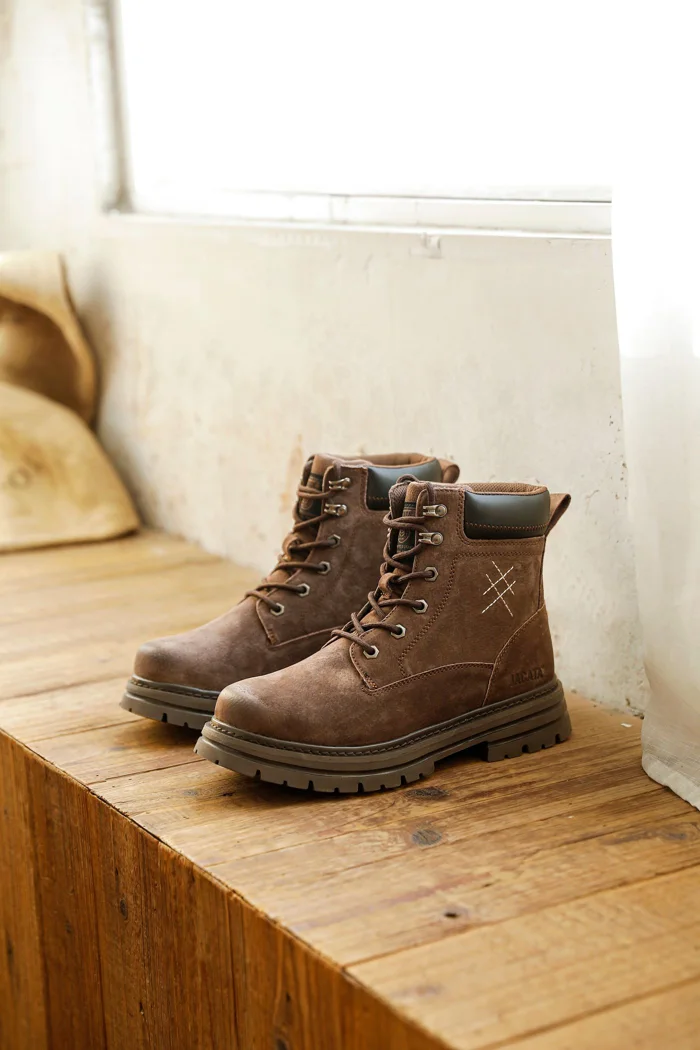
A shoe can be narrow around the forefoot yet roomy above the instep. Precise observations help more than asking generally for a larger size and hoping every part improves together.
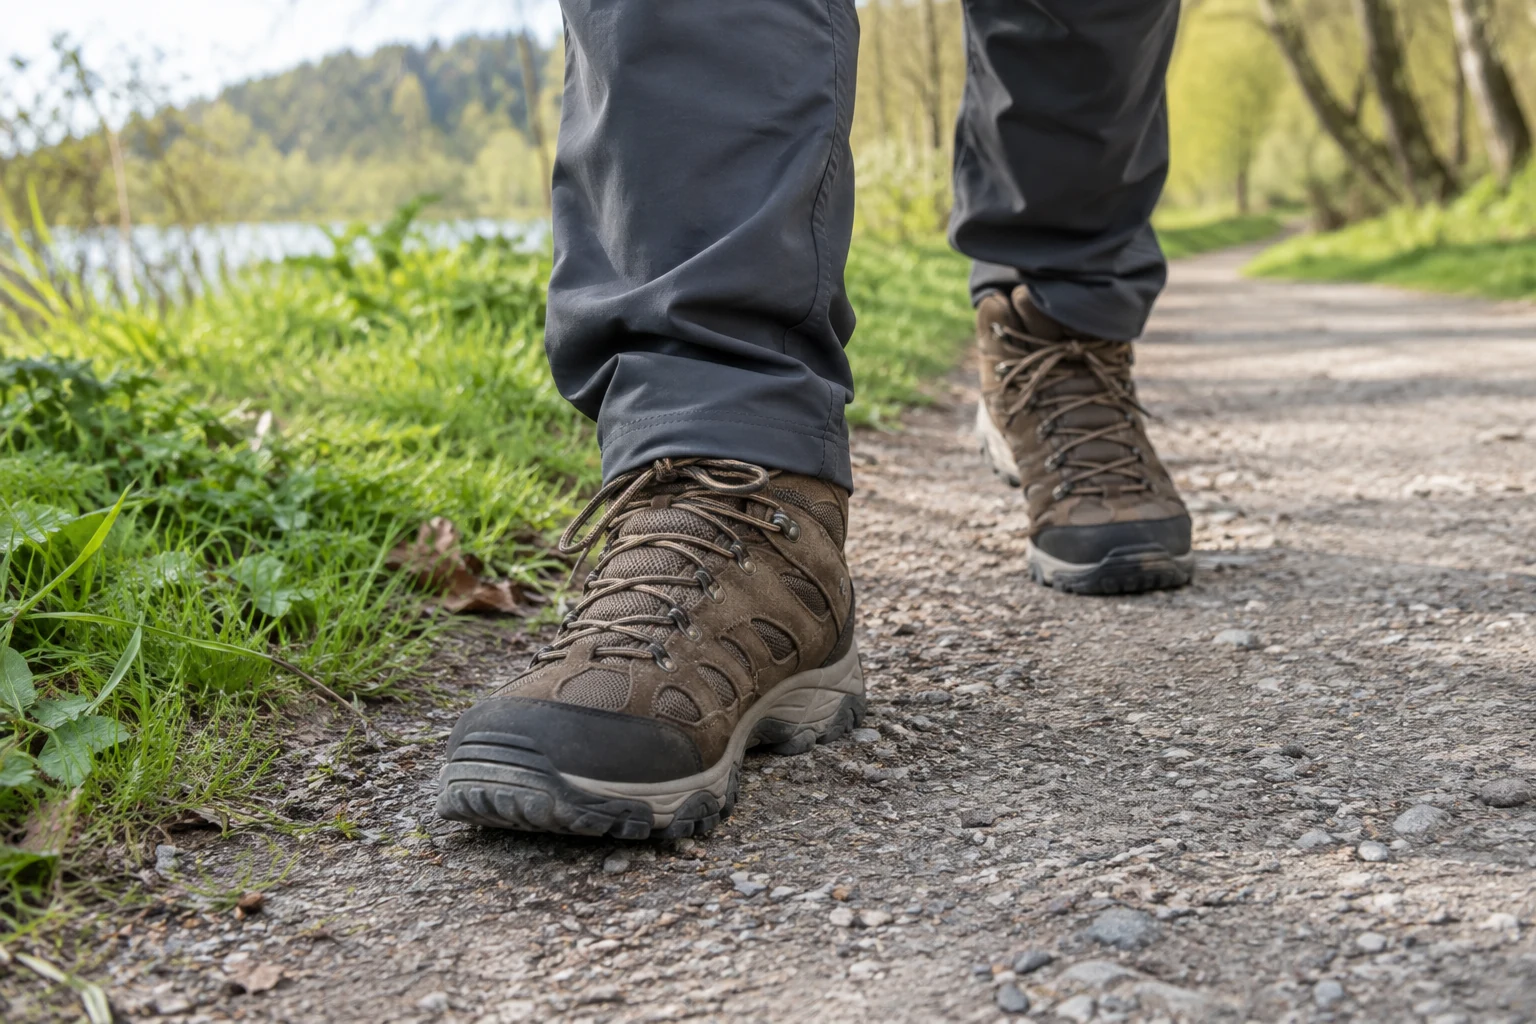
Make the first outing in new boots easy to change. A short familiar route lets you learn about socks, lacing and walking feel before committing the pair to your longest planned day.
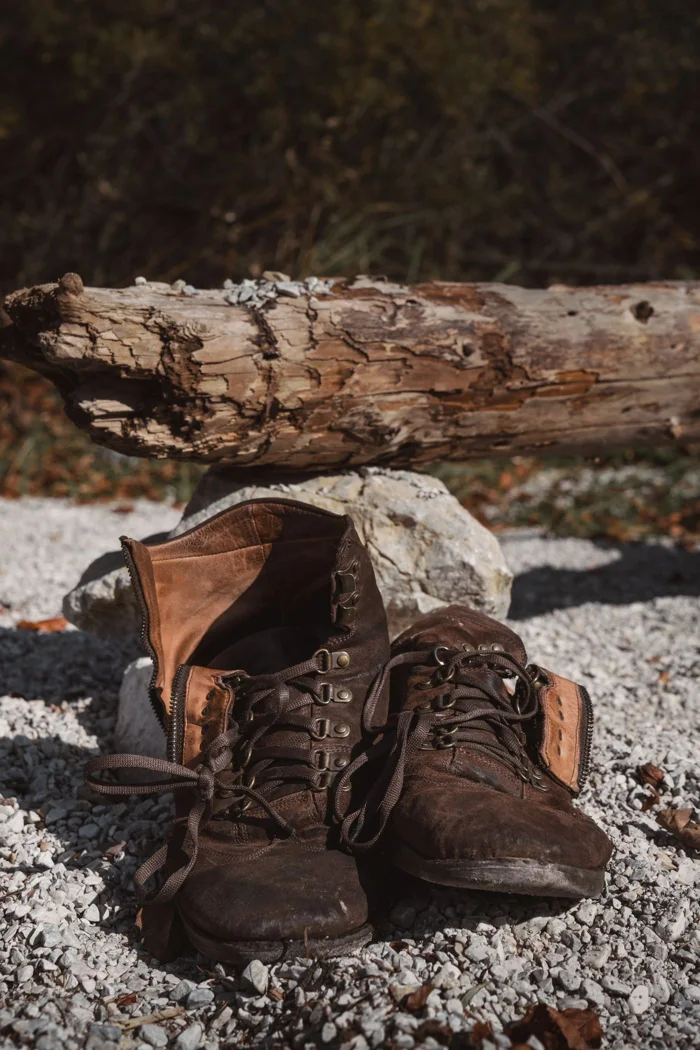
Long firm sections make the way a shoe rolls through a step relevant. Describe the actual surfaces and compare suitable pairs in motion rather than searching only for dramatic tread.
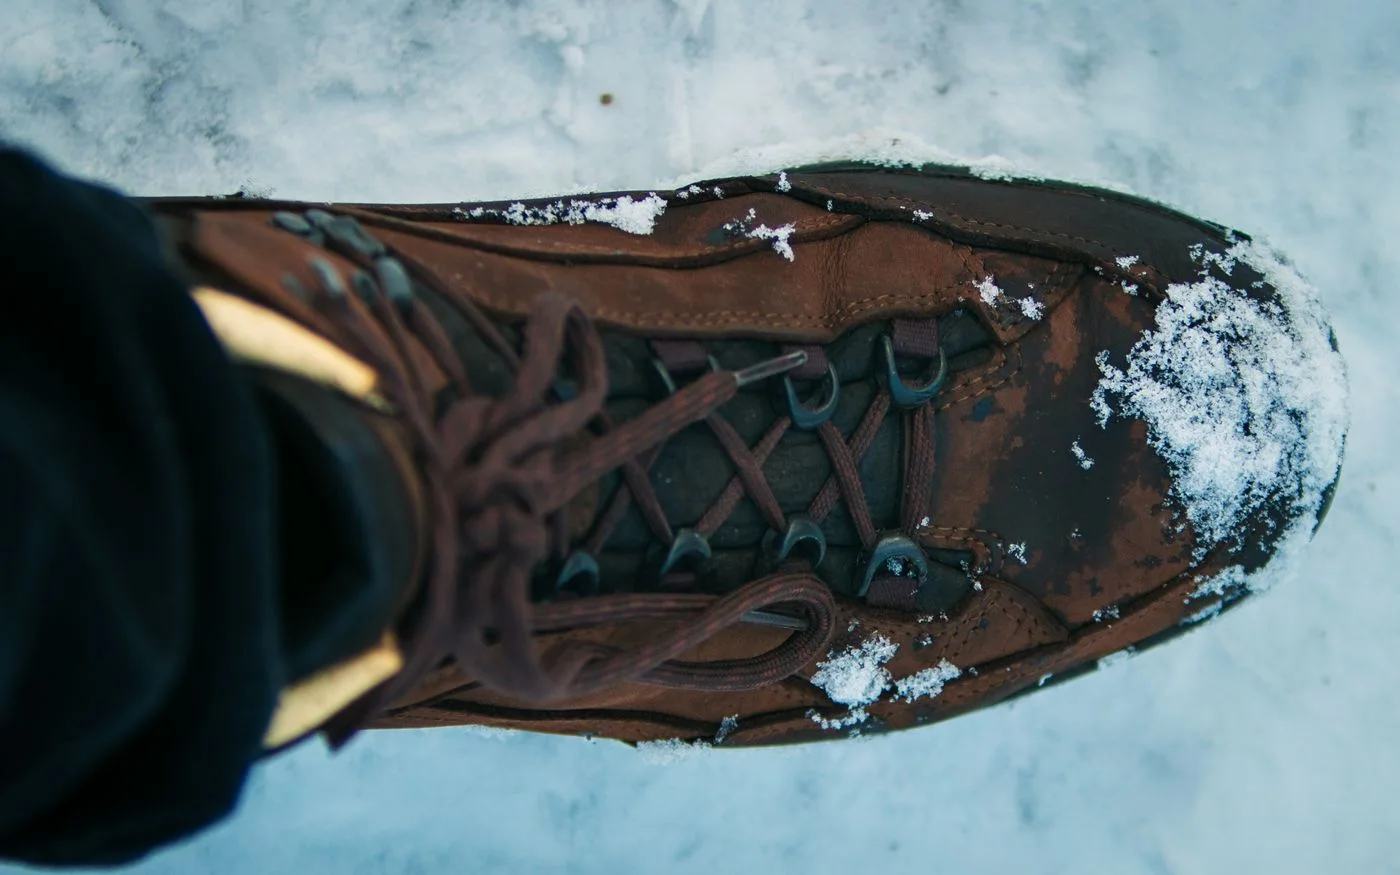
A steady heel and sufficient forefoot room need to work together. Observe the fit in motion and change one part of the lacing at a time before deciding whether another shape is needed.
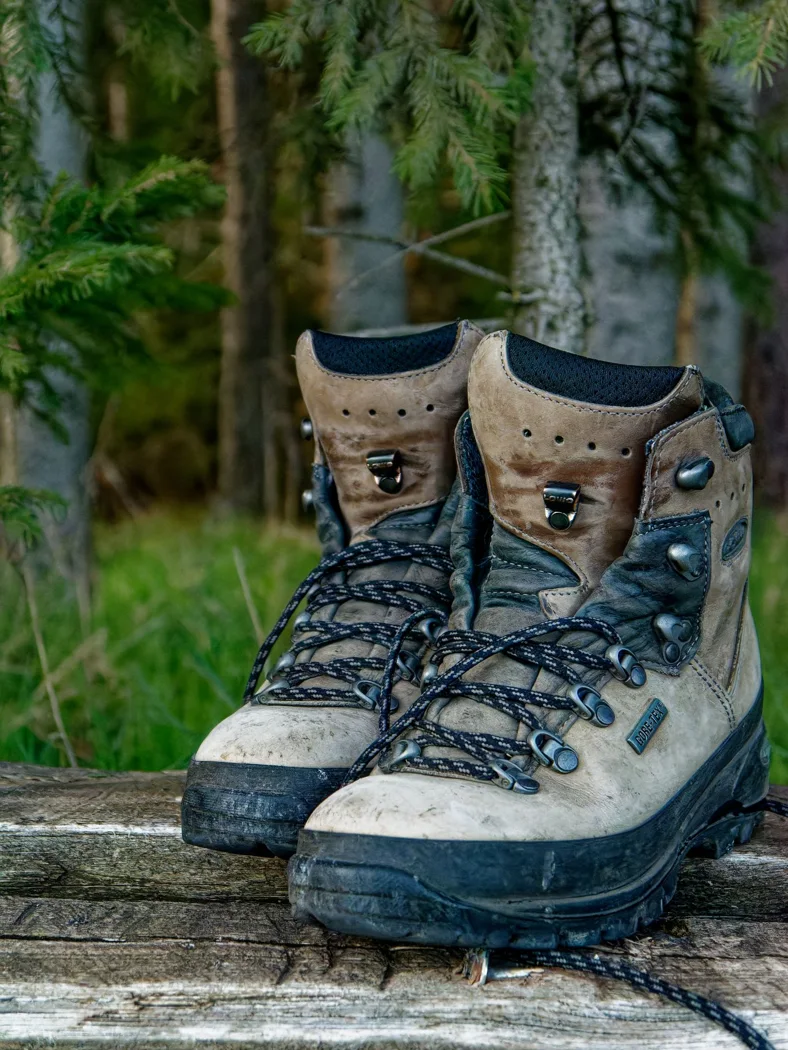
Opening a boot reveals how the tongue connects to the upper. This construction affects handling and deserves attention during a fitting, rather than becoming something you notice only during later care.
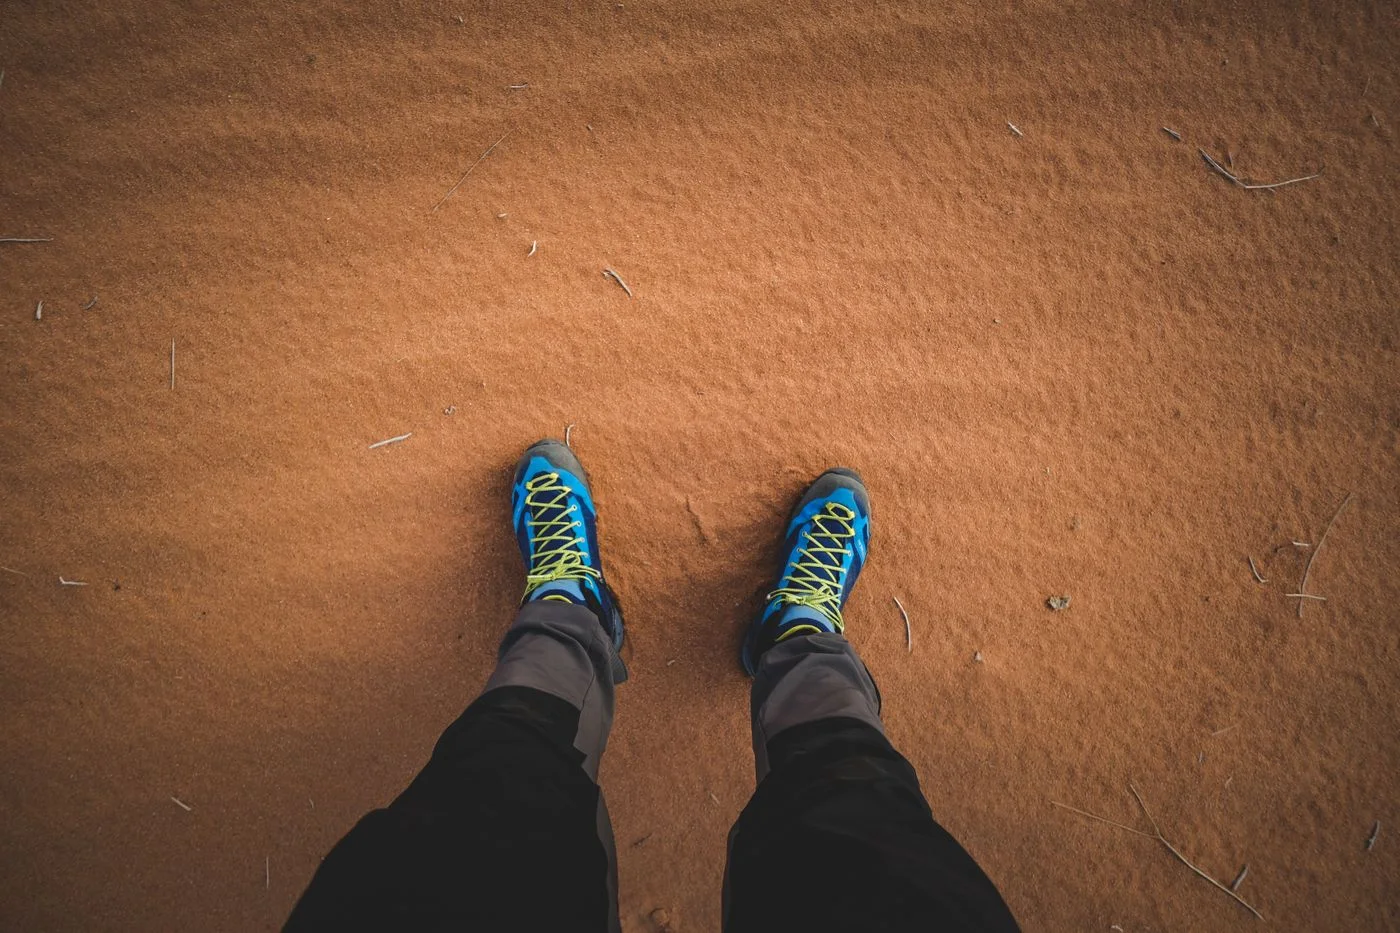
Mixed uppers do not need identical treatment on every surface. Identify the model first and check which products its maker specifies for the leather, fabric and complete construction.
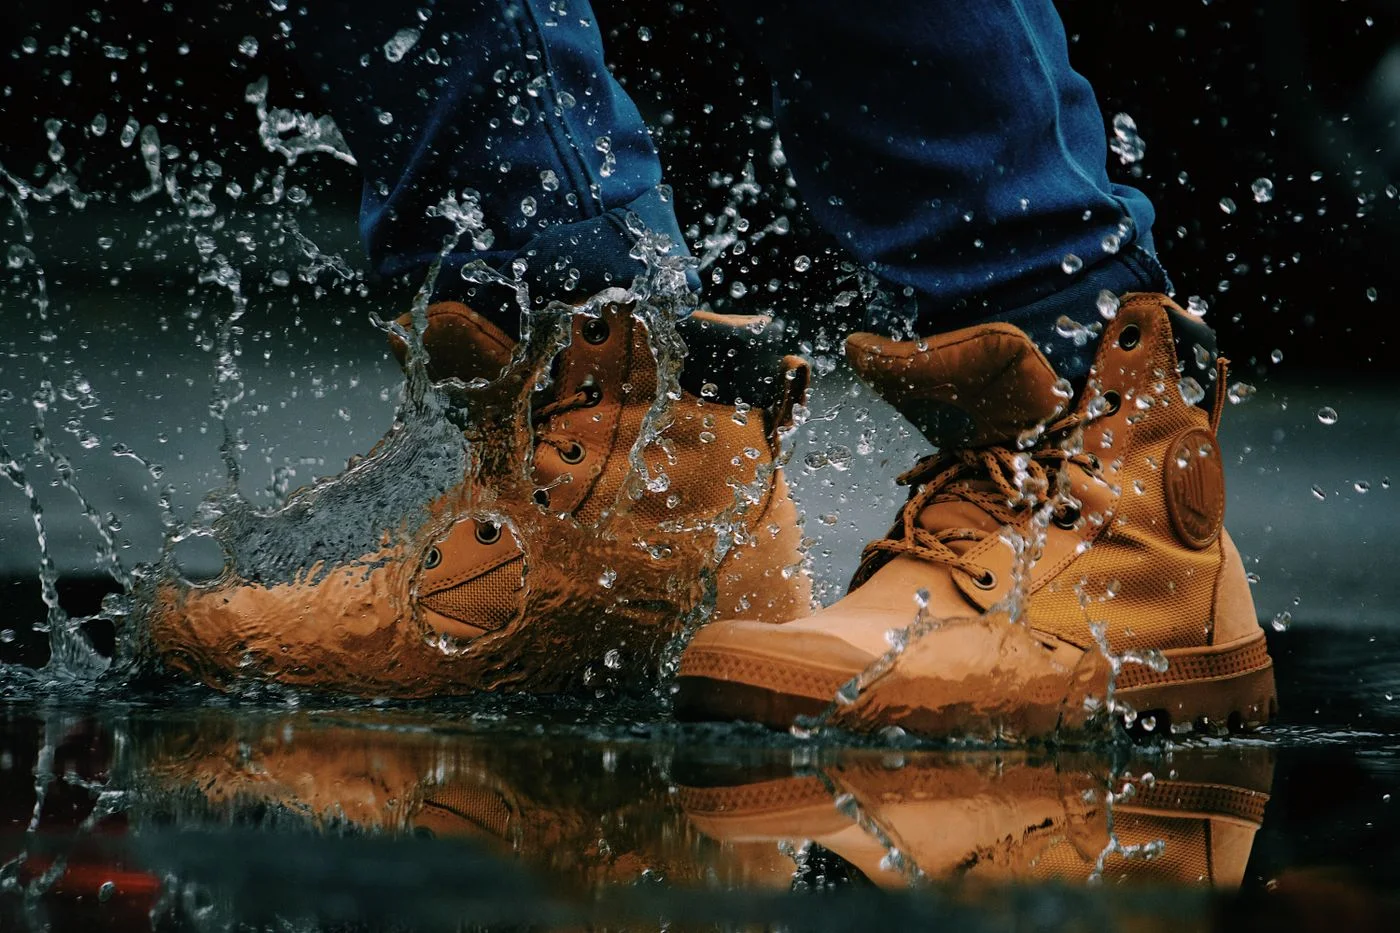
If water no longer beads on the upper, start with the appropriate care instructions. External water repellency and the waterproof construction inside the shoe are different things and need separate assessment.

A rarely worn pair still needs attention. Examine tread, sole edges and visible material changes before bringing stored footwear back onto a longer route, leaving time to resolve any concerns beforehand.

Before arranging a resole, answer three questions: is the model built for it, is the rest of the boot suitable, and will the repaired pair still serve the routes you intend to walk?
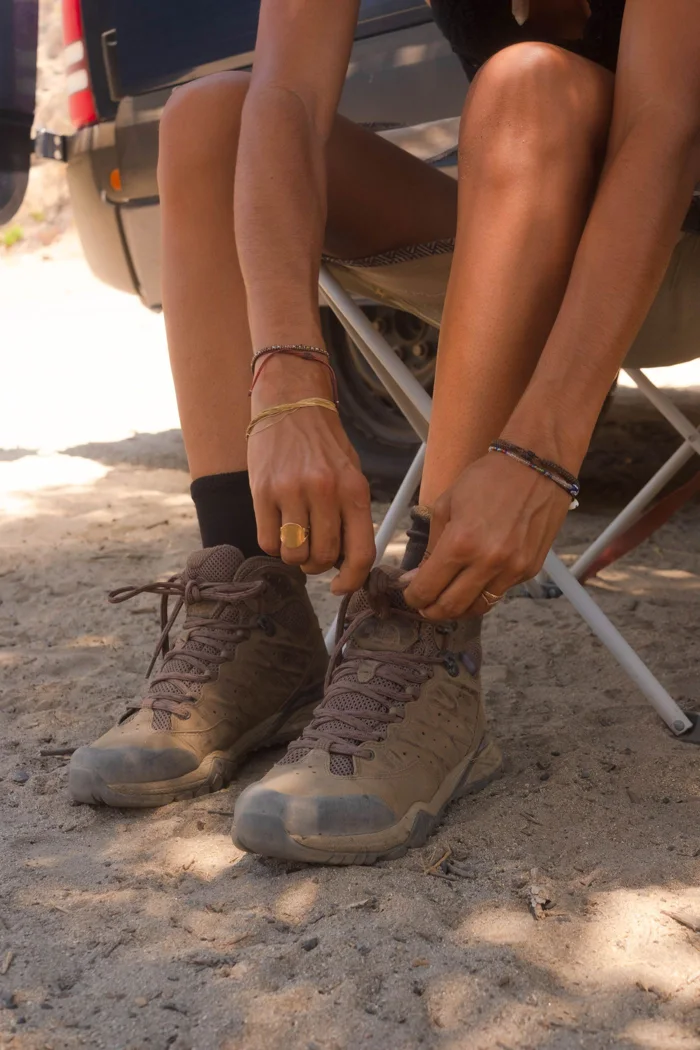
Replacement laces need to suit the route through the eyelets and hooks. Existing length is a starting point, but shape, thickness and the finished closure also belong in the comparison.
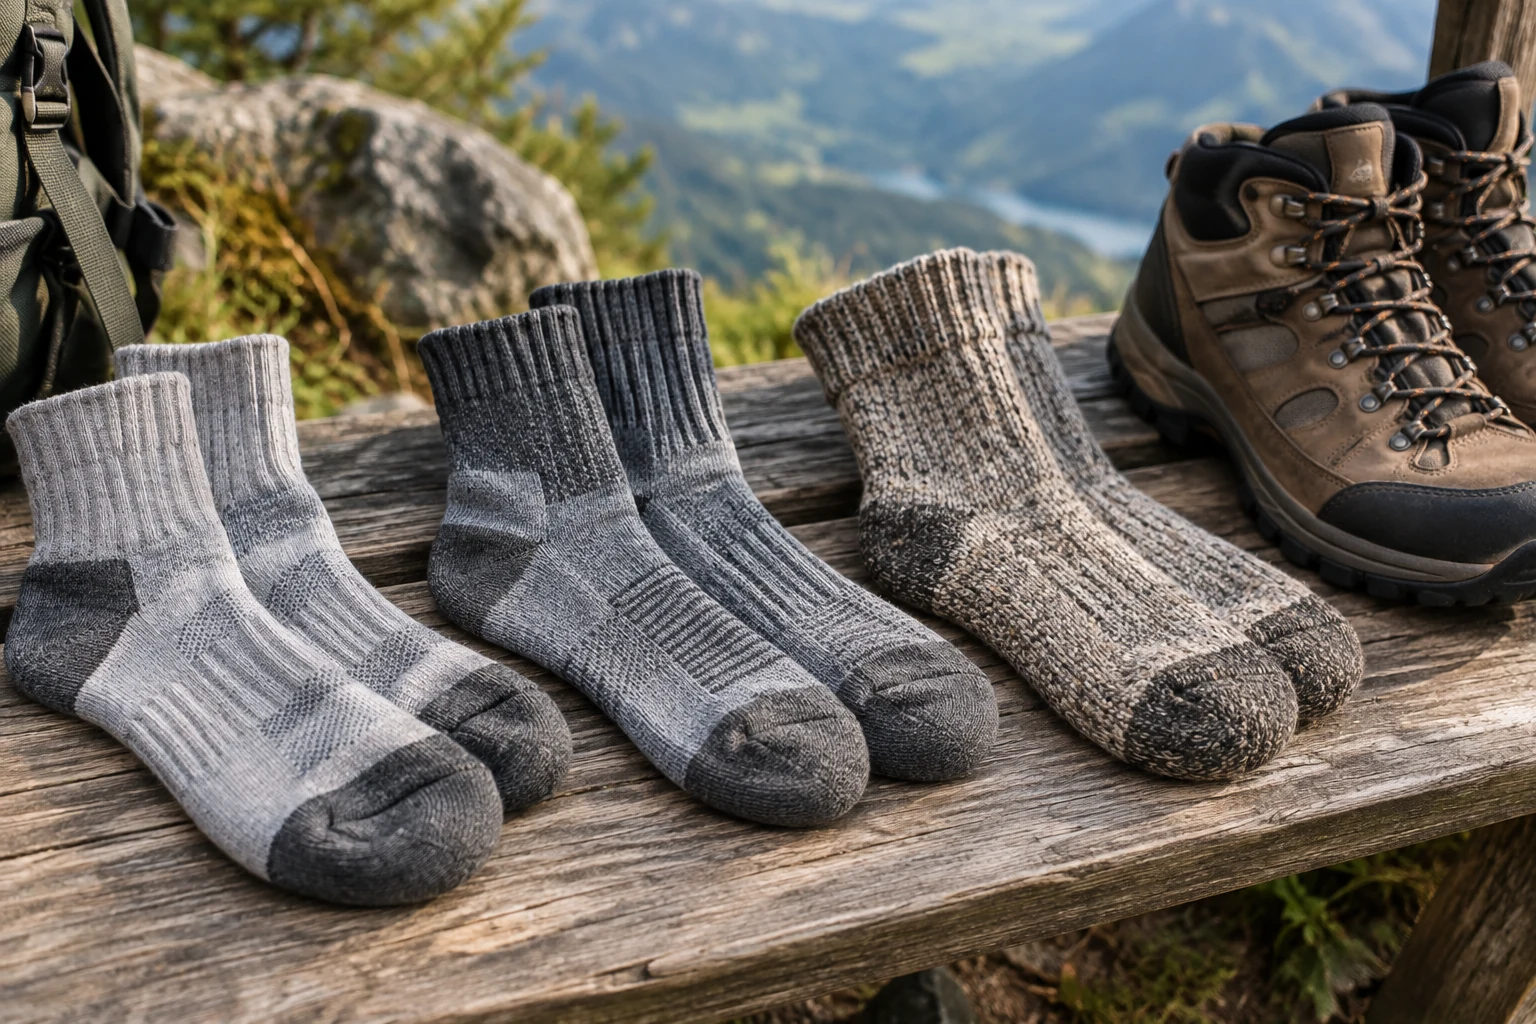
Padding, height and sock shape work together inside the shoe. Look beyond the material name and try the pair with the walking footwear you actually use before choosing several pairs of an unfamiliar model.
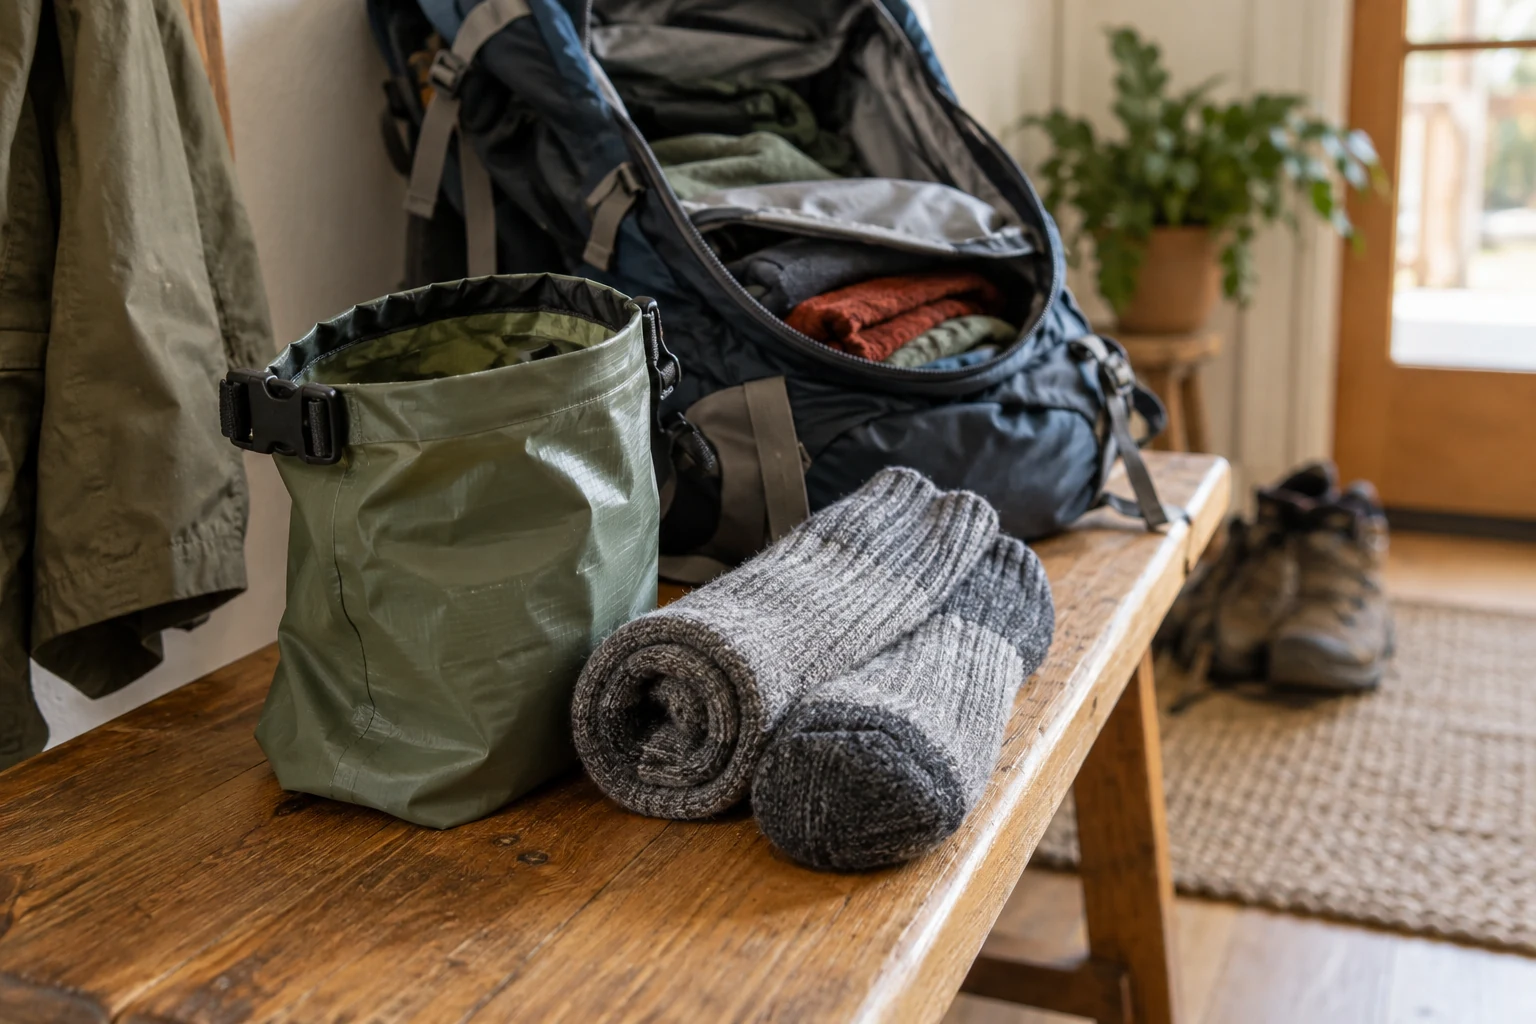
A clean spare pair needs its own place, an appropriate closure and a plan for the socks already worn. Make the packaging easy to identify inside the pack when it is needed.
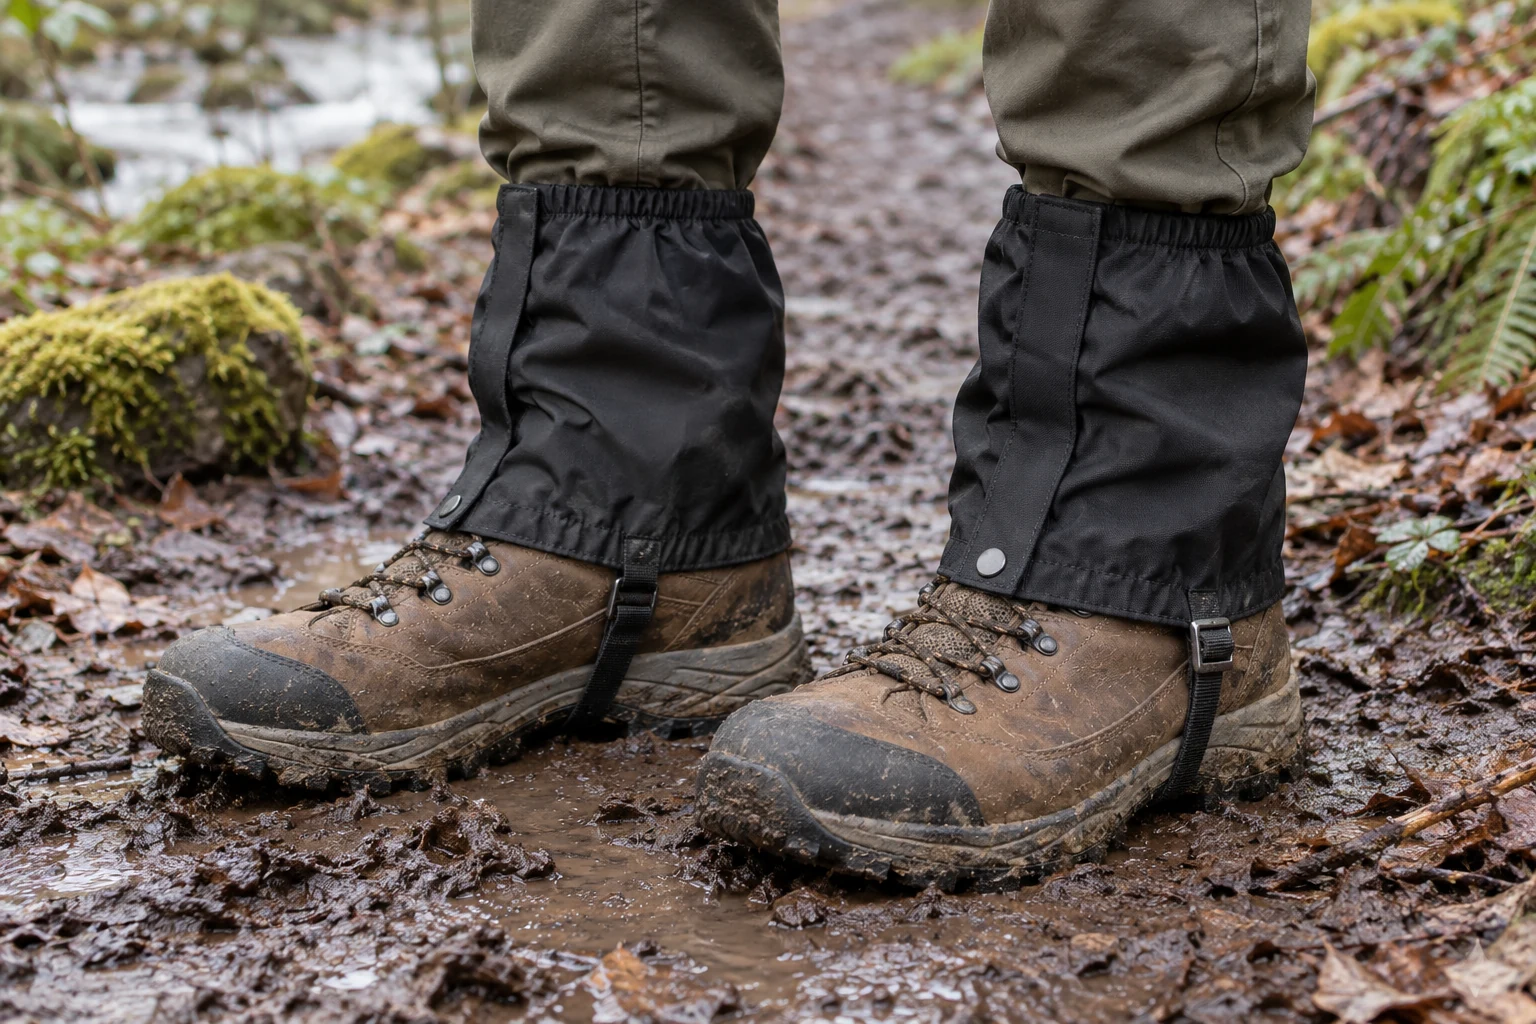
Short gaiters need to suit the shoe, leg and intended protection. Inspect the attachments carefully rather than using height alone to predict how a model will work around mud and wet vegetation.
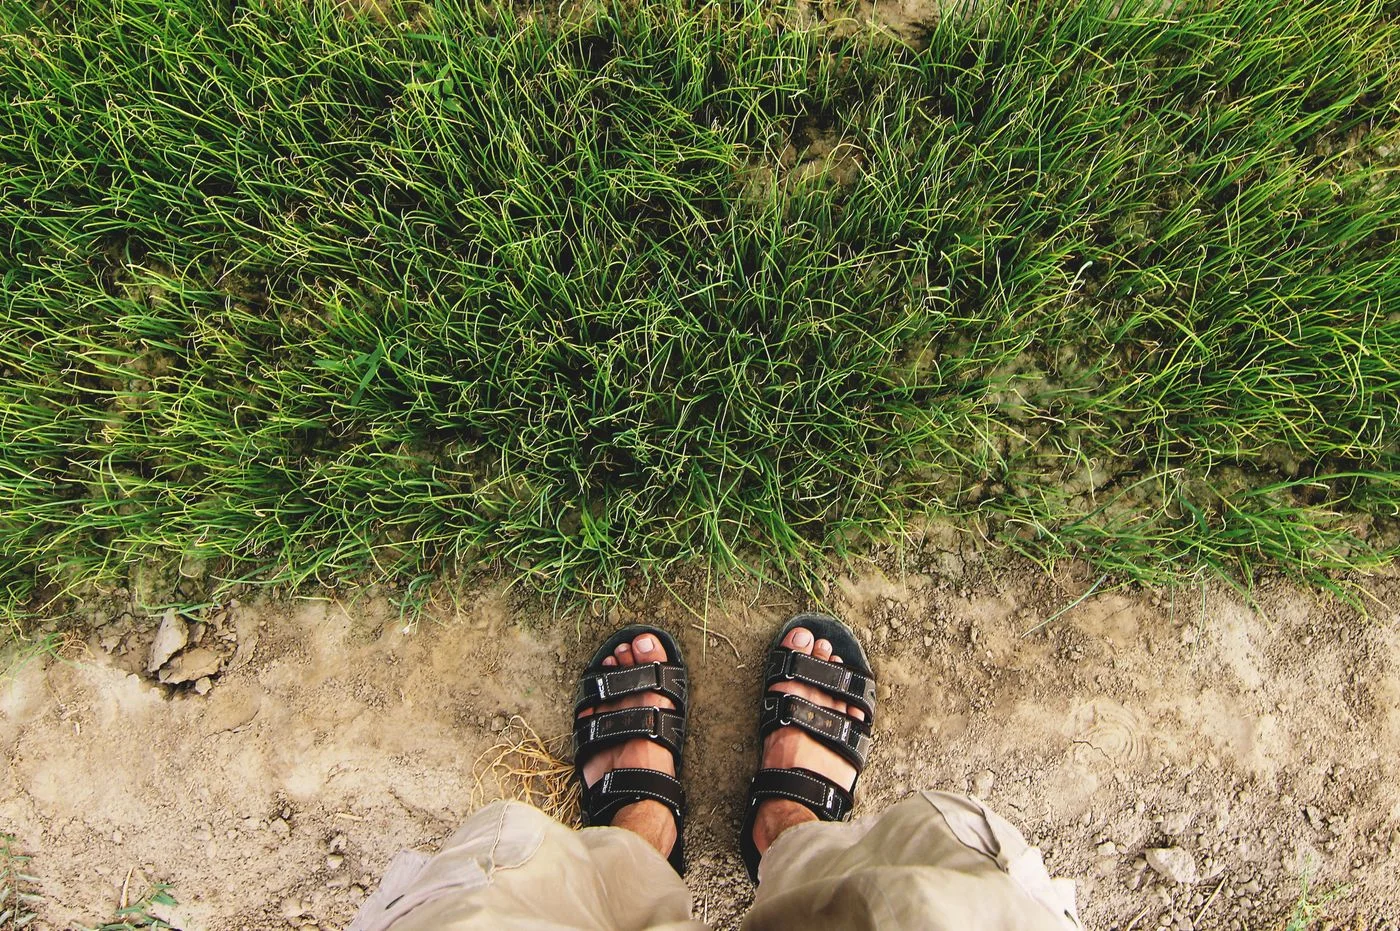
Open or covered toe areas, adjustable straps and fit in motion make substantial differences. Begin with the specific easy route you intend to walk rather than choosing from the sandal's summer appearance alone.
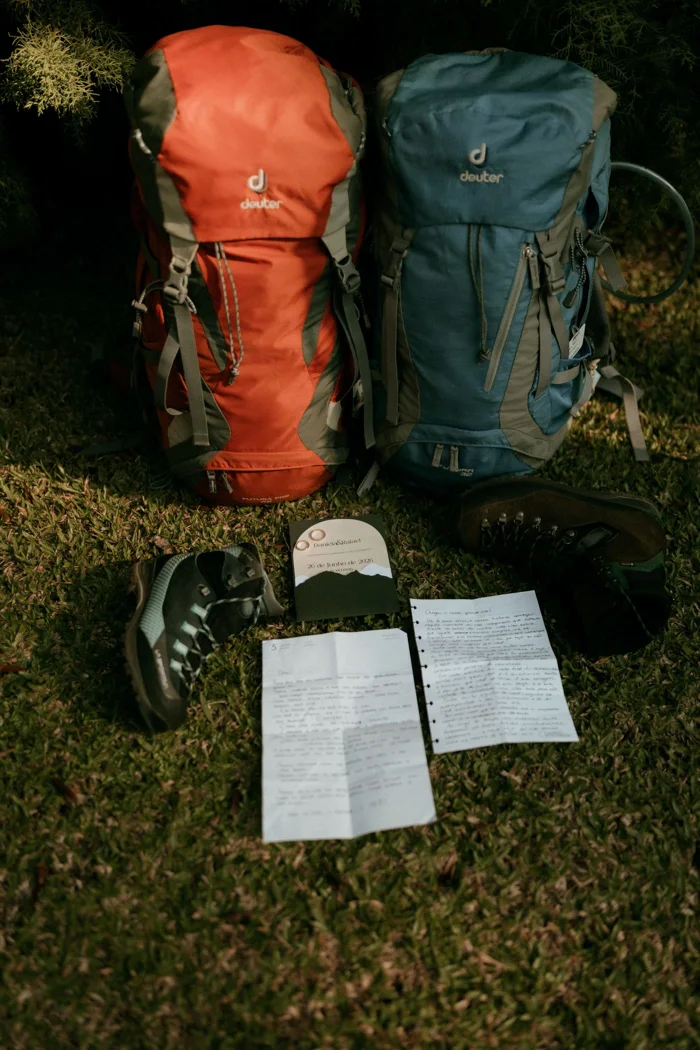
For a short trip, think about what will cling to the footwear and where it sits in your luggage. Plan travel, walking and the return together so clean clothing stays separate from used soles.
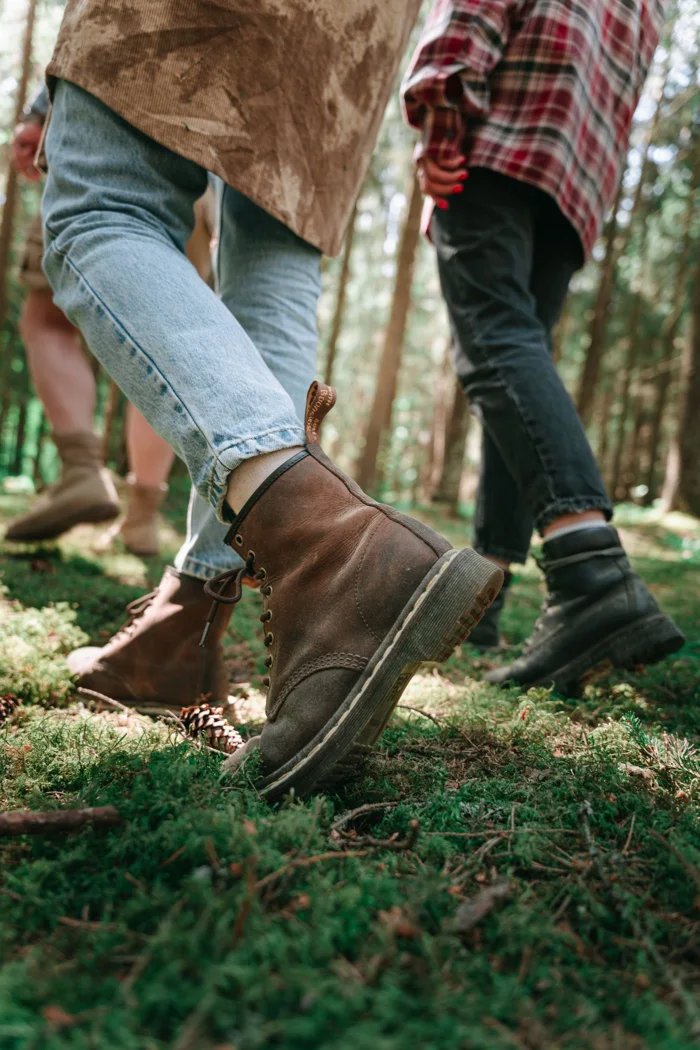
A useful storage place keeps dry footwear accessible and avoids pressure on the upper. The next season still starts with another inspection rather than an assumption that storage guarantees remaining life.
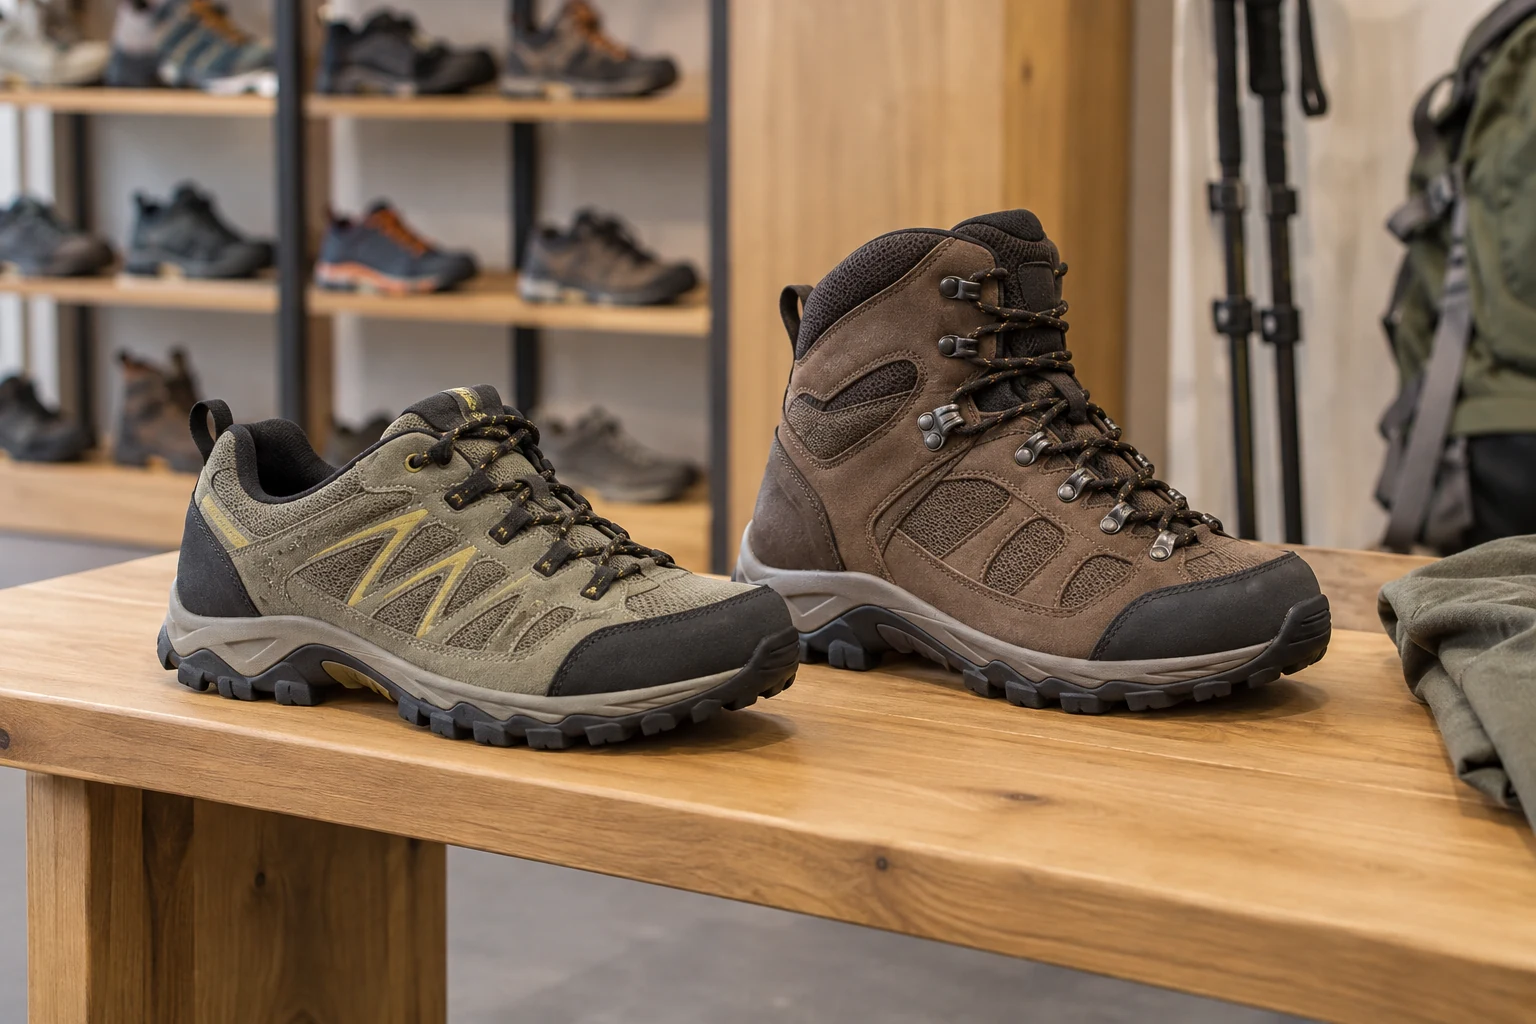
A manageable comparison starts with a specific route description. Keep socks and setup consistent, try complete pairs and record differences that will still make sense once you have left the shop.
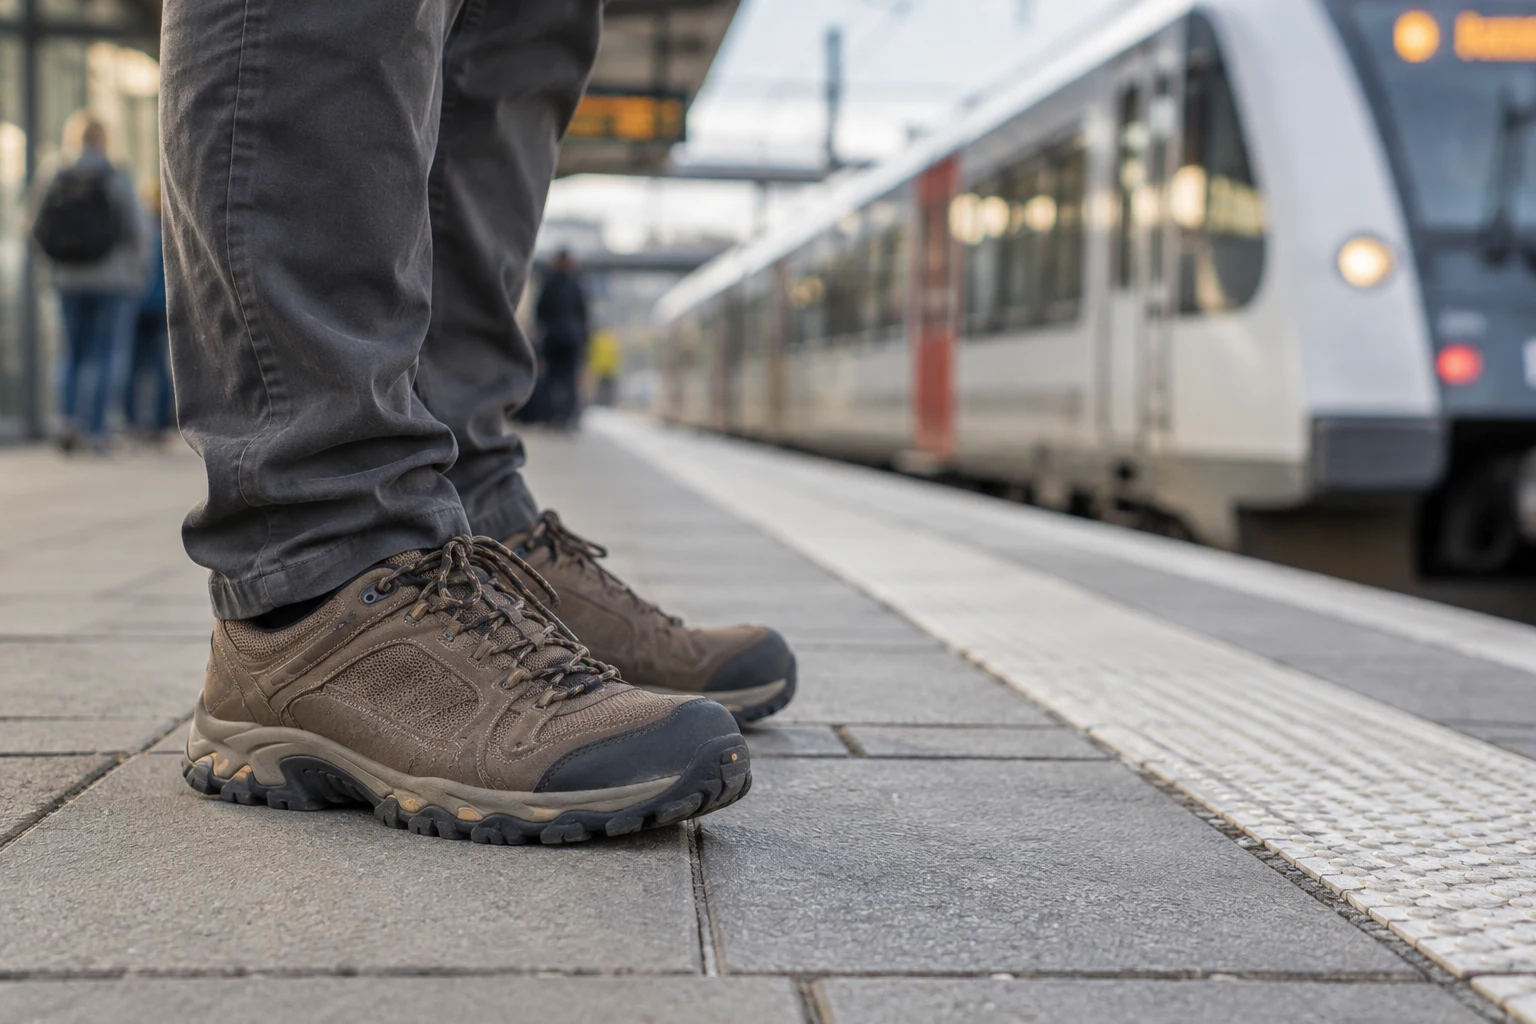
A rail-based walk links platforms, village streets and trail sections. Describe the entire route, while keeping its most demanding unavoidable stretch visible in the footwear decision rather than focusing only on the approach.
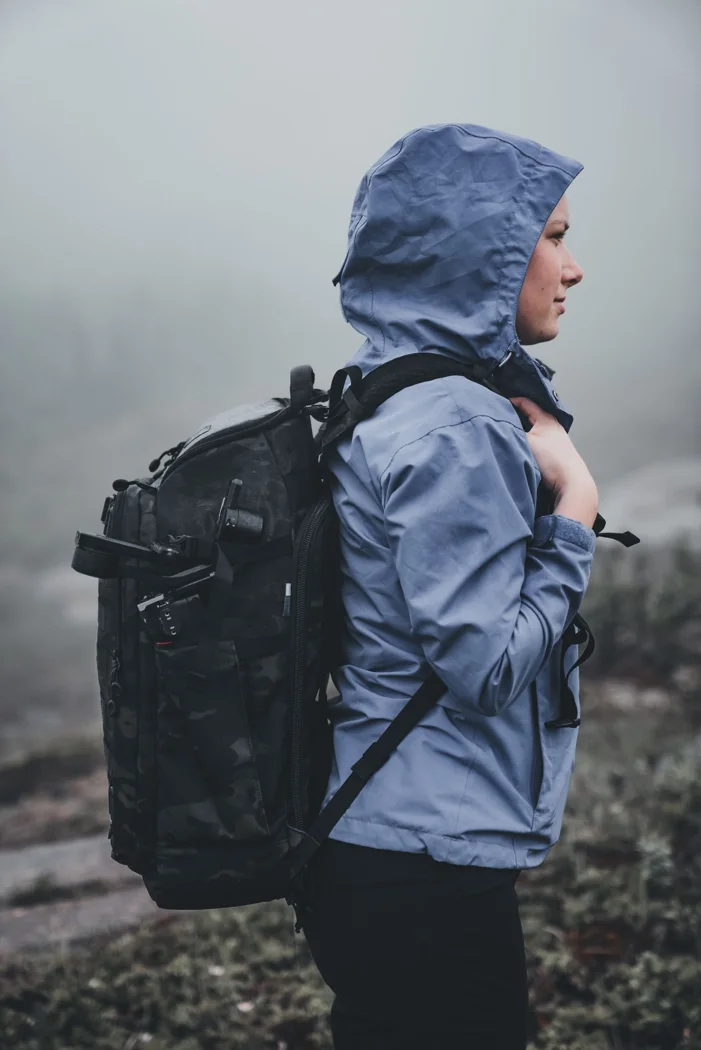
An uphill stretch, a windy ridge and a lunch bench ask different things of the same clothing. A flexible layering system starts with a few pieces that combine sensibly and remain easy to reach.

Assess a base layer with the shirt, jacket and pack that will accompany it. Check movement, hem length and the areas where several seams or closures overlap, rather than judging only its appearance alone.
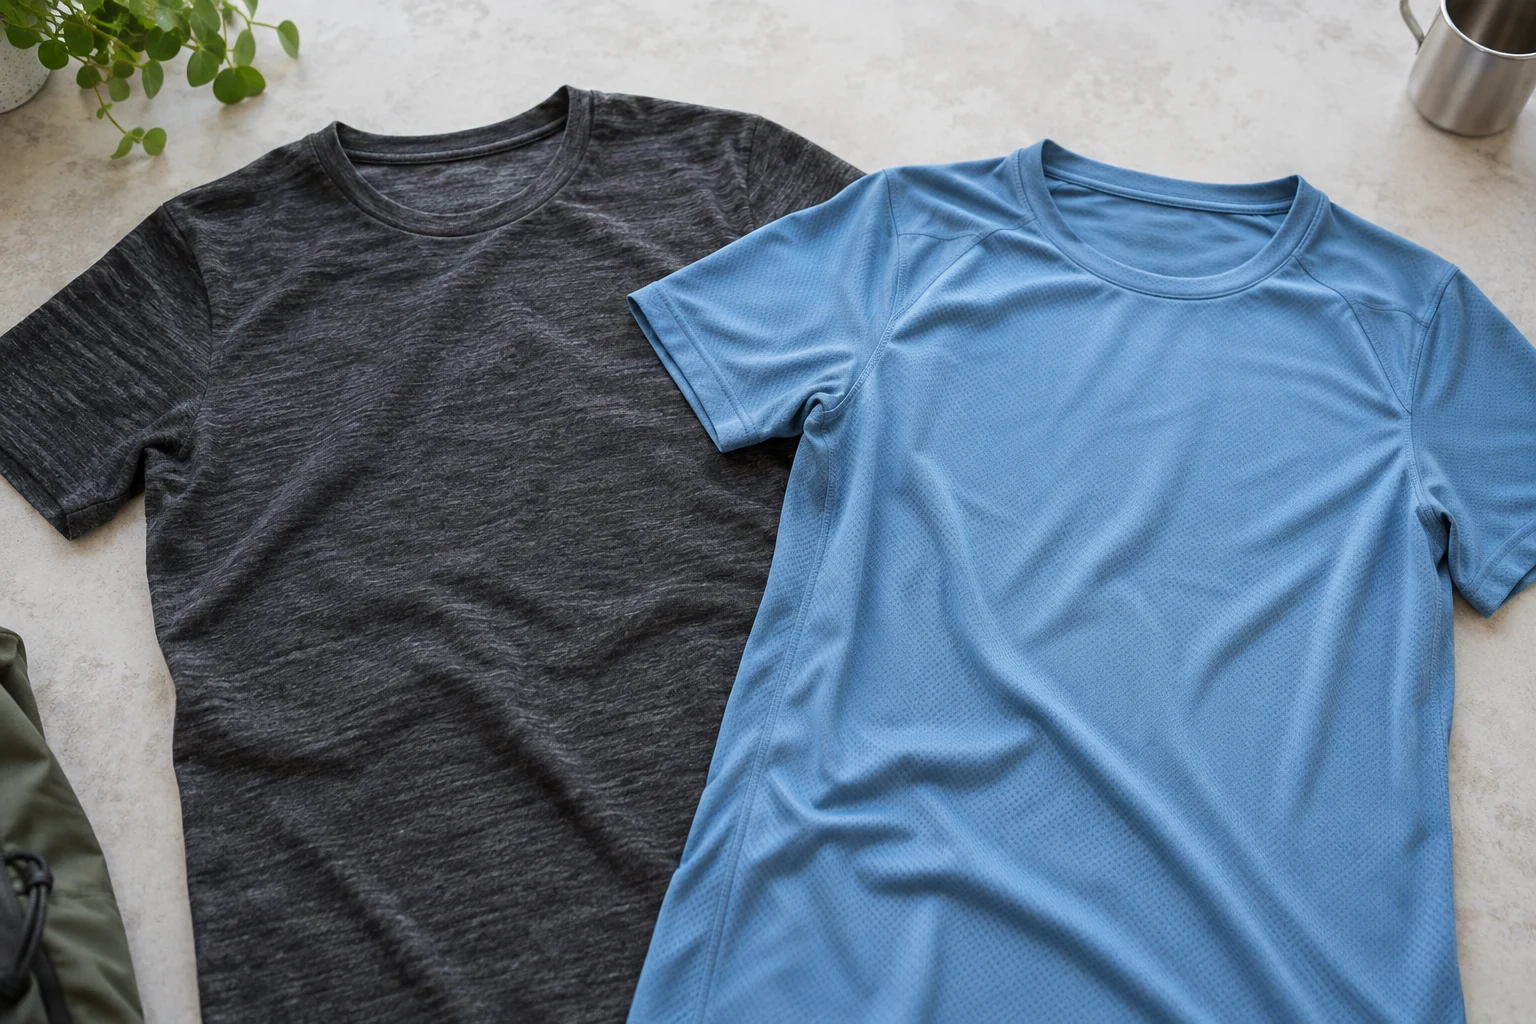
A fiber name is only the start of choosing a walking top. Compare composition, fabric construction, feel and care requirements for the actual garment and the conditions of your day route.
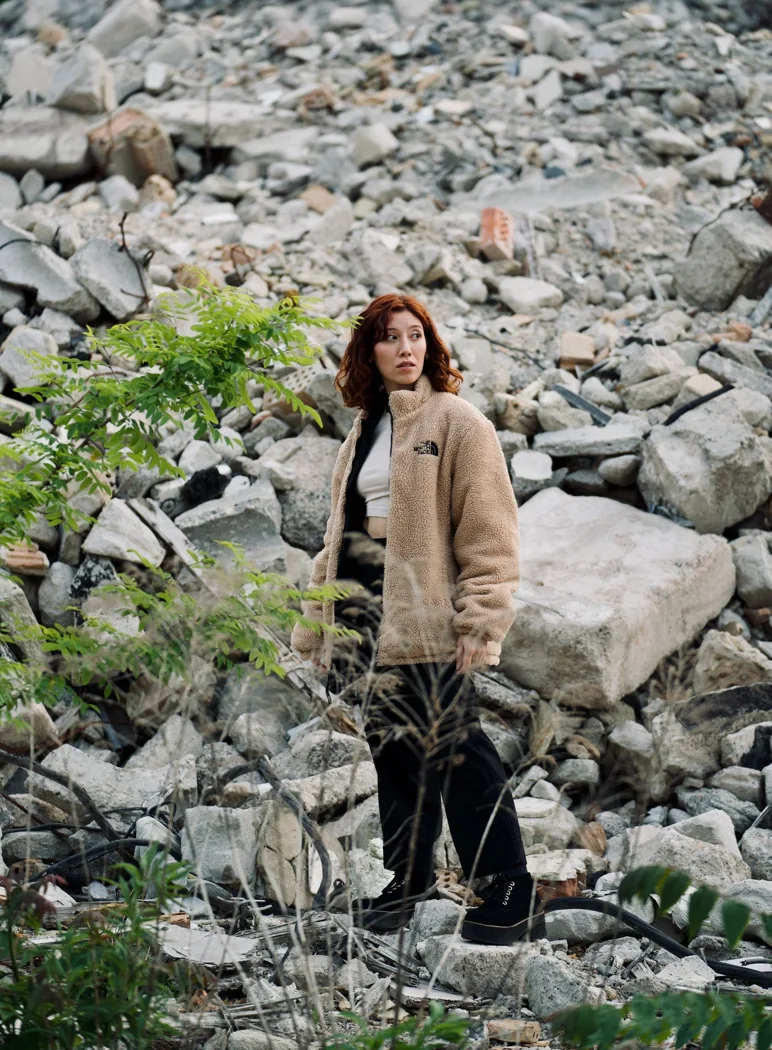
A fleece has a different role when worn uphill or unpacked only at a lunch bench. Fit, handling and room beneath the outer jacket therefore belong in the choice alongside the fabric's feel.
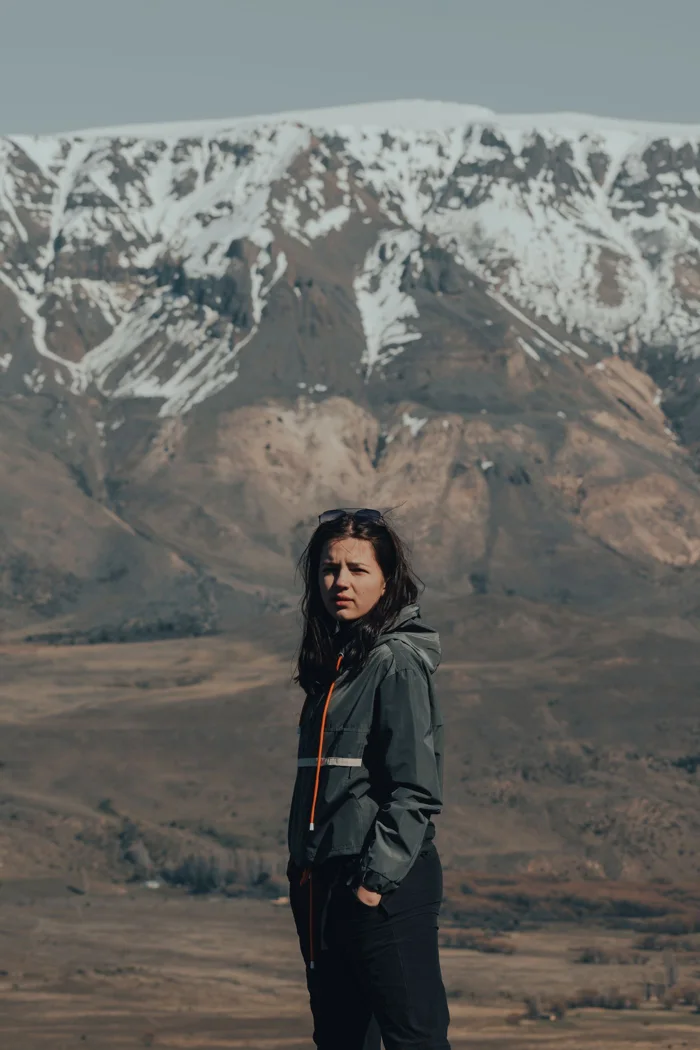
A light extra layer can serve an open section without replacing rainwear. Establish its stated protection and try it over the garments you intend to wear beneath it, rather than judging by pack size alone.
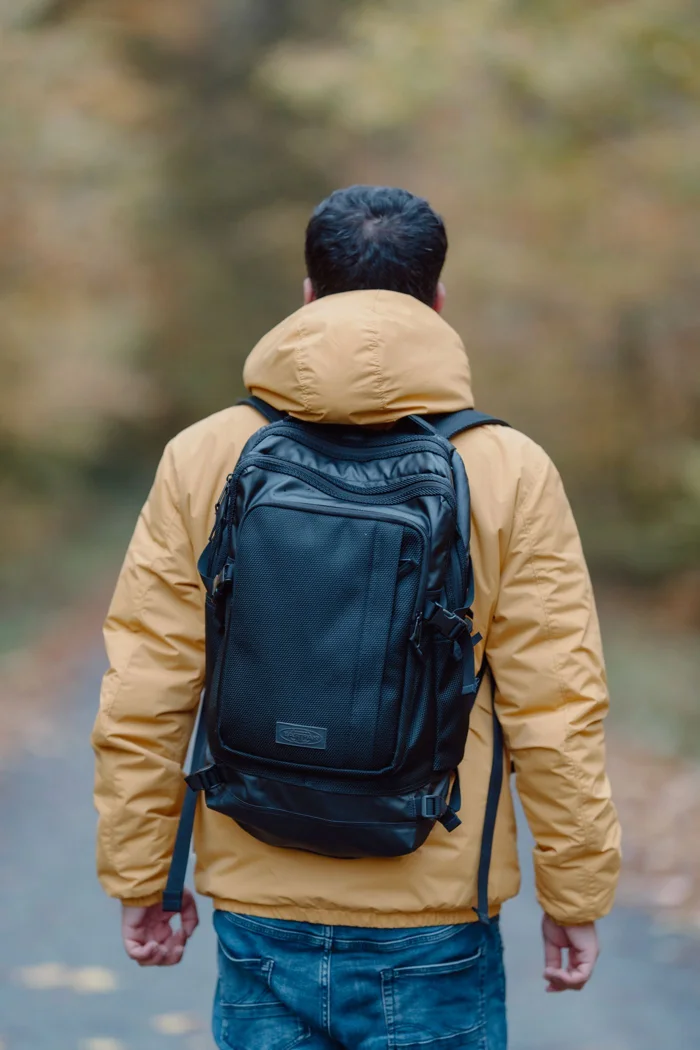
Shoulder straps and a hip belt change access to pockets and adjusters. Try a rain jacket with realistic clothing and luggage, checking the actions you will actually need rather than judging its fit without a pack.

A hood needs to work beyond a standing fitting. Check its intended adjusters, sideward head movement and the combination with your hat, collar and pack rather than relying only on a neat appearance.
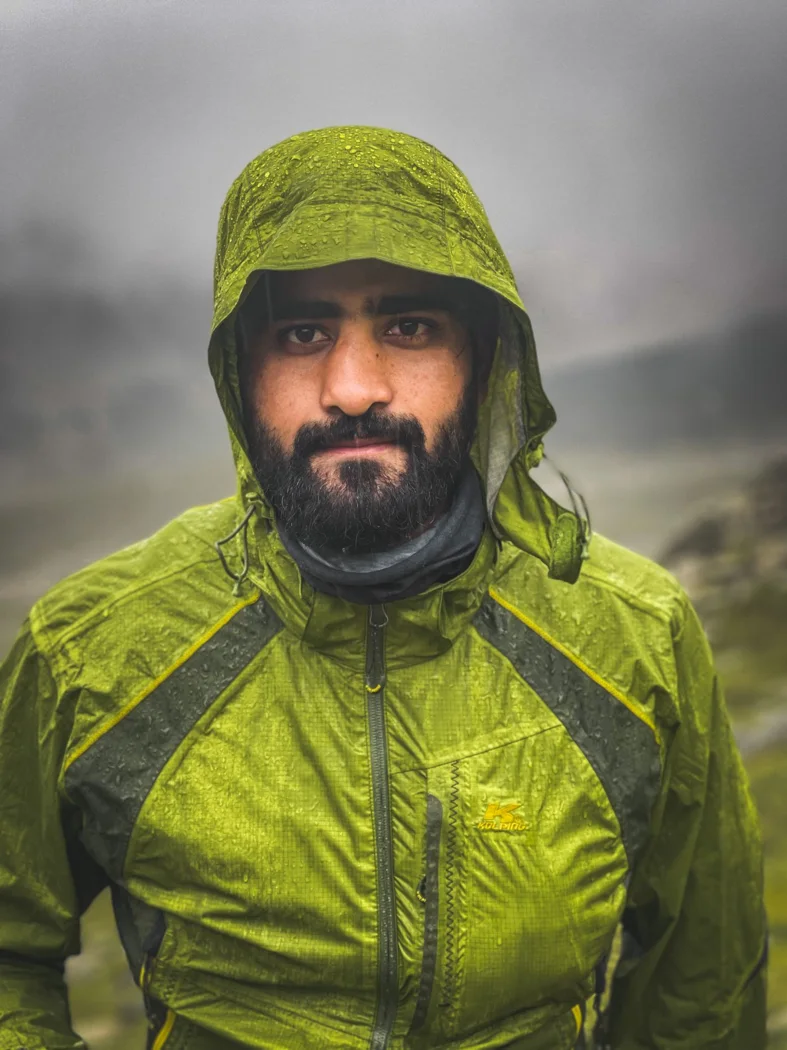
Zips and adjustable layers let you respond while moving. Learn the openings on your jacket and make changes from the rain, wind and warmth you actually experience rather than leaving one setting unchanged all day.
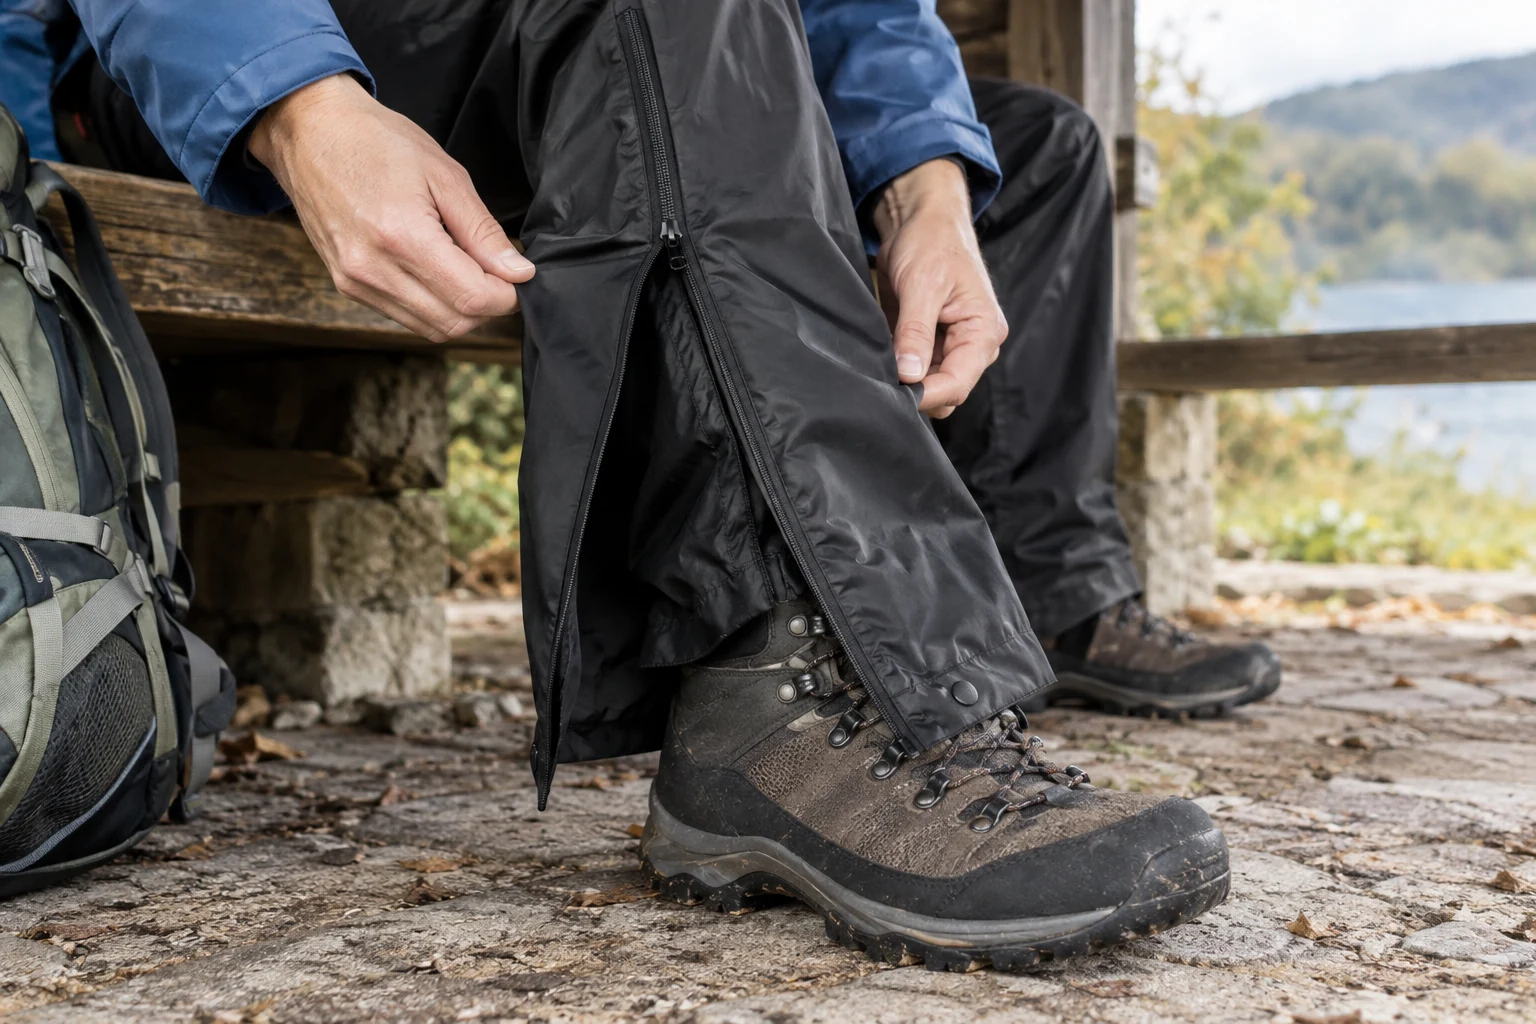
Leg openings and side zips determine how rain trousers can be handled during a walk. Practice at home with the actual footwear and trousers underneath instead of relying on a fitting in socks alone.
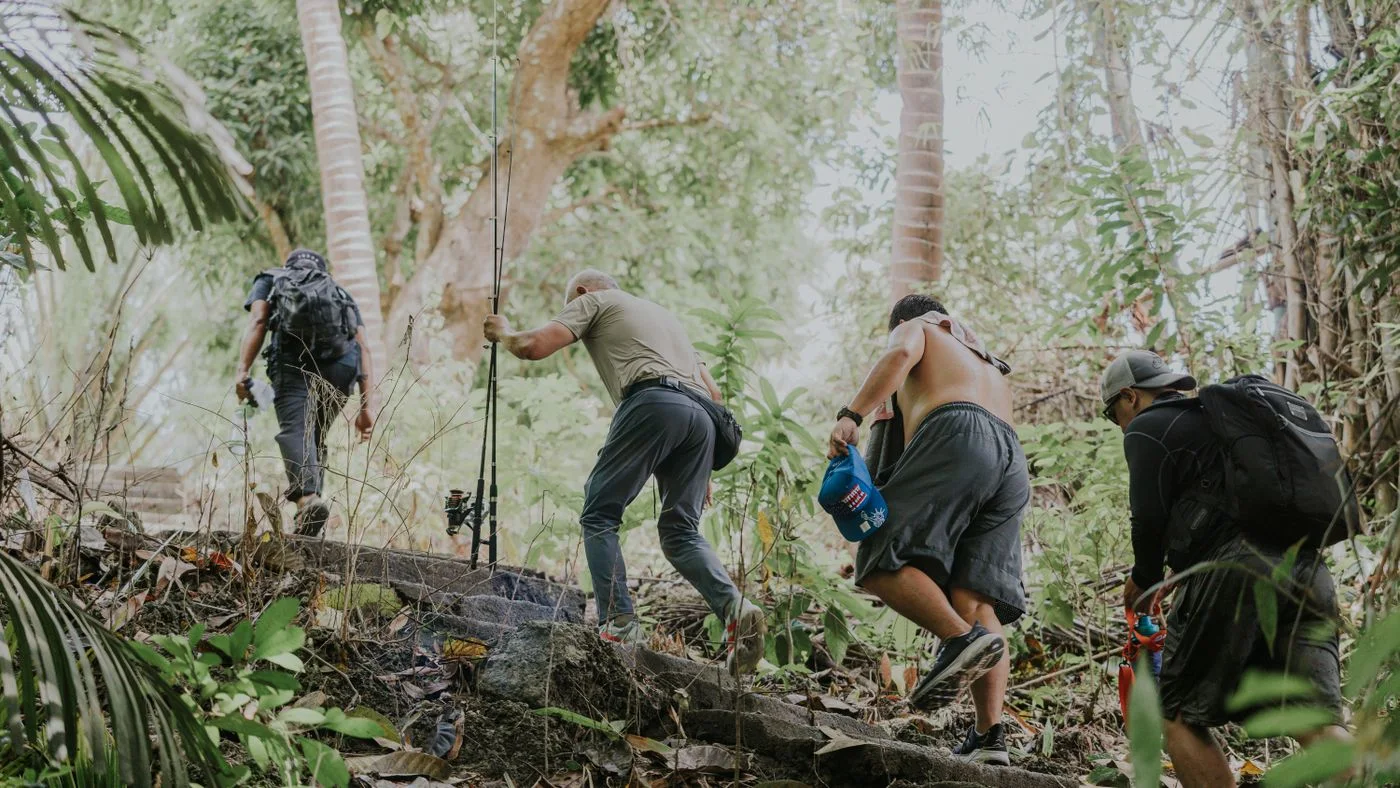
A comfortable waistband while standing is not enough. Knees, seat and leg length change in movement, so check pocket contents, belt and daypack together rather than choosing from the mirror alone.
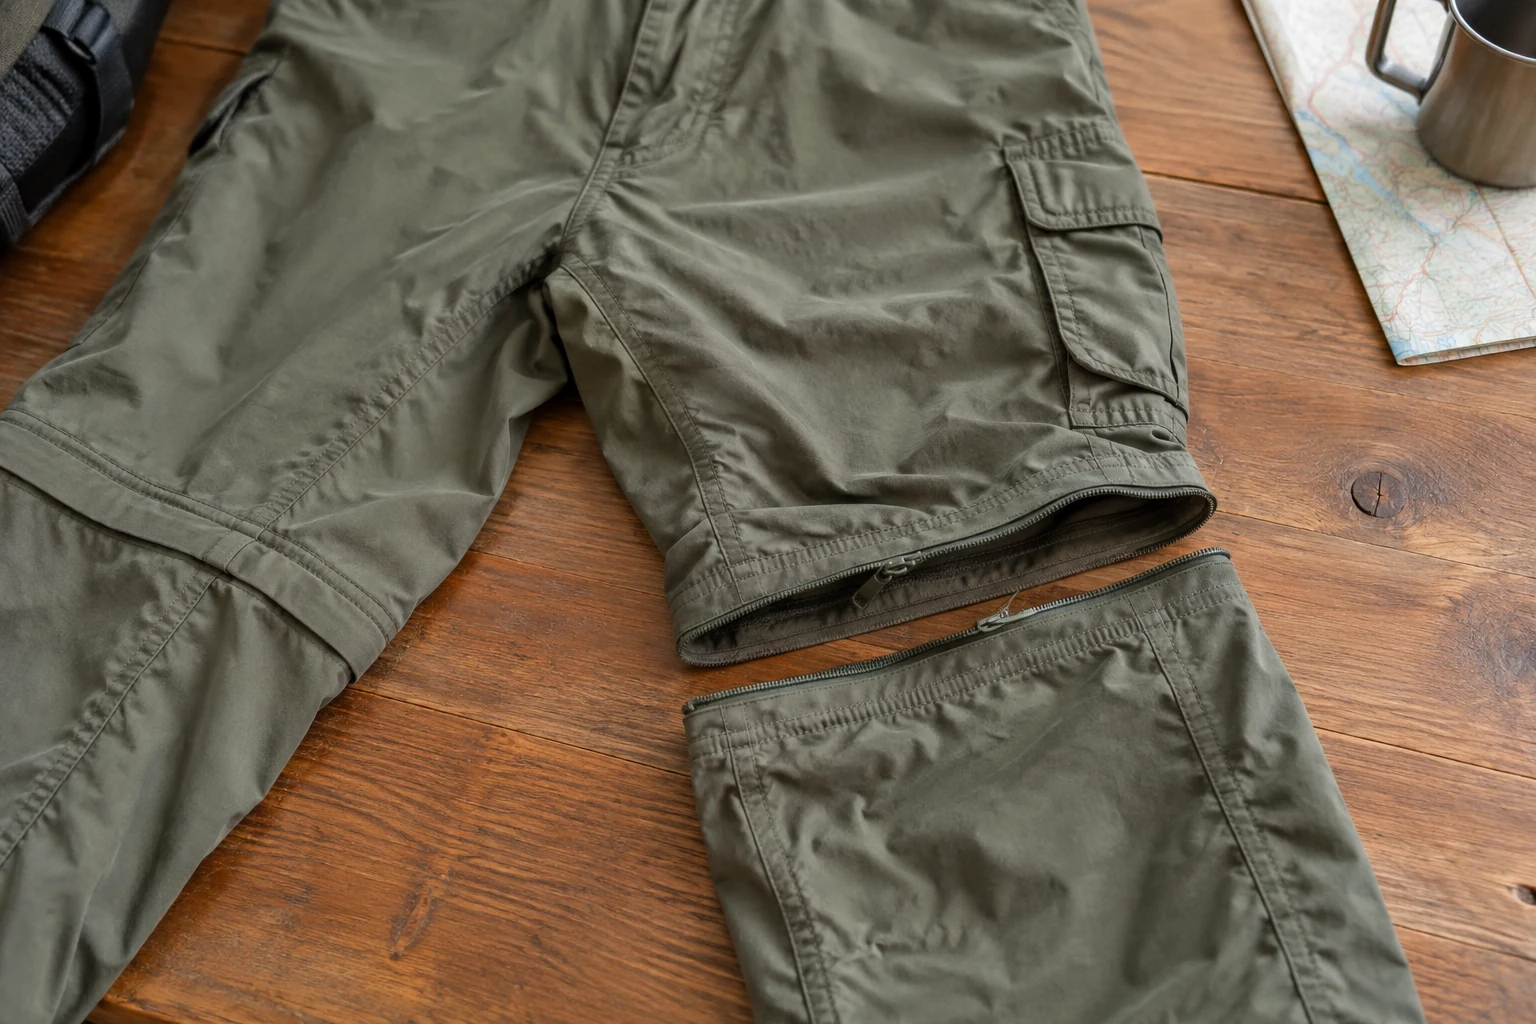
Removable legs create two wearing arrangements and additional zips. Assess both lengths in motion and practice matching the parts before depending on a quick change during a walk or a shift in weather.
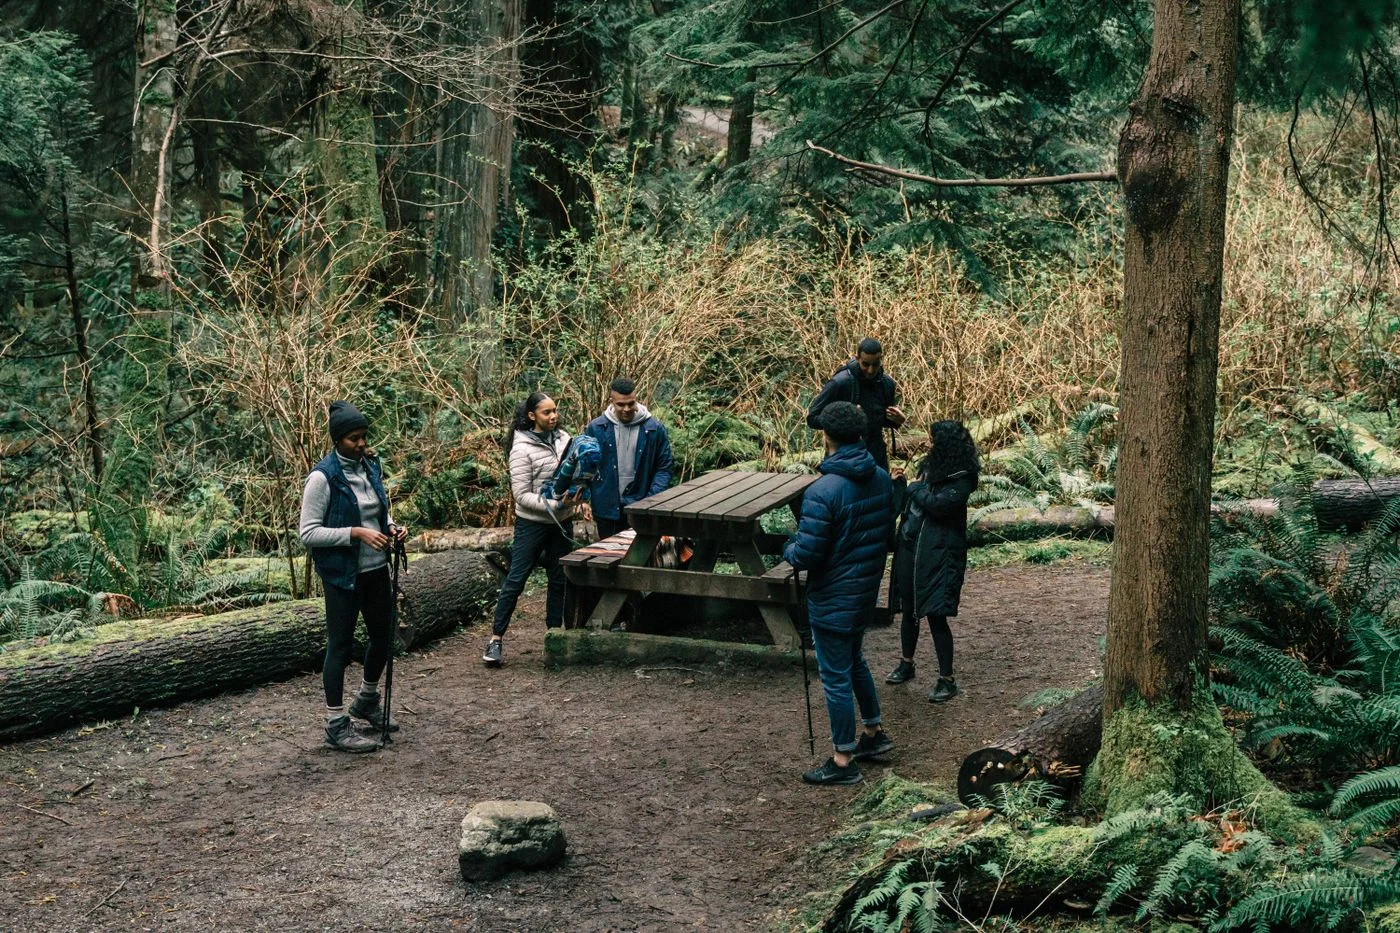
Clothing for a bench stop has a different role from clothing for the climb. Choose the stop layer with the rest of your equipment, giving access as much thought as material and packed volume.
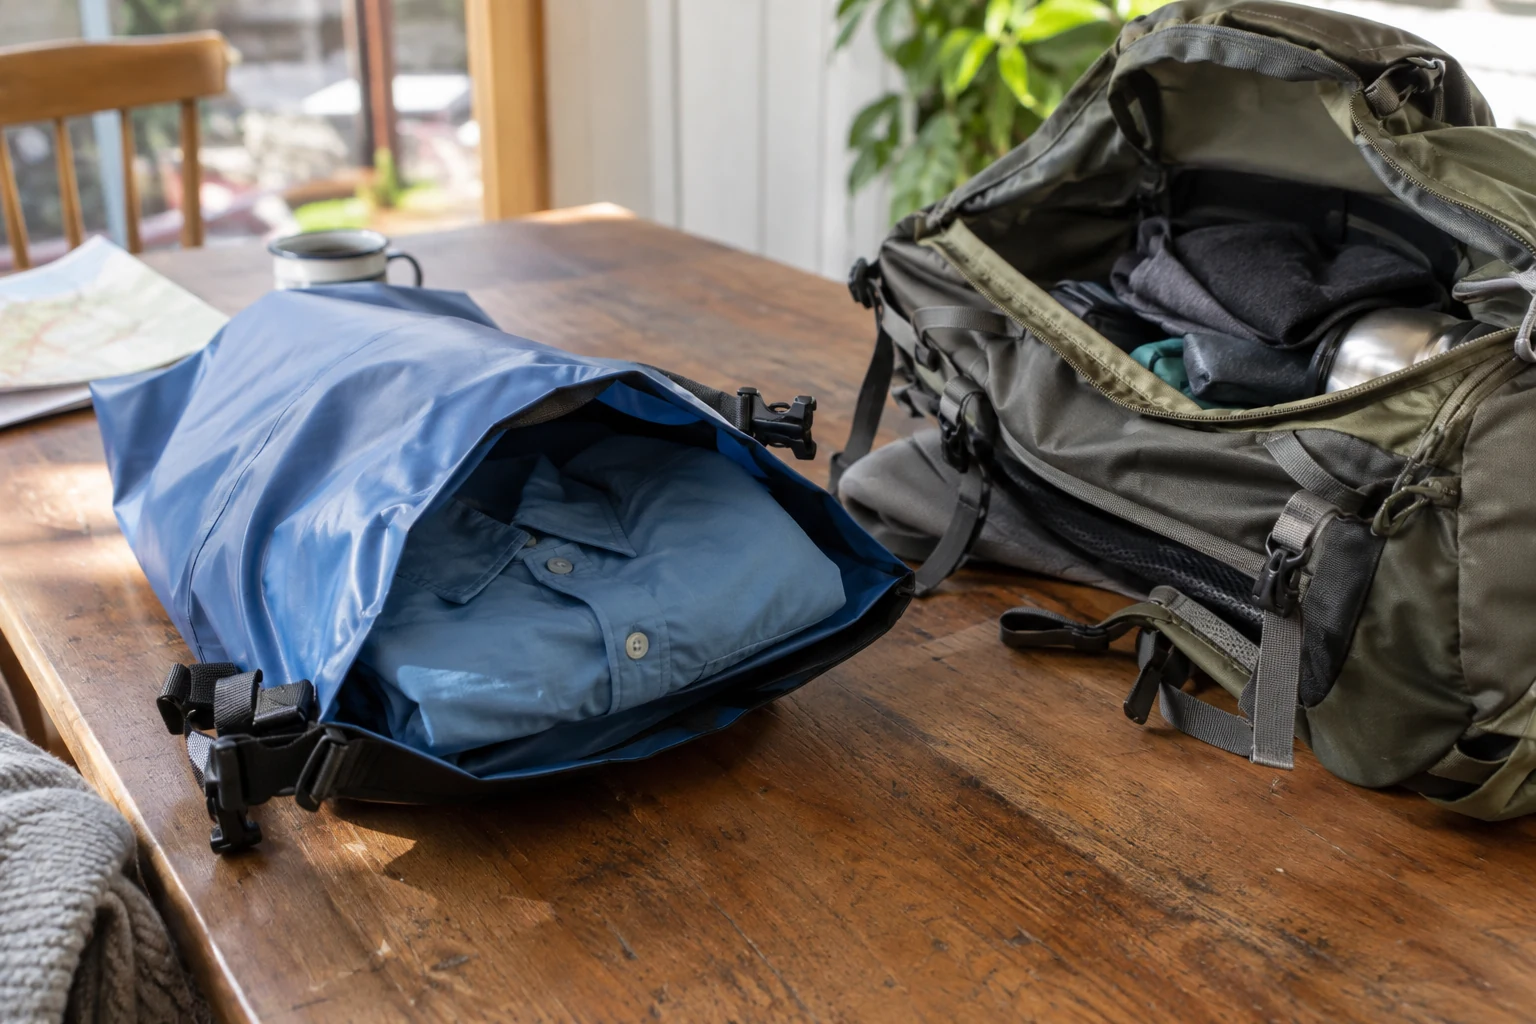
A spare top can have a clear role after a rail-based walk. Keep it separate from damp items and plan where the worn shirt will go afterwards, without automatically carrying a second complete outfit.
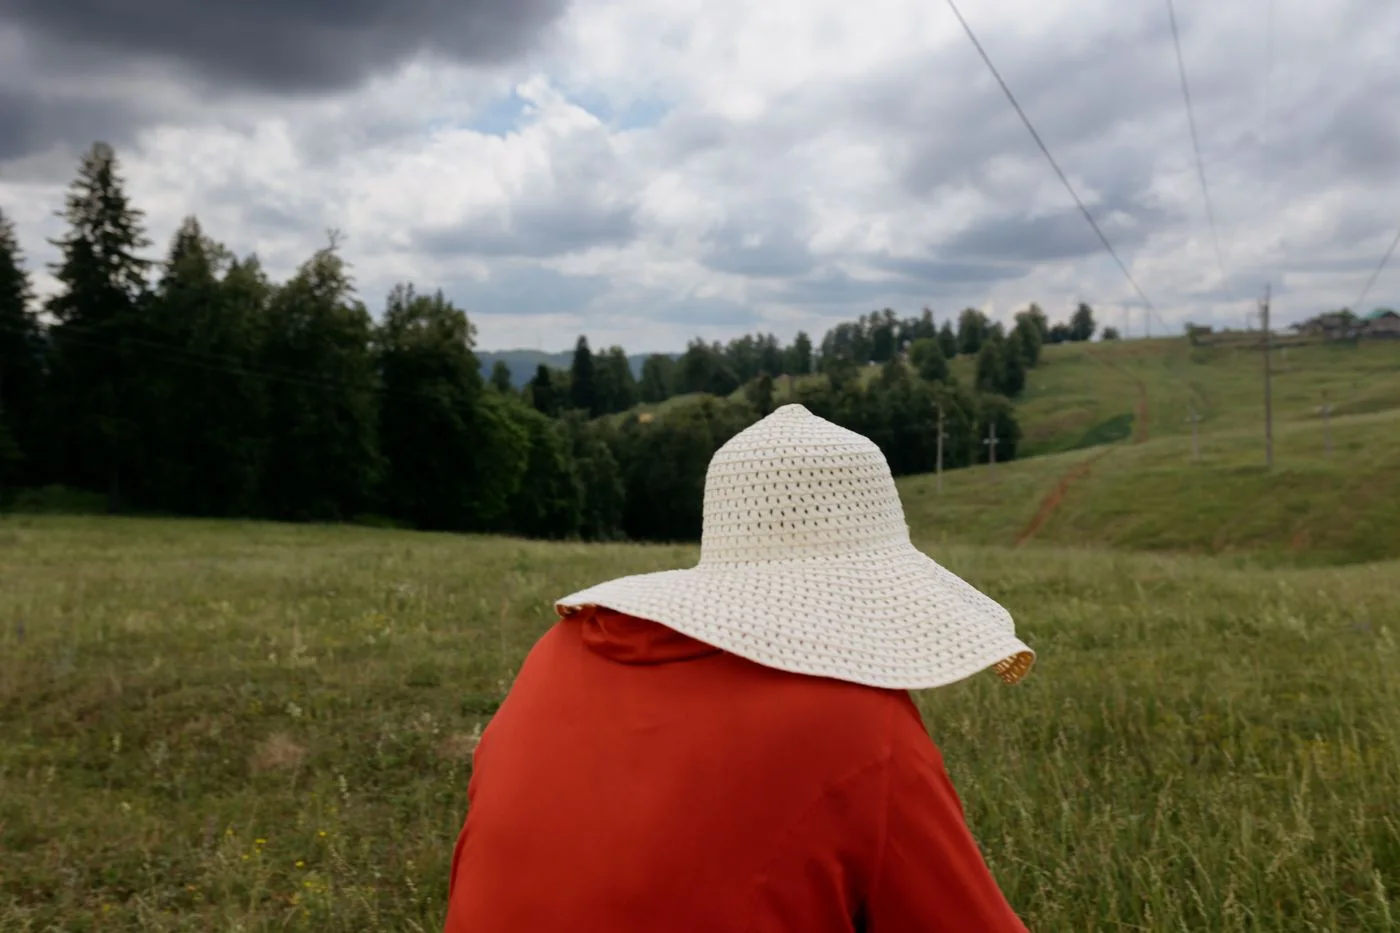
A broad brim, a cap and different adjusters behave differently in motion. Check fit, visibility and the intended retention system with the rest of your walking clothing before relying on a standing fitting.

With thin gloves, fit and usable hand movements belong together. Try zips, pack buckles and jacket cuffs before the first outing rather than assuming a light pair will handle every task or weather condition.

A poncho handles a backpack differently from a jacket. Compare coverage, movement and handling on the specific design and the paths where you actually intend to use it rather than choosing from fabric alone.
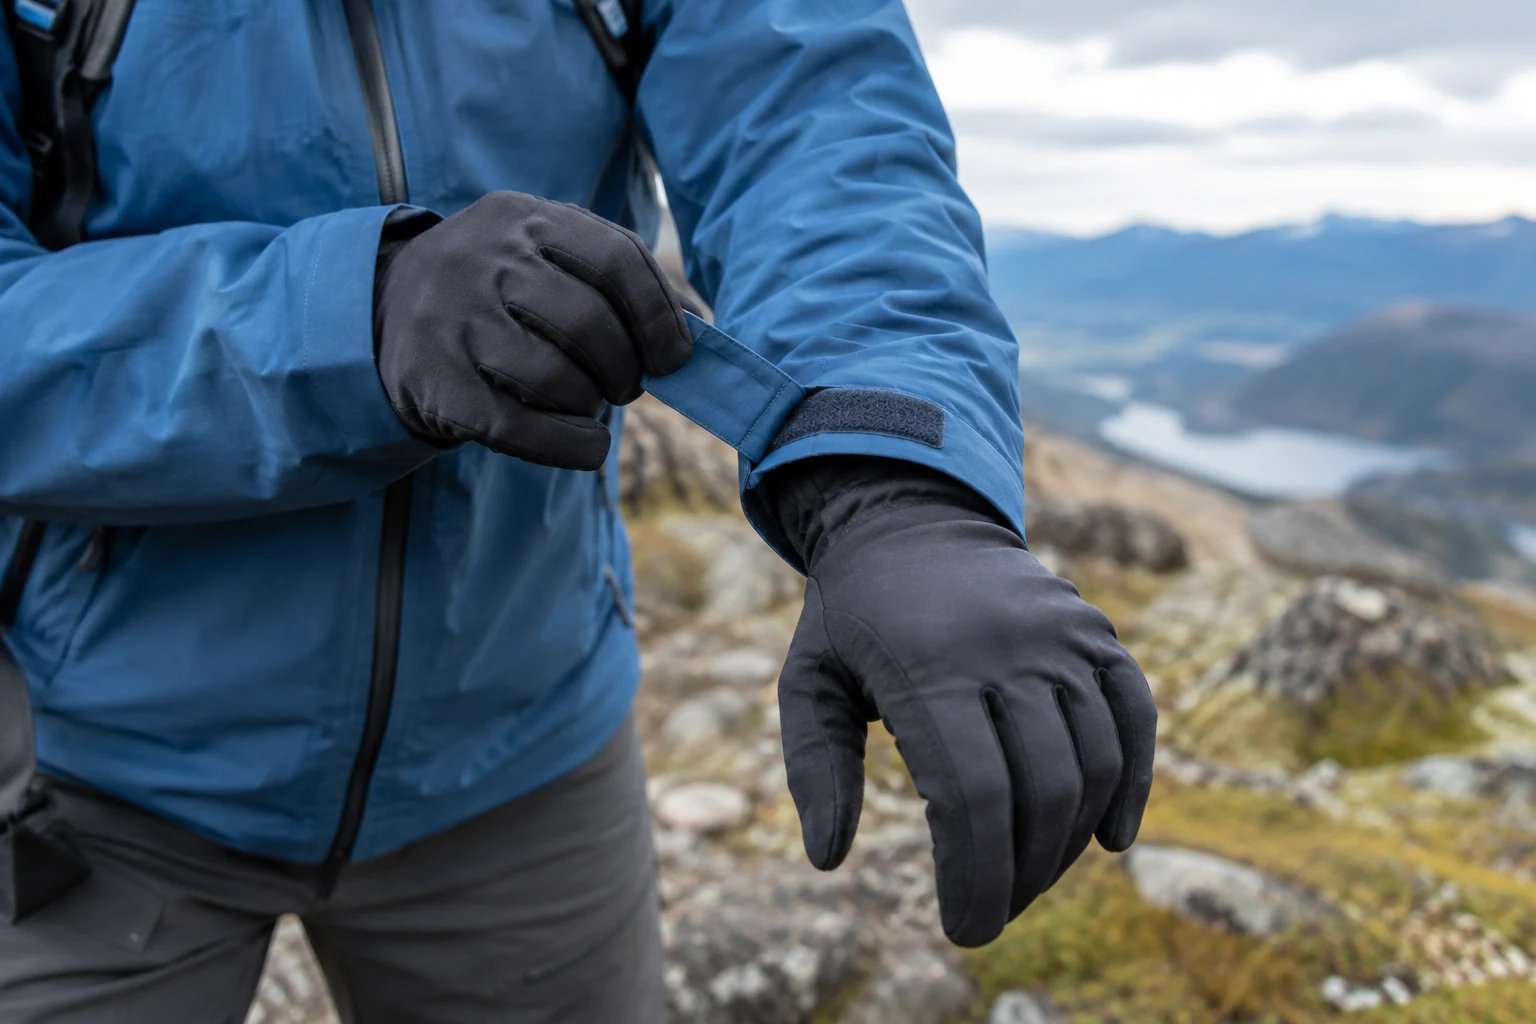
Sleeve length and glove cuffs need to work in motion. Assess reach, adjusters and intended overlap with every layer you plan to wear, rather than checking the jacket around an uncovered wrist alone.
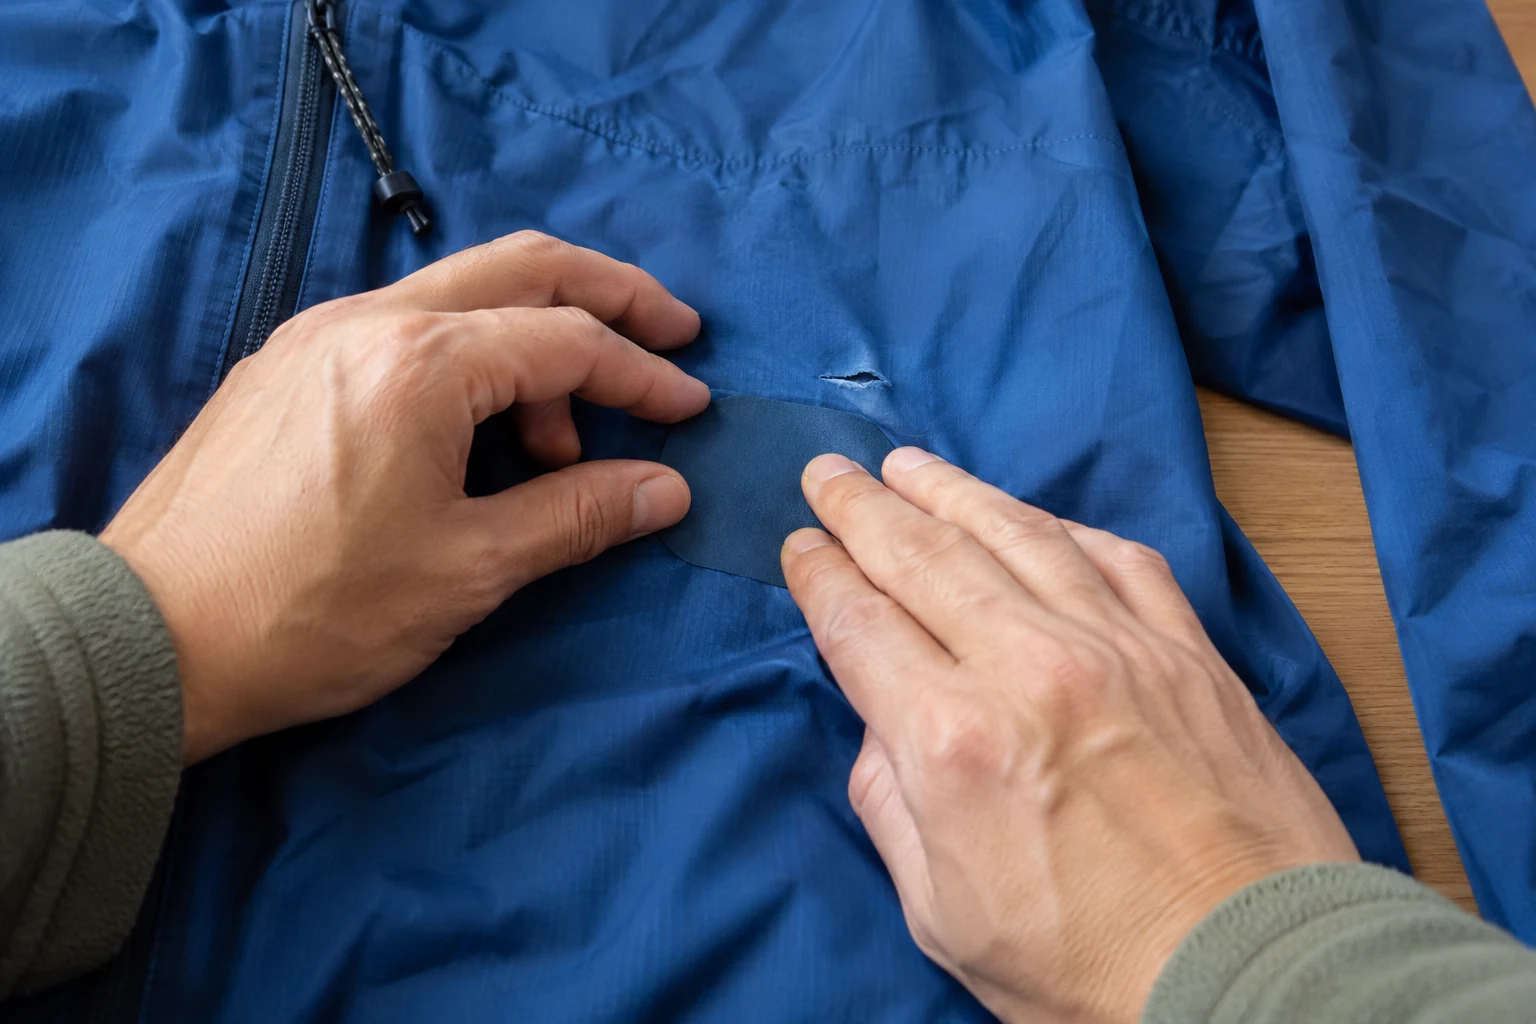
A suitable patch starts with material and damage location. Establish product compatibility, prepare the area as instructed and distinguish a little fabric opening from damage at seams or closures before deciding on a repair.

A pack can make fabric edges and pocket contents noticeable in new places. Assess the complete arrangement with realistic luggage, changing individual causes rather than responding only by tightening more straps.
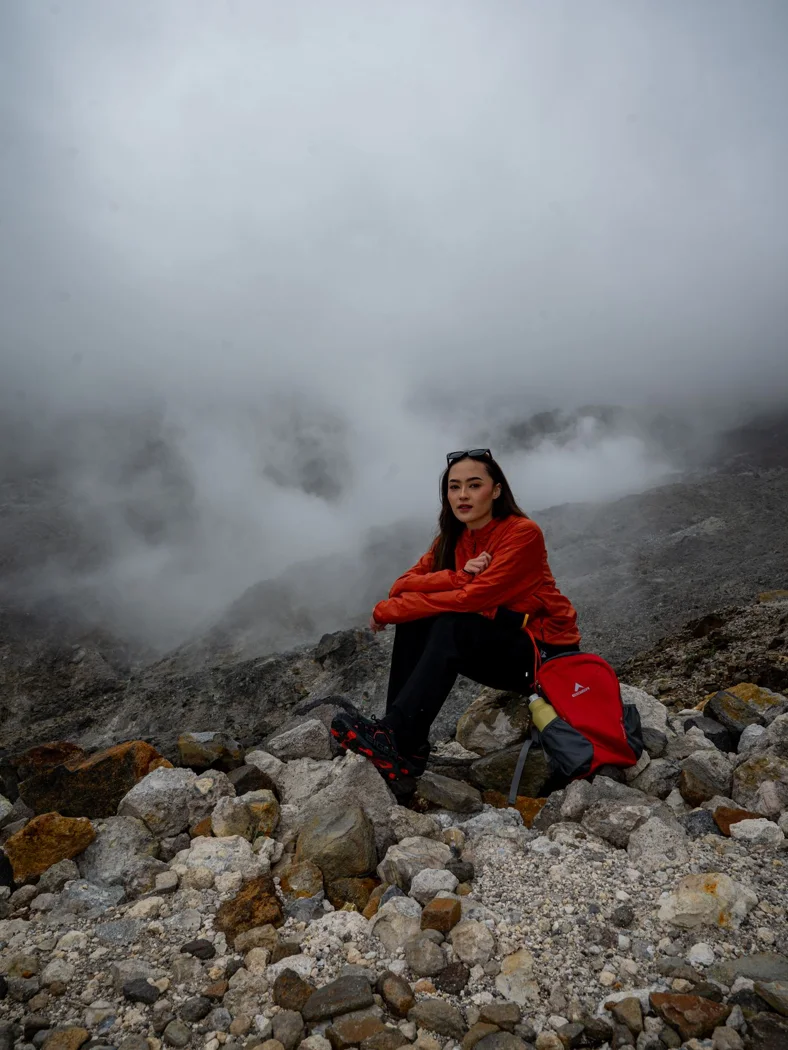
An easily noticed color is one equipment characteristic rather than a promise for every situation. Assess the whole outfit with your pack and plan shared paths as carefully as the clothing you wear on them.
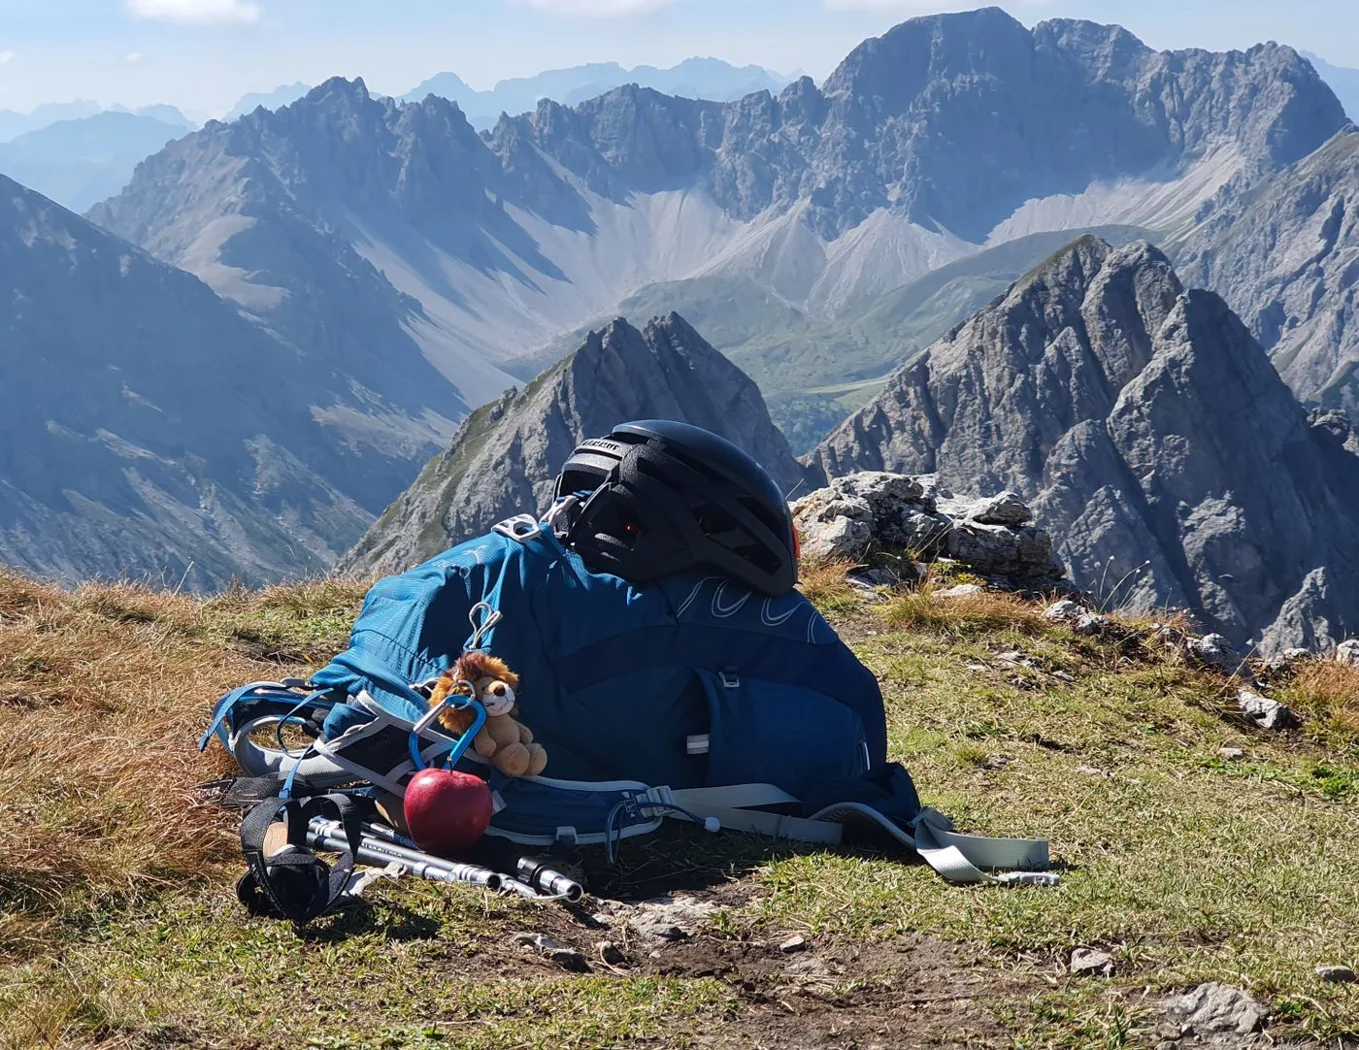
A litre figure is only a starting point. Your clothing, food, and the shape of the main compartment determine how much space is useful.
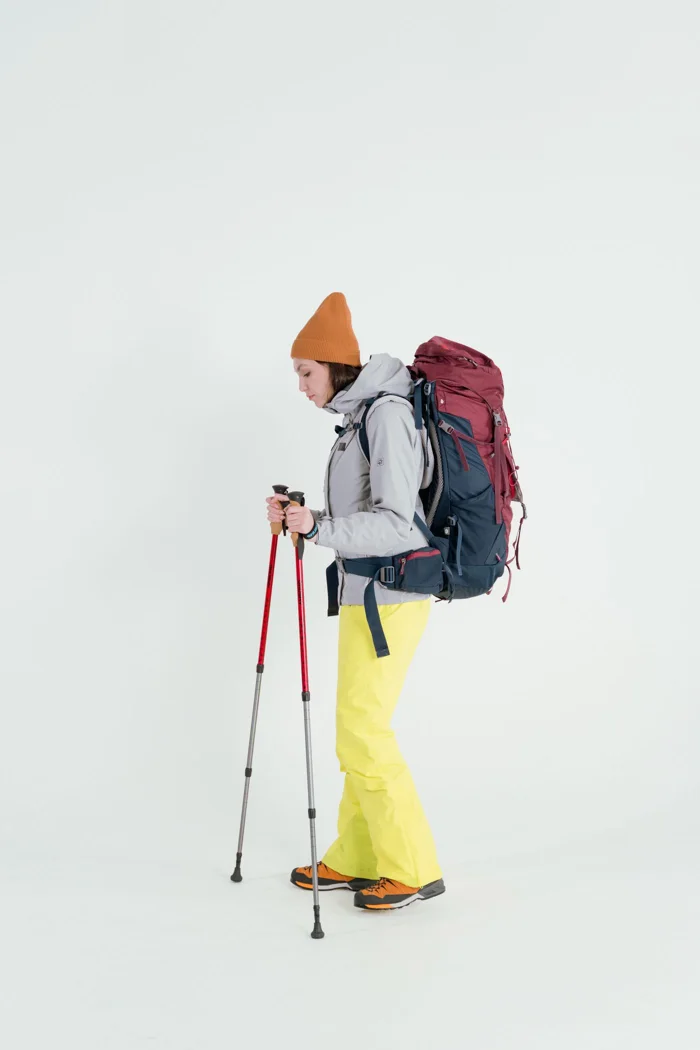
Neither your height nor the pack's volume establishes its back-length fit. Check the loaded model and the range its harness can actually accommodate.
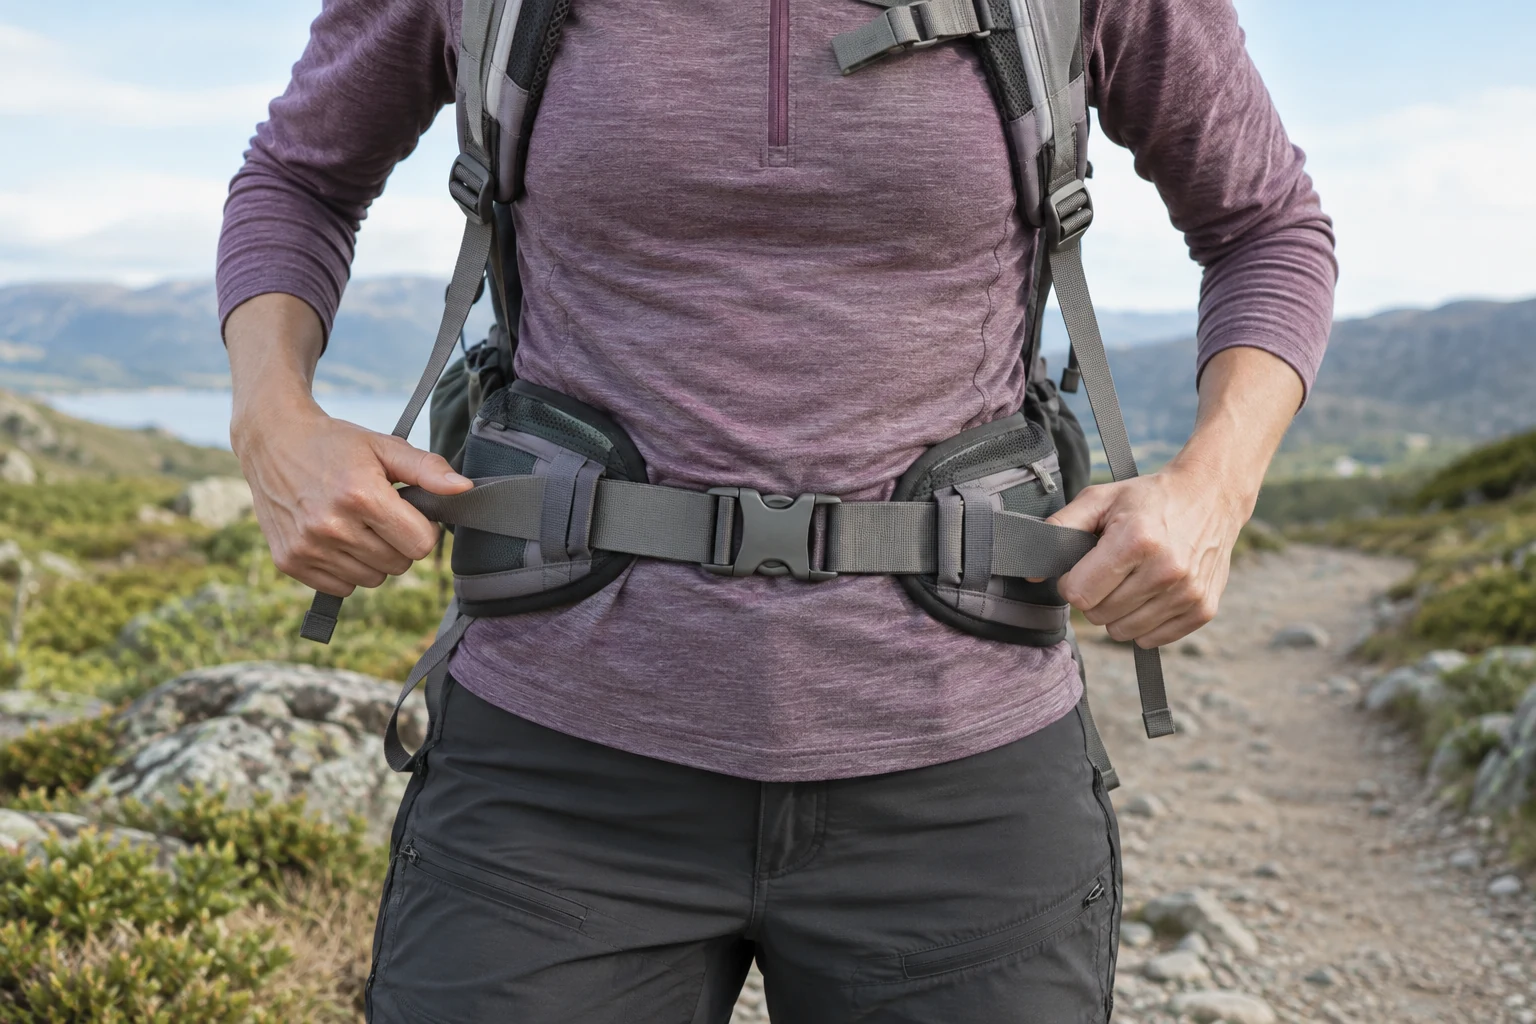
A hipbelt has different jobs on different daypacks. Adjust the actual suspension in a clear order and check what each strap changes.
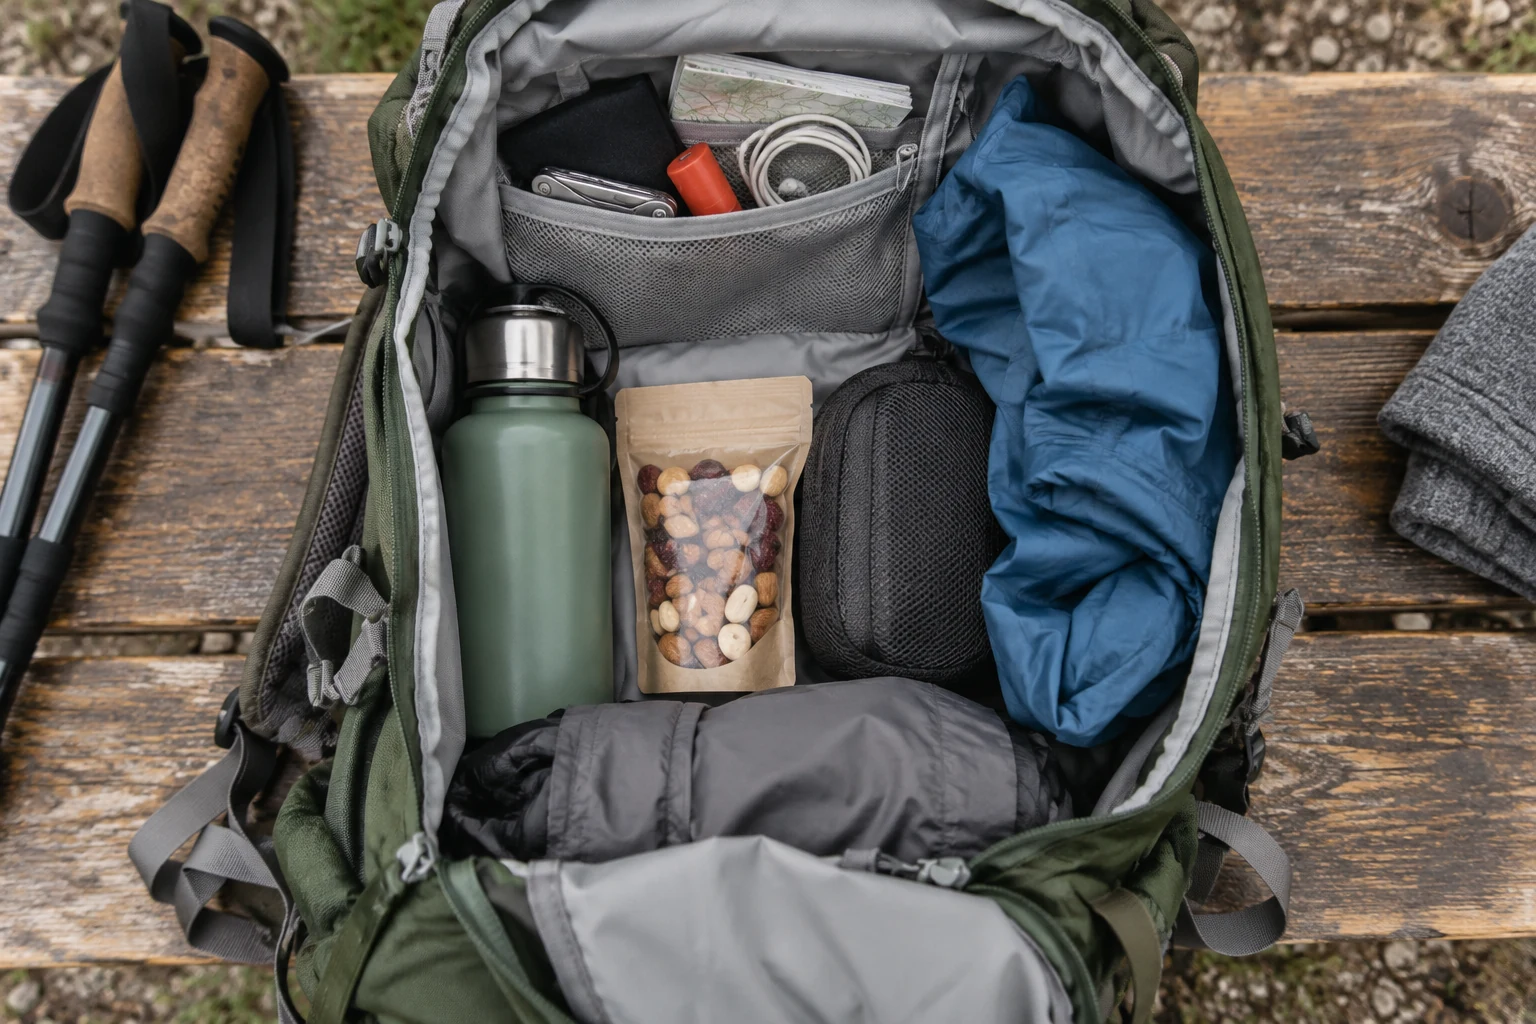
Weight placement and retrieval order work together. A deliberate arrangement makes a daypack easier to manage than simply filling the available space.
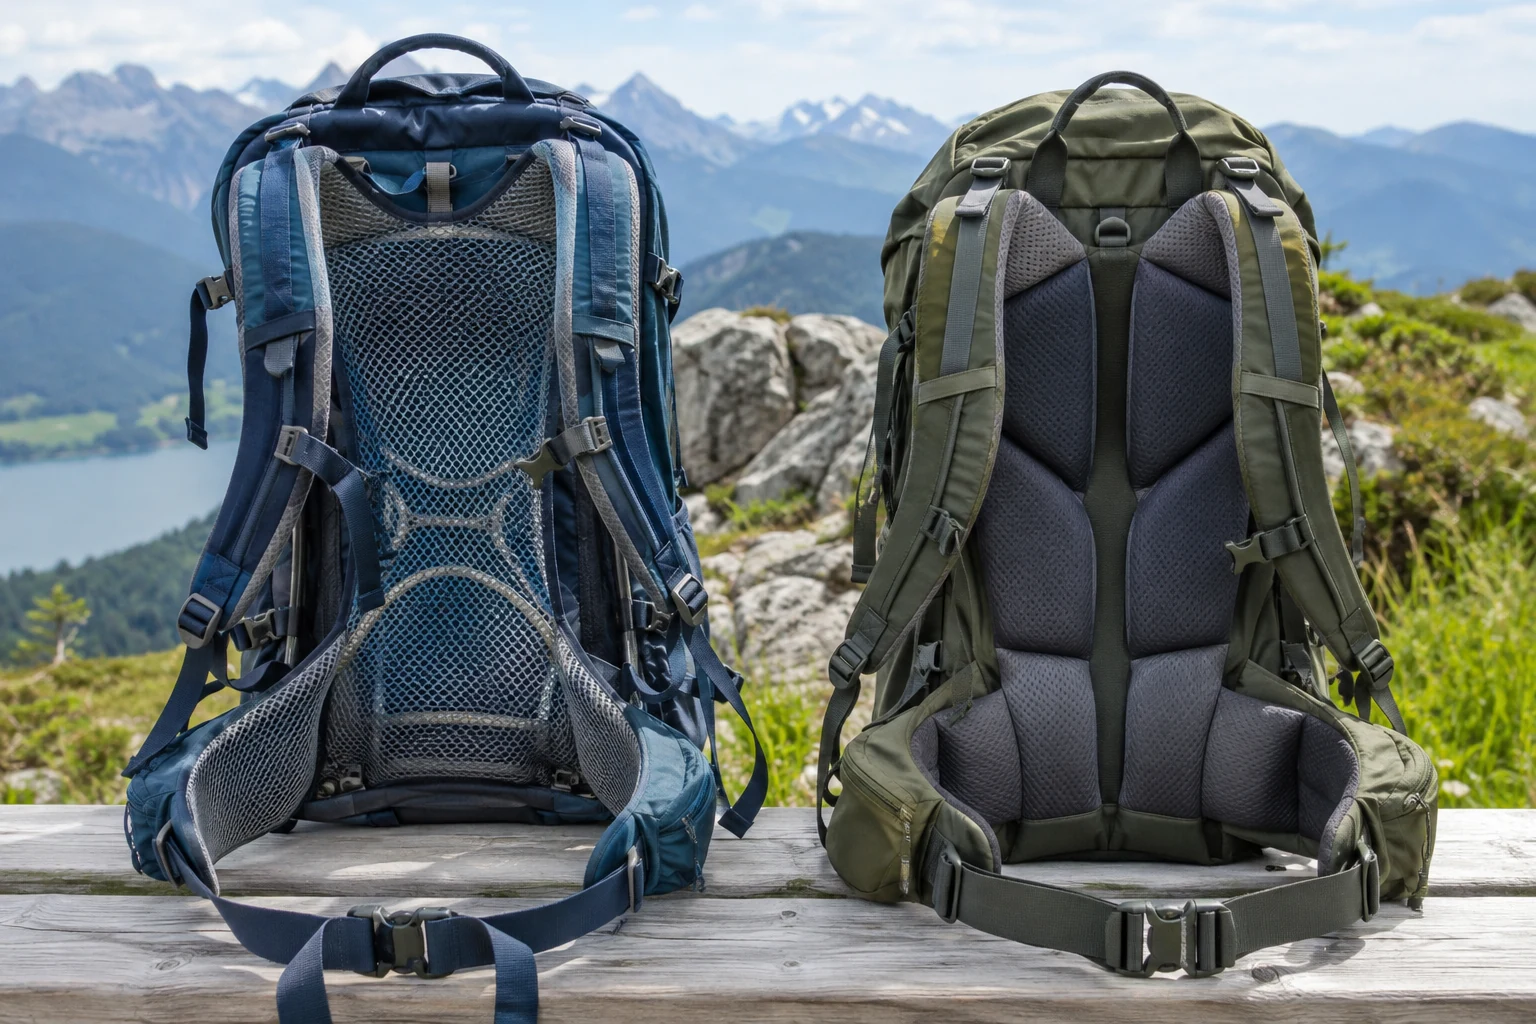
Mesh suspension and contact padding change the pack's shape and spacing. Compare both with your usual contents and clothing, rather than expecting one universal winner.
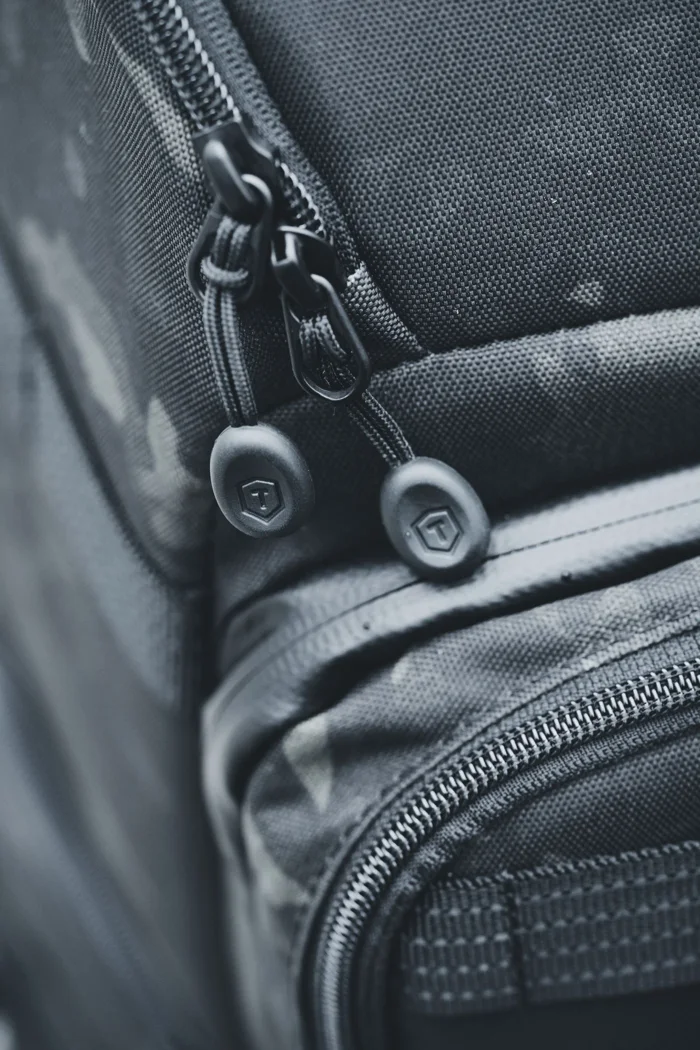
Pockets help when their shape and position match what you carry. Assess them with the pack loaded, rather than counting compartments.
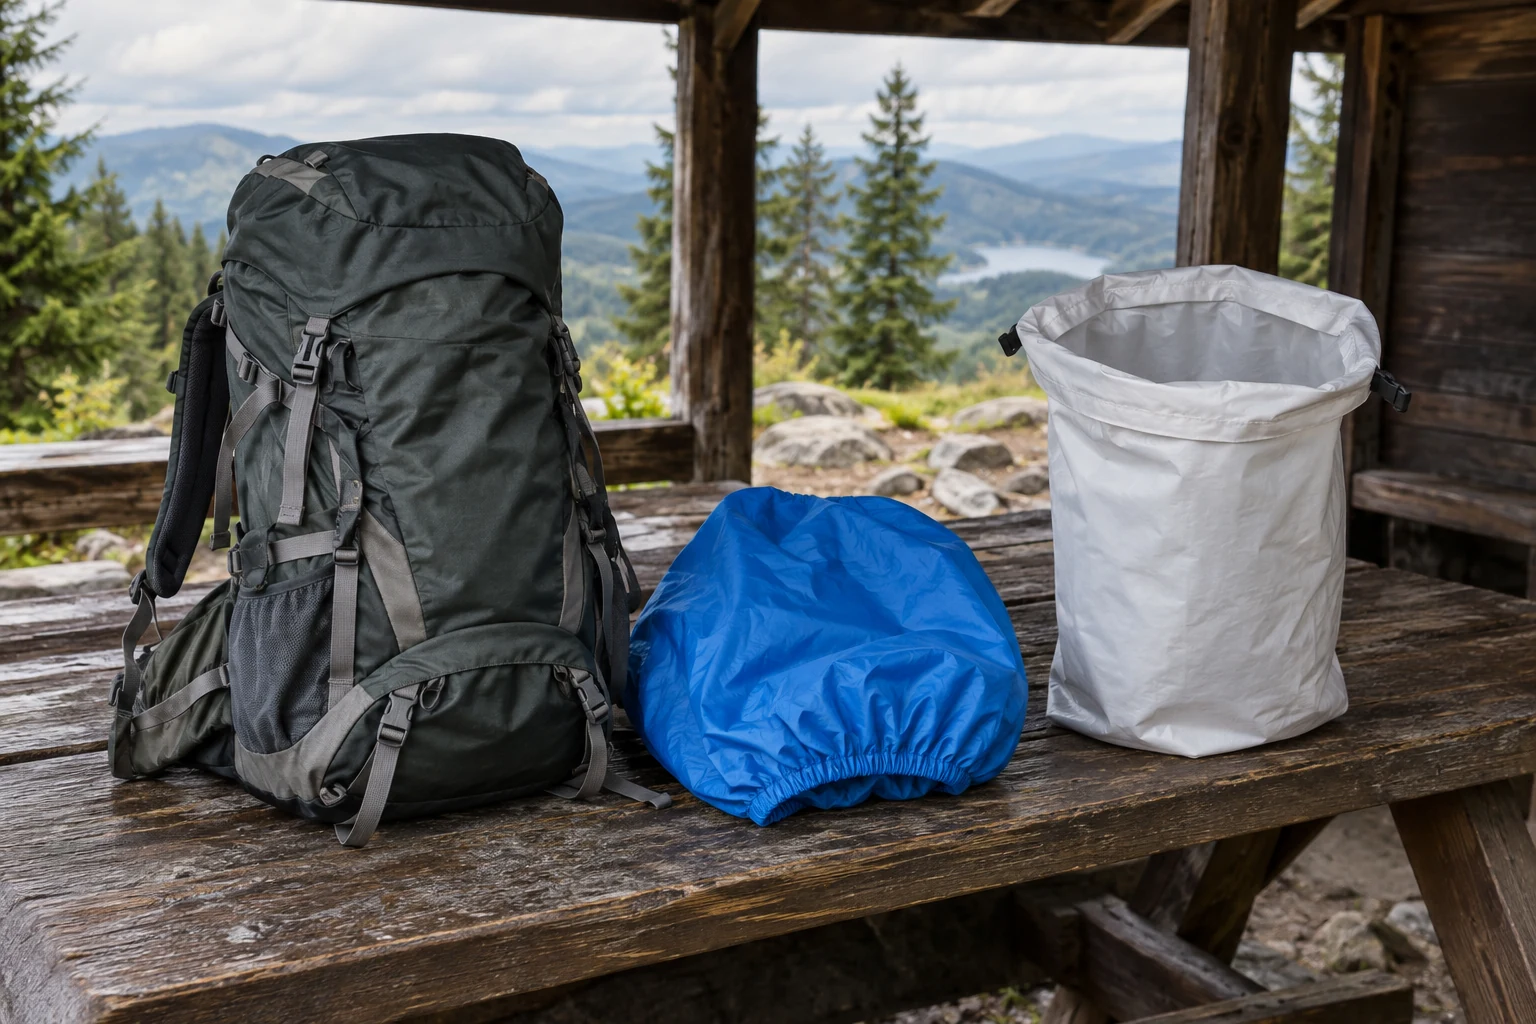
A rain cover protects the exterior while a liner works inside the pack. Both have limits, and their usefulness depends on what needs to stay dry.
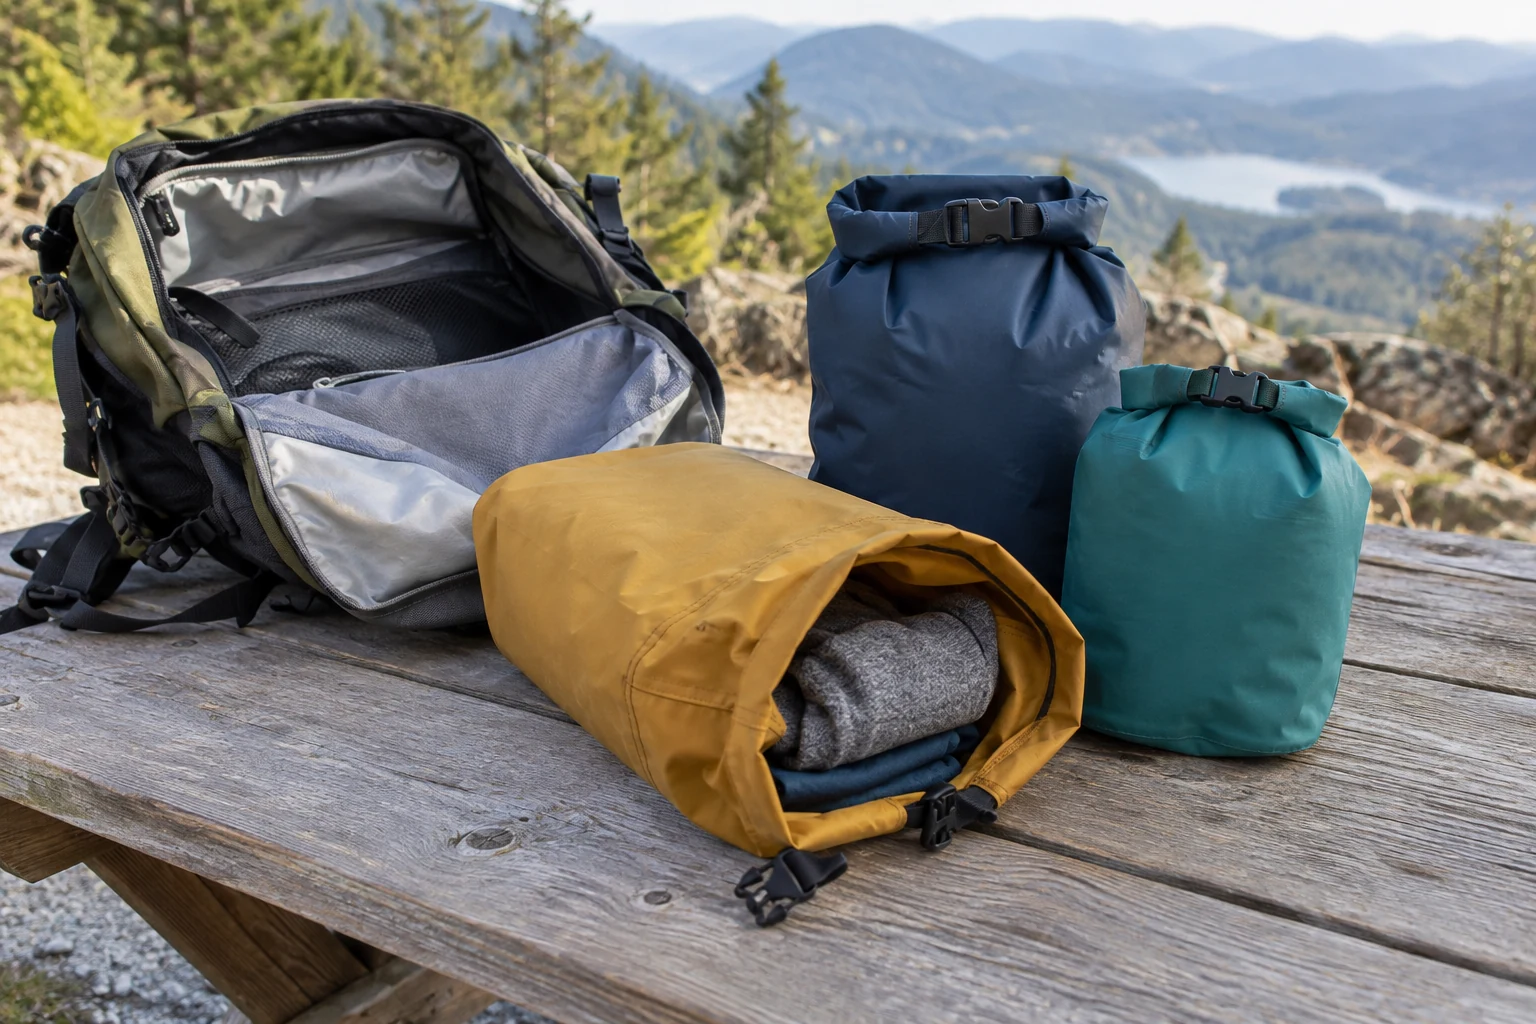
A few clearly assigned dry bags can organize clothing and small belongings. Their closures still need space and deliberate use.
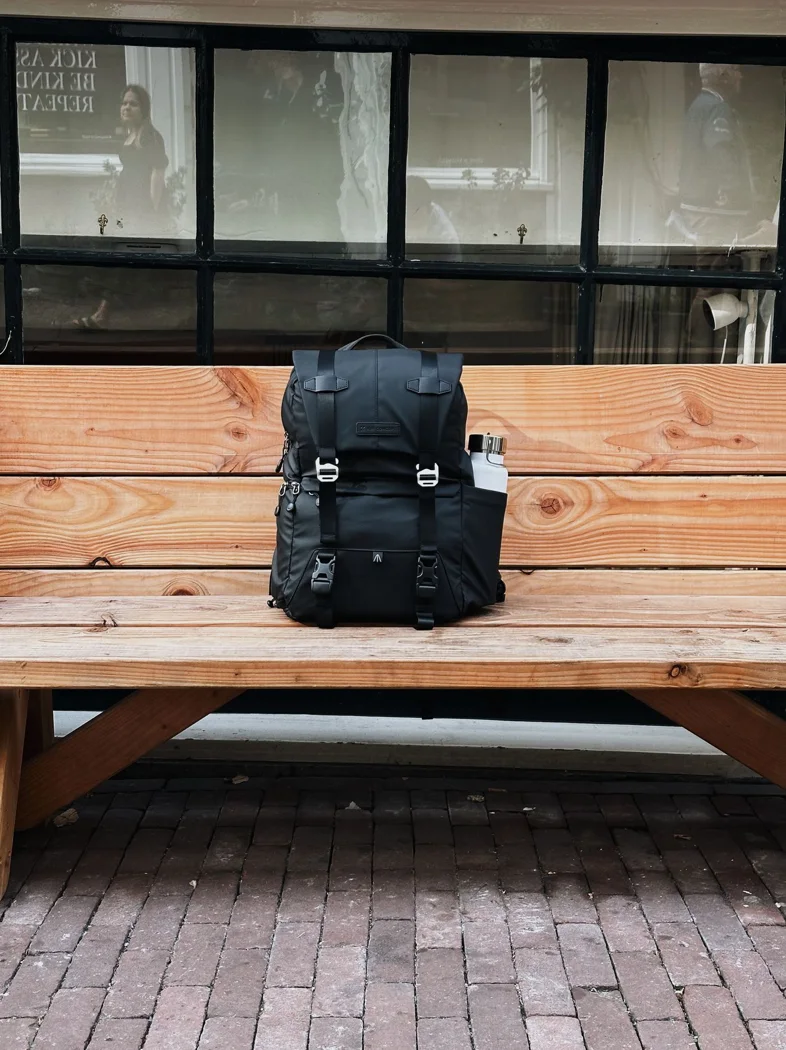
The opening changes access and usable space. It does not, by itself, establish whether a daypack is waterproof.
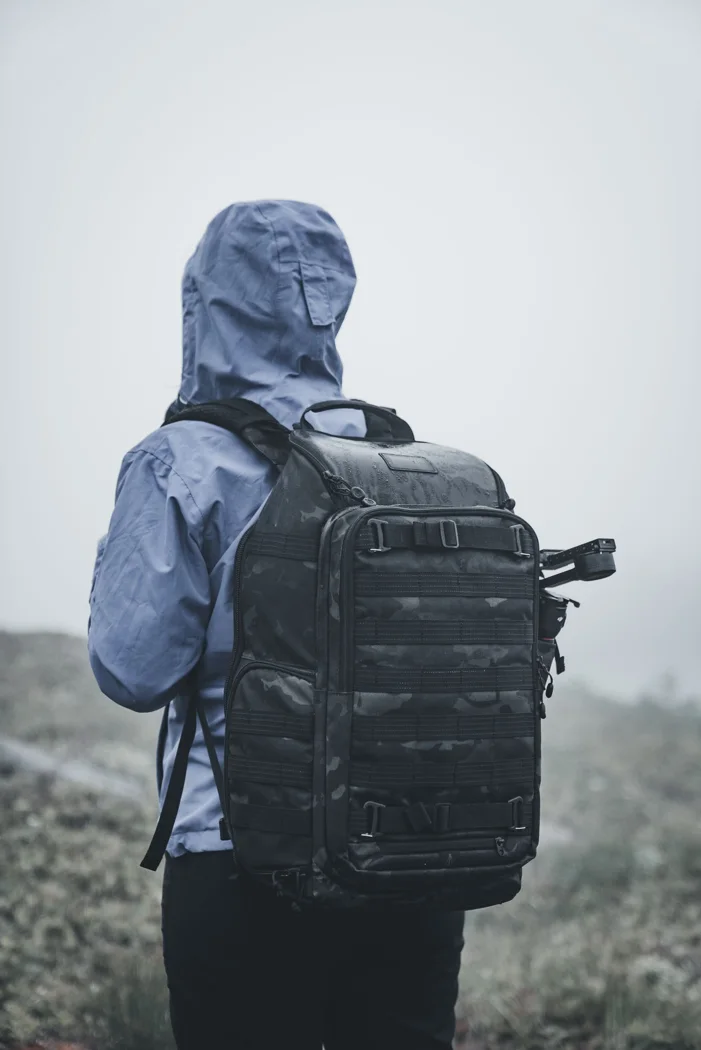
Fit depends on torso length, harness shape, and belt coverage. A size or gender label cannot replace a loaded fitting.

An everyday backpack can work for short hikes. Compare the features you genuinely use in both settings, including what remains empty.
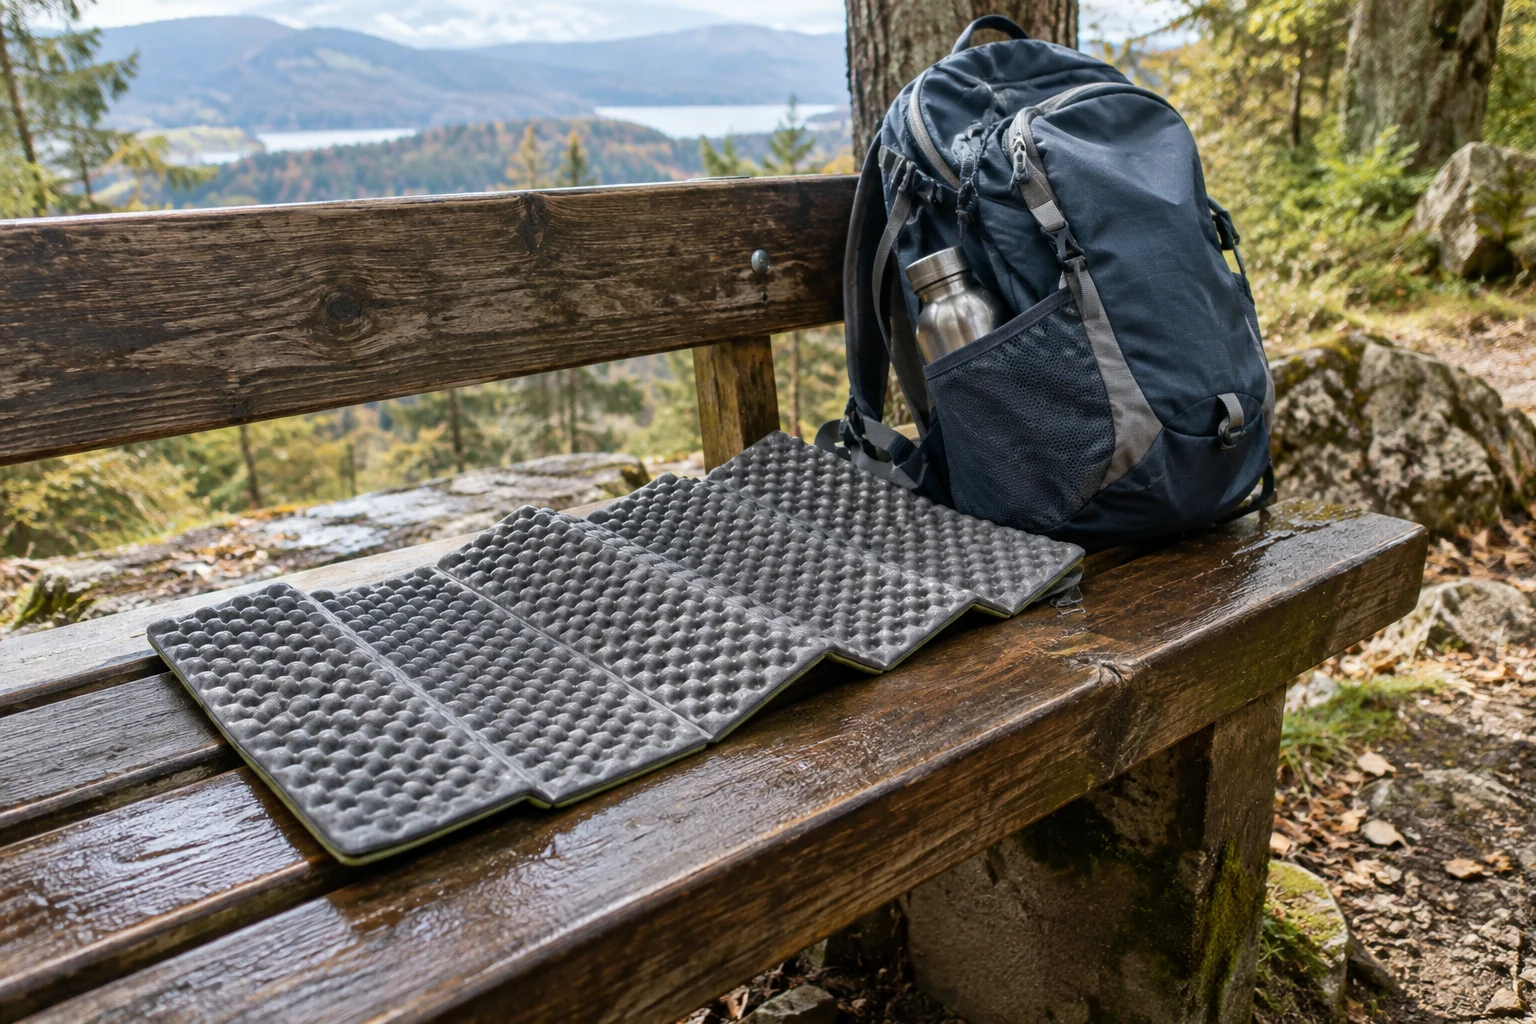
A sitting pad needs to suit your breaks without becoming awkward to carry. Compare its open surface and folded shape with your actual pack.
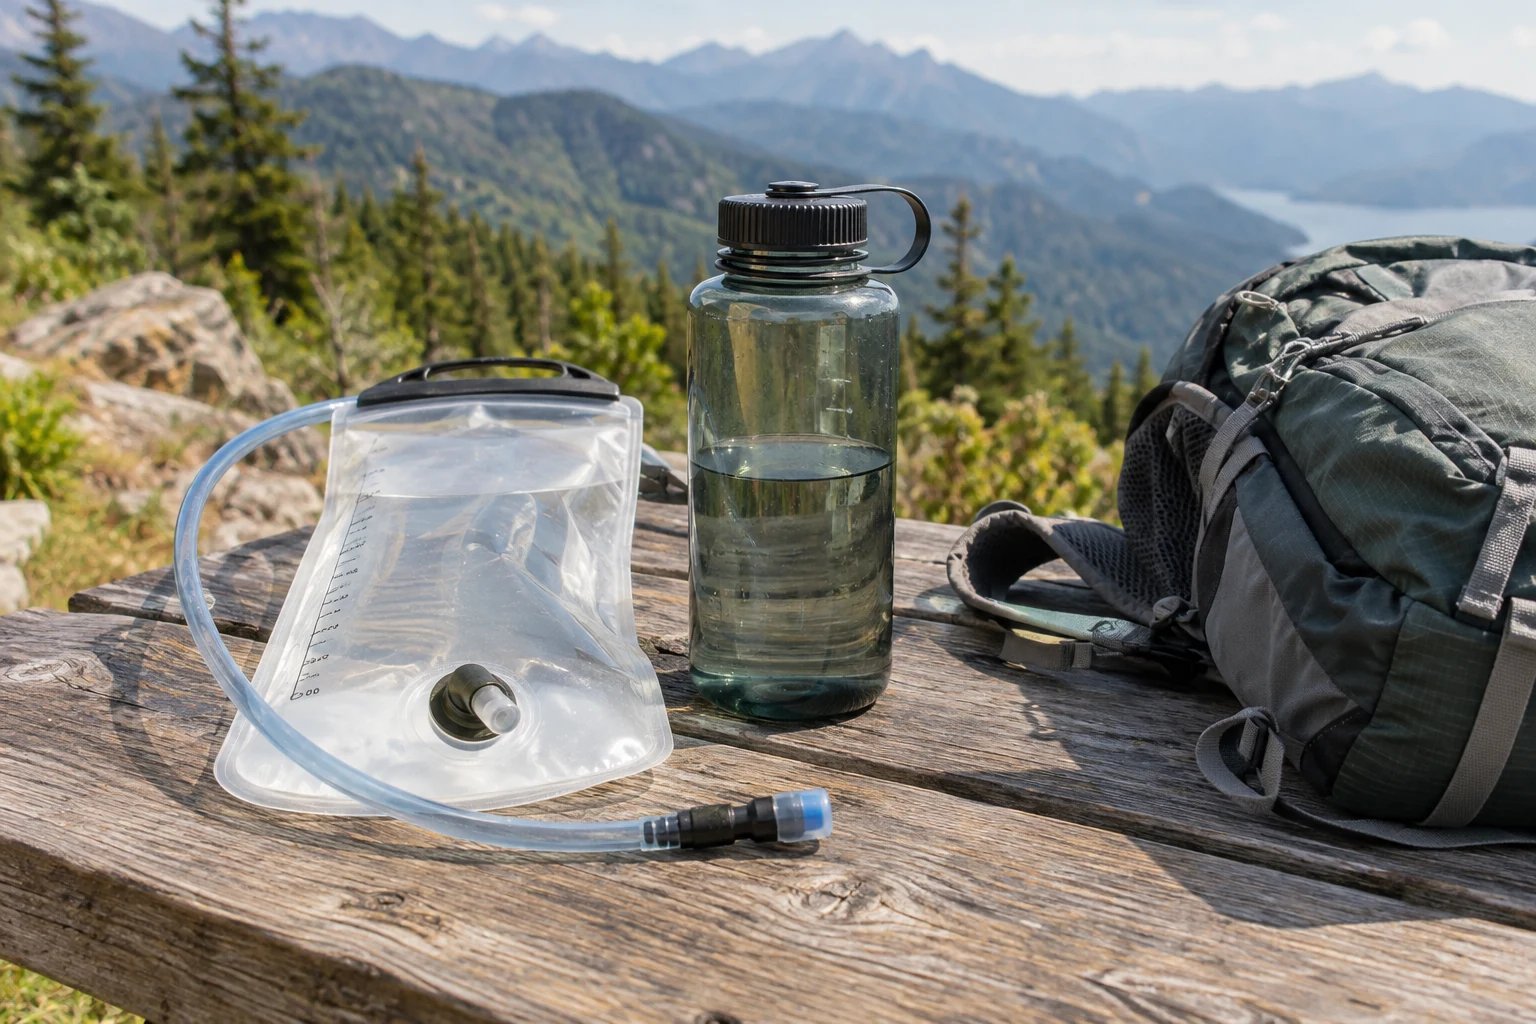
Reservoirs and bottles differ in access, refilling, and cleaning. Compare the complete routine rather than only the moment you take a drink.
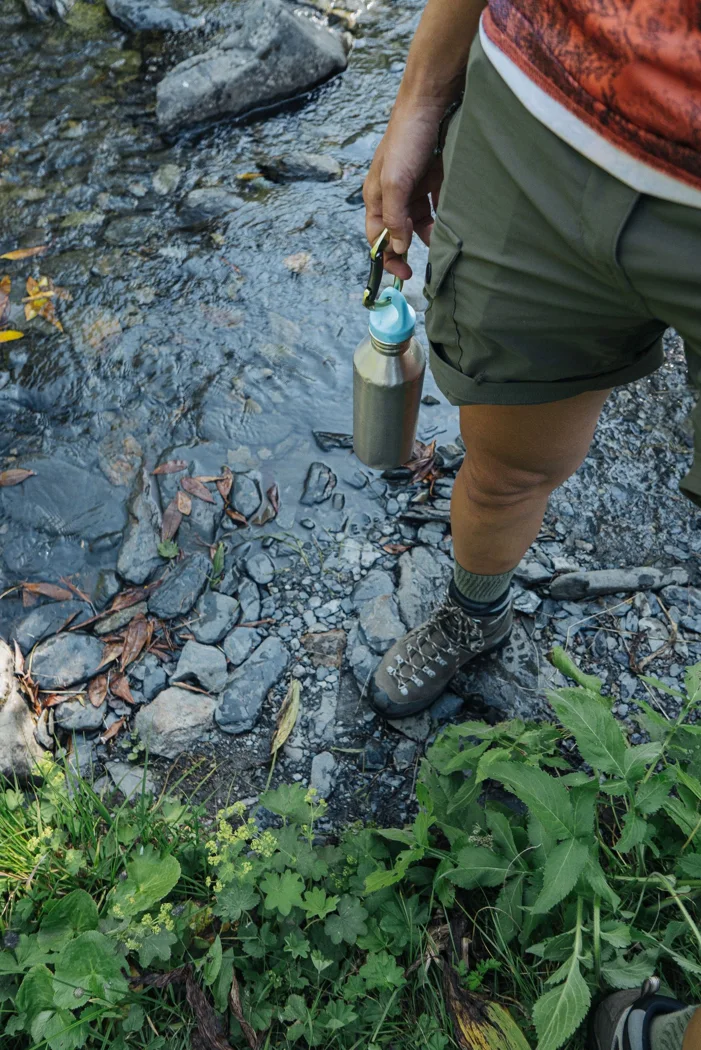
Material is only part of choosing a bottle. Assess its cap, filled weight, opening, and fit in the pack's side pocket together.

An insulated flask needs to be manageable to carry, open, and clean. Assess the filled vessel together with its cap and cup.

A lunch box needs an appropriate shape, a properly assembled closure, and a stable location among the rest of your belongings.
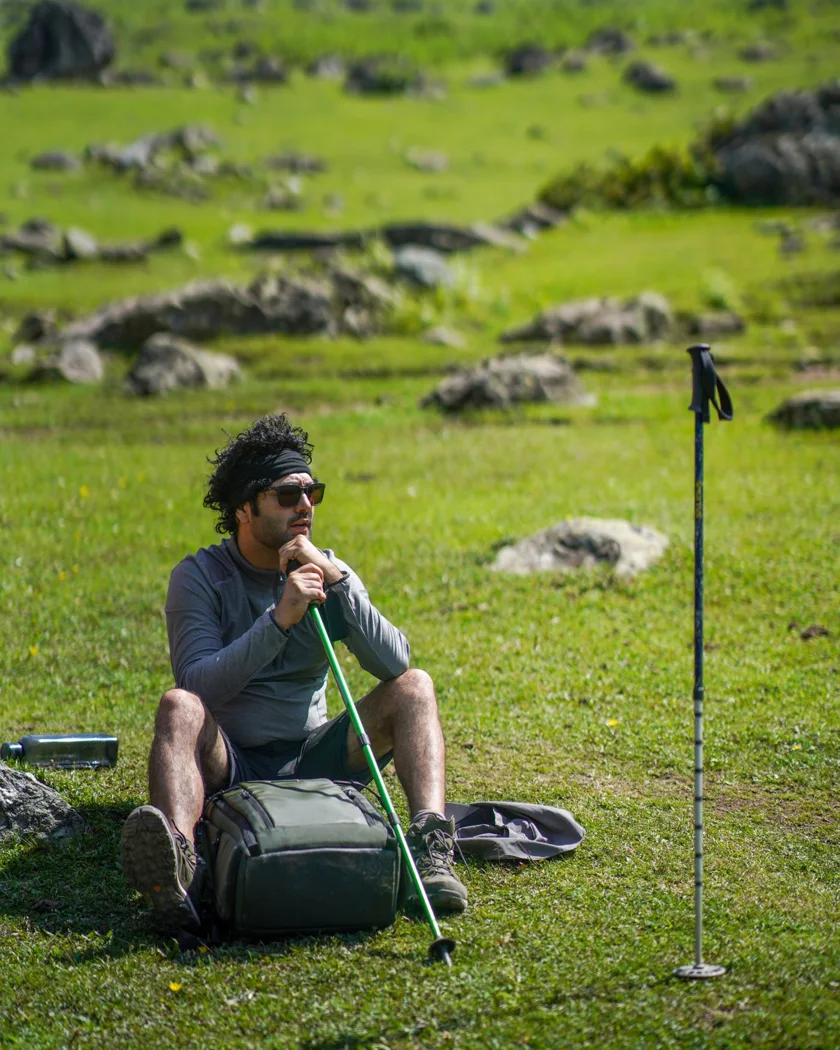
Folding and telescopic poles differ in packed shape, assembly, and adjustment. Some designs combine both constructions, so check the actual mechanism.
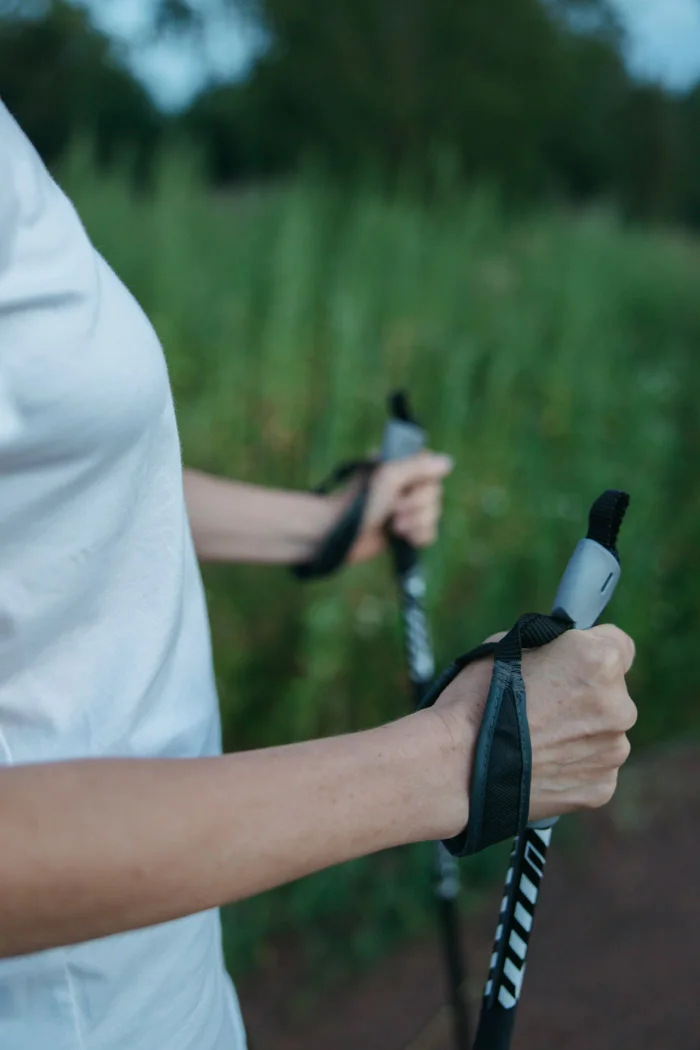
A length recommendation provides a starting point. Check the actual pole's range, grip positions, and locking mechanism rather than copying one universal number.

Pole attachments differ between packs. Use the designated fittings and assess retention, exposed tips, and the space needed when moving.
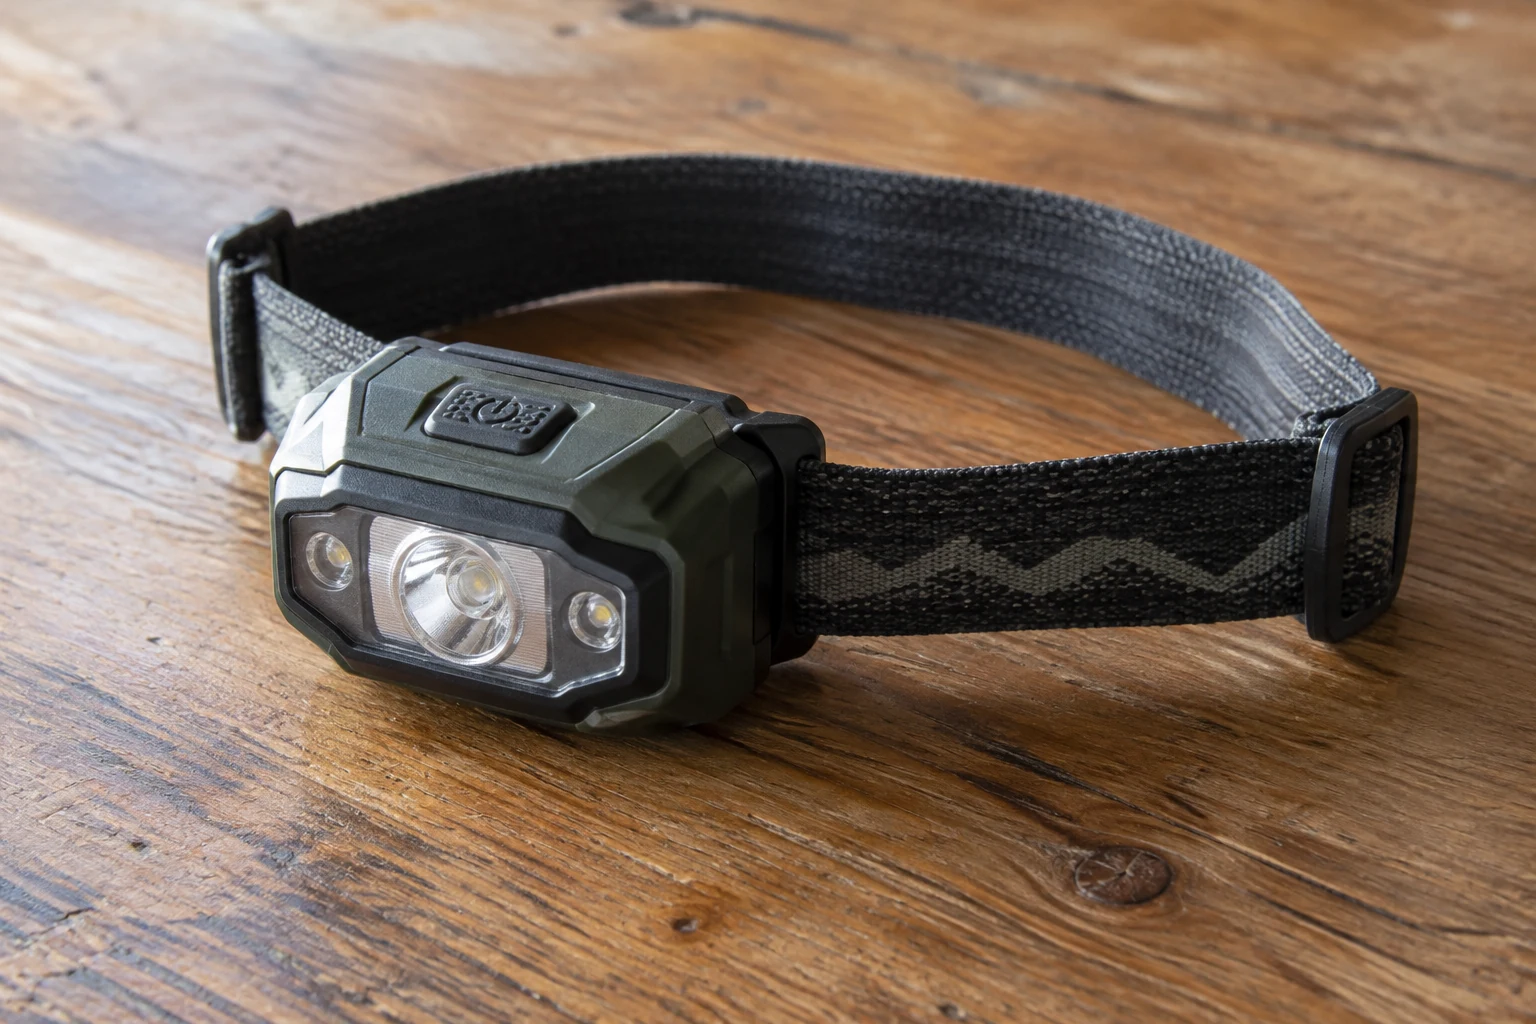
Beam shape, controls, headband, and power supply work together. A large lumen number does not answer those questions by itself.

Give a power bank and cable a dry, accessible location. Compatible connections matter more than automatically choosing the largest battery.

A map case protects paper while phone storage organizes a device. Assess visibility, closure, and retrieval as separate requirements.
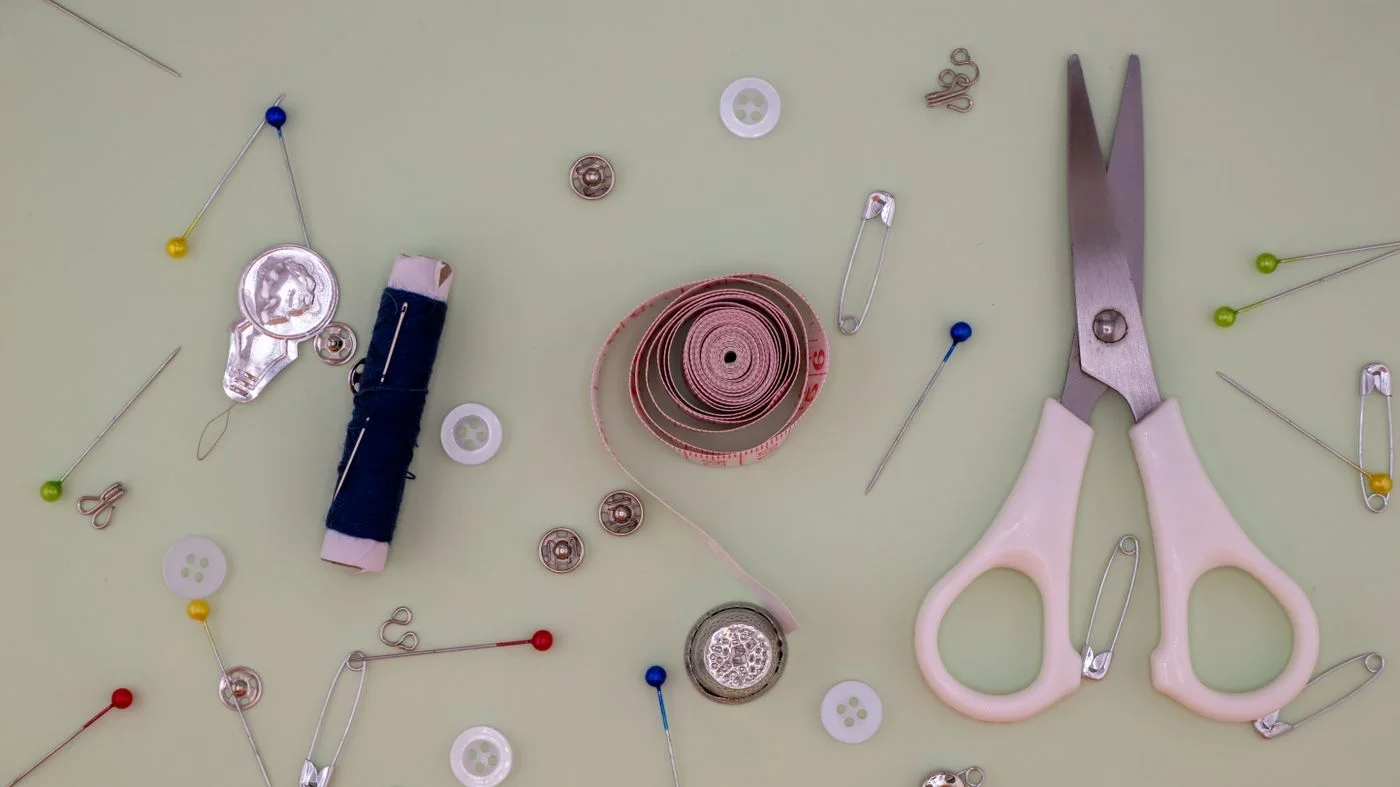
A small repair pouch helps when its contents match your equipment and you understand how to use them. Compatibility matters more than collecting tools.
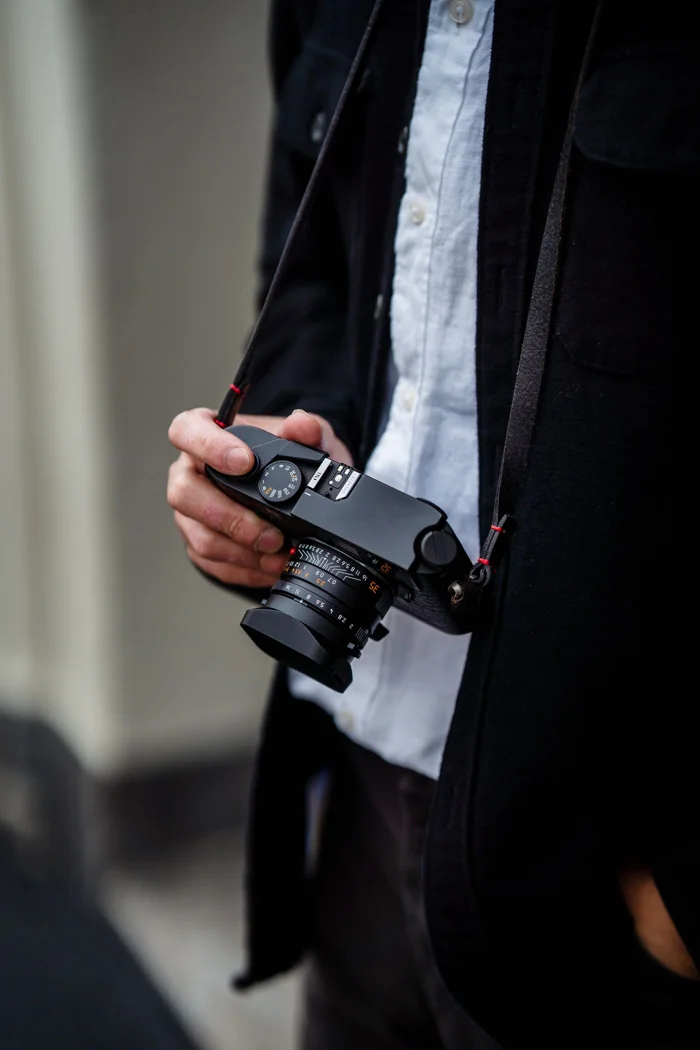
Compare internal storage, a strap, and a clip with your actual camera. Quick access and weather protection are different requirements.
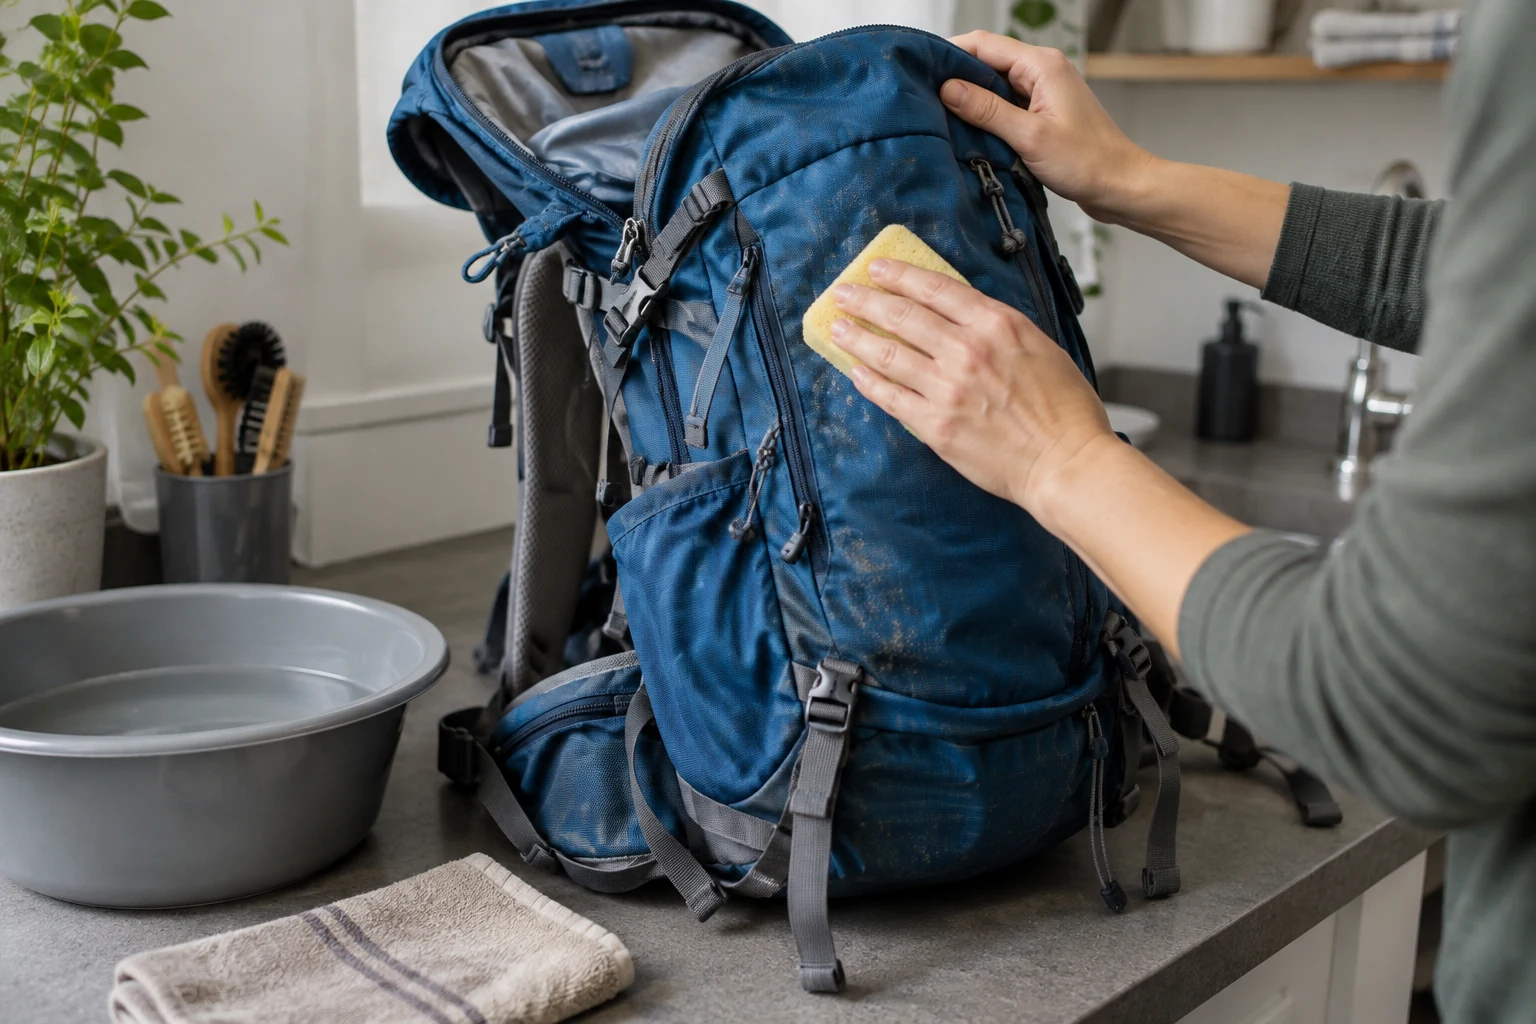
Empty the pack and identify its construction before choosing spot cleaning or hand washing. The care label governs the permitted method.
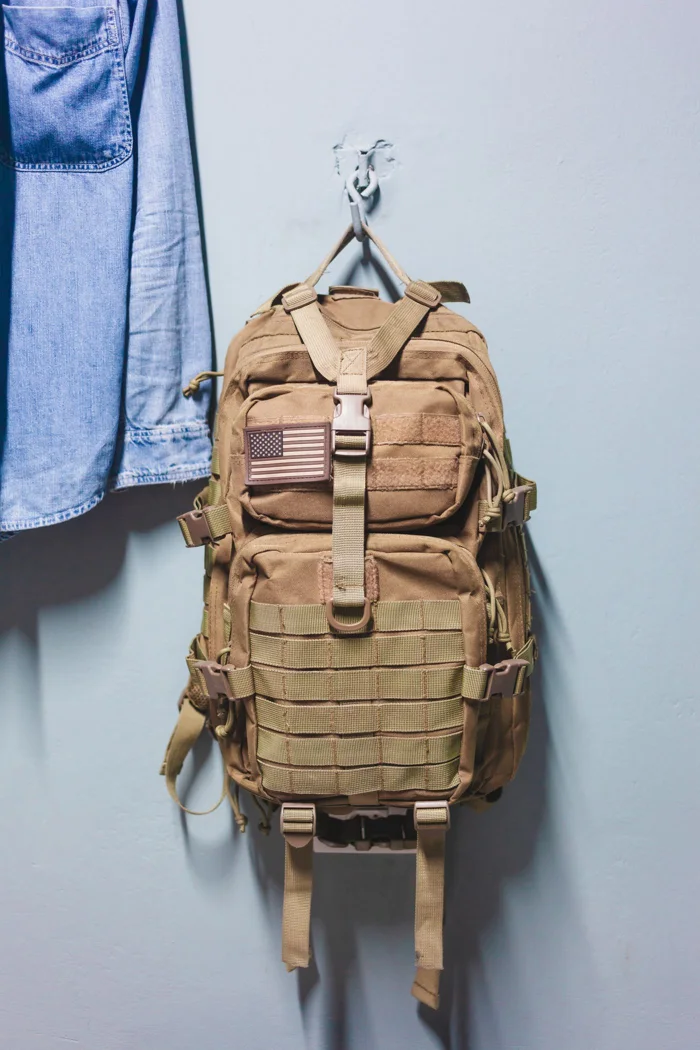
The exterior can feel dry while padding and pockets still hold moisture. Open and check the whole pack before storing it.
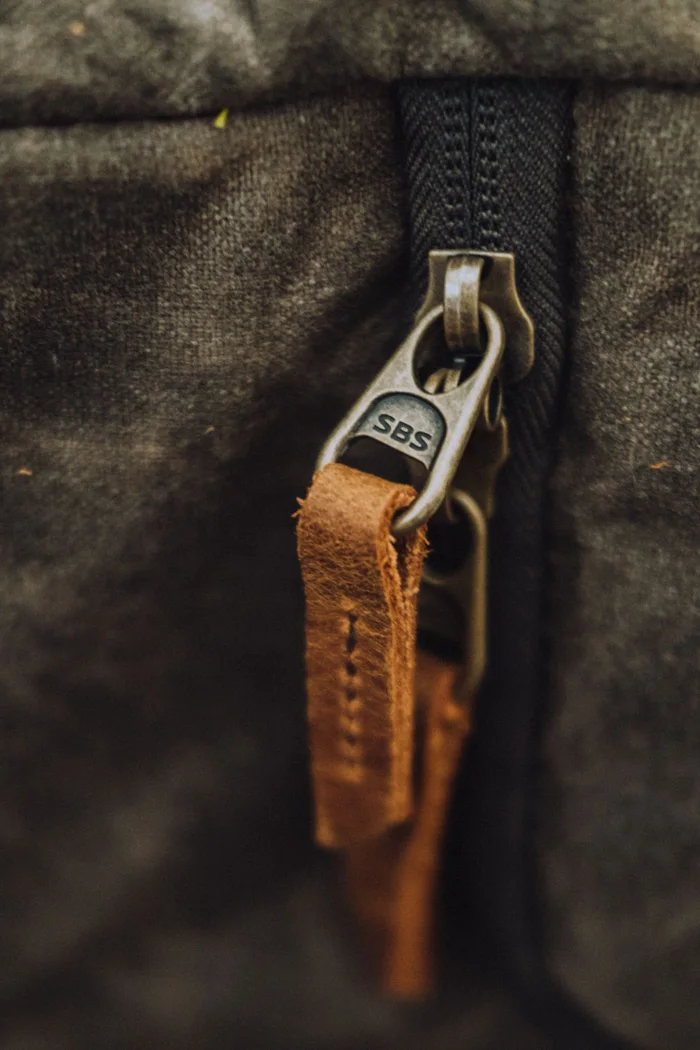
With a stuck zip, look first for grit and trapped fabric. Any care product must suit the particular type of closure.
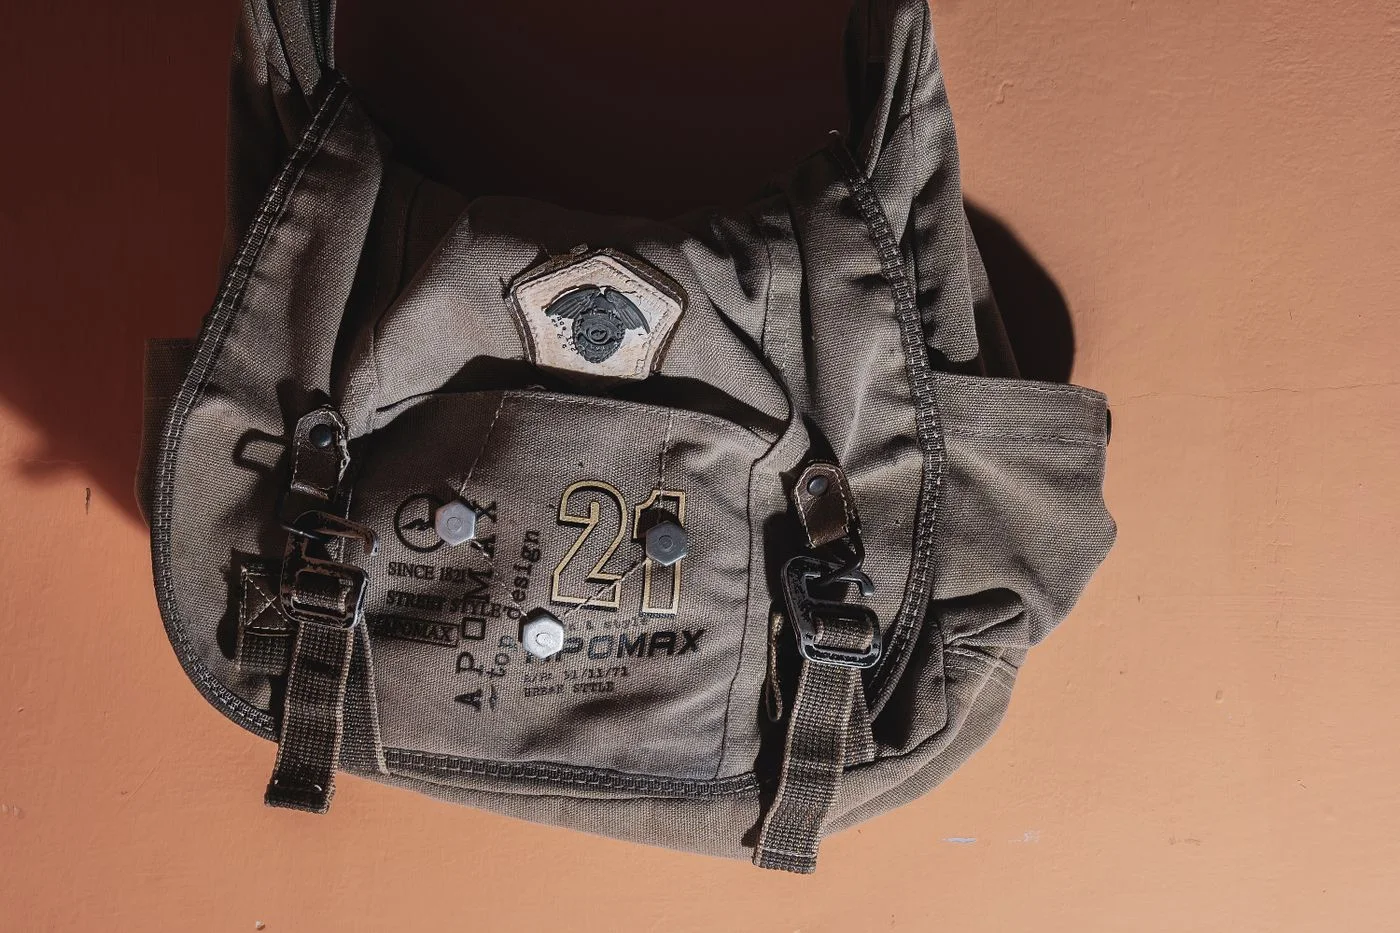
Inspect buckle, webbing, and stitching separately. A compatible replacement part does not automatically resolve every defect in the suspension.
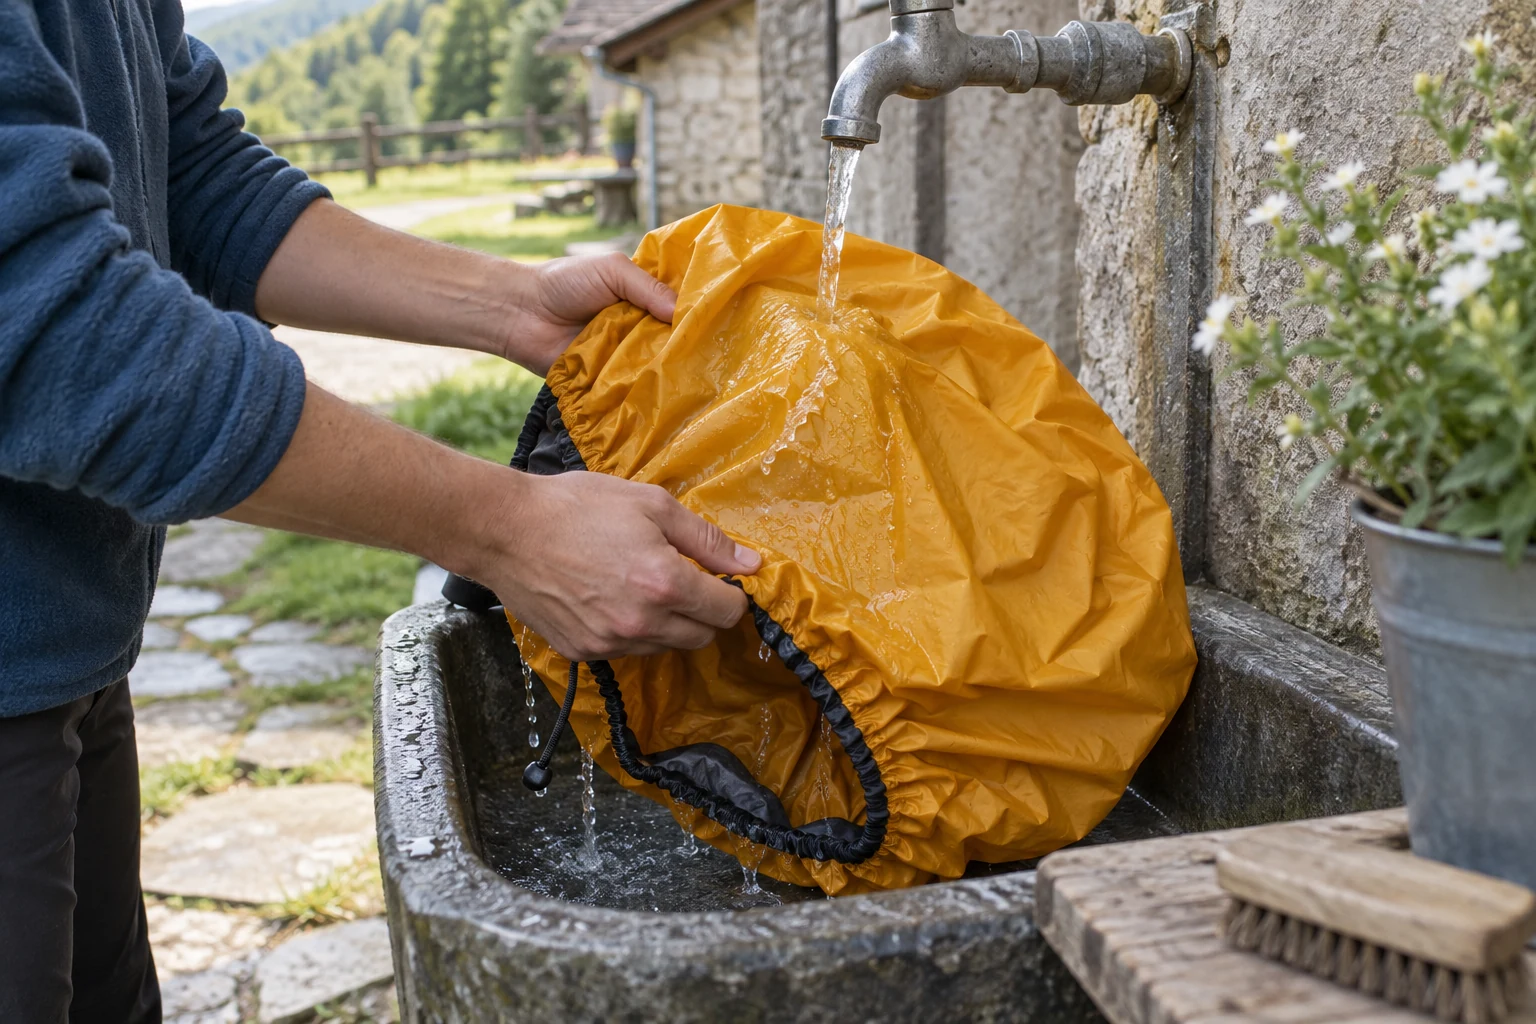
Rain covers collect dirt in folds and around their elastic edge. Clean them gently and dry them separately from the pack.
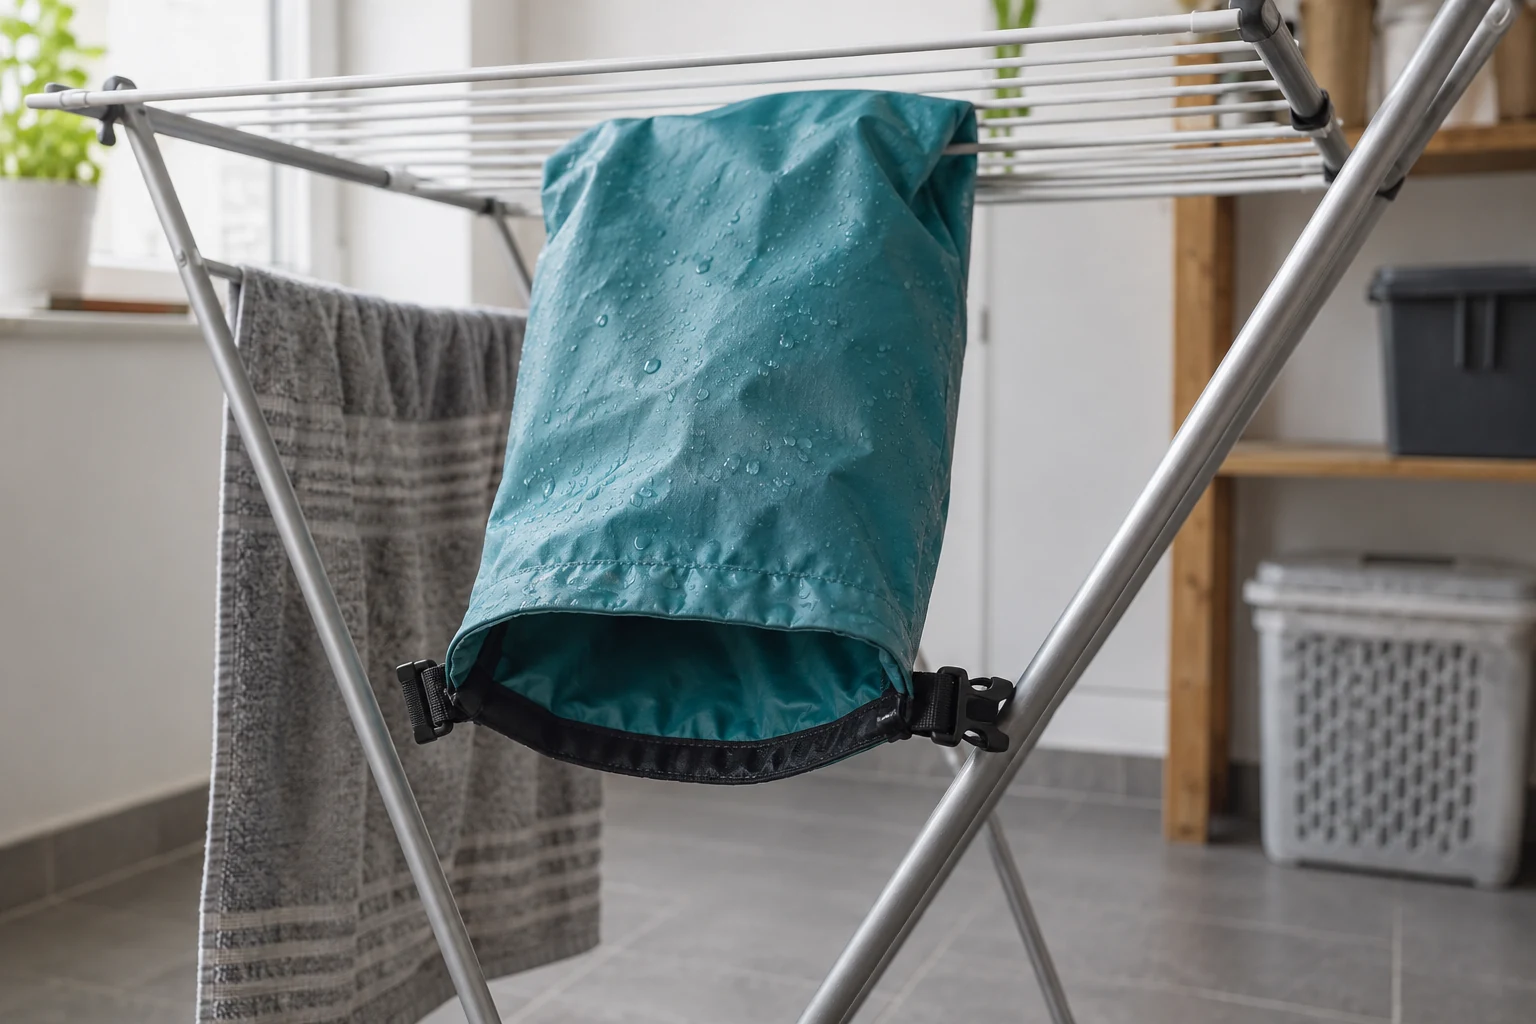
Dry bags need clean closure edges and an intact inner barrier. A fresh water-repellent treatment cannot replace a damaged waterproof layer.
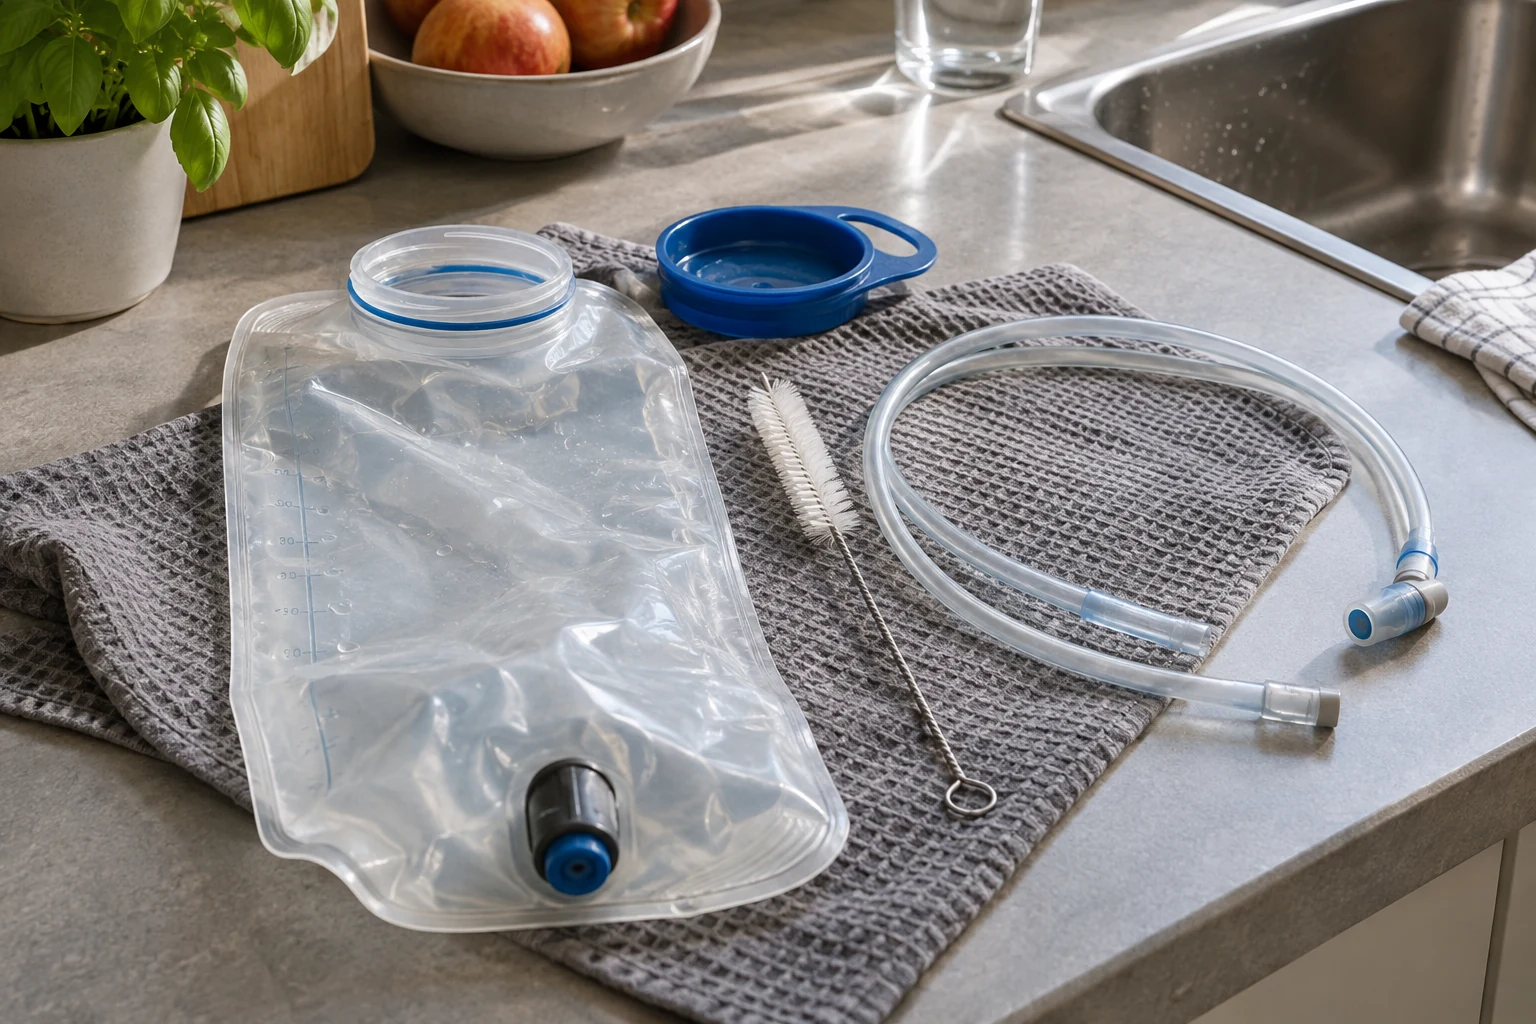
Clean the reservoir, tube, and valve as one system. Separate only the parts designed to come apart on your actual model.

Threads, gasket channels, and drinking openings need attention. Disassemble a bottle cap only according to the instructions for that closure.

A soft brush and approved cleaning method handle many residues. Assess the stopper and flask separately rather than treating them as one simple surface.

The lid, container, and seal may have different care permissions. Dry them completely before reassembly and storage.

Remove dirt from sections and locks without automatically adding lubricant. Folding and telescopic constructions need different handling.
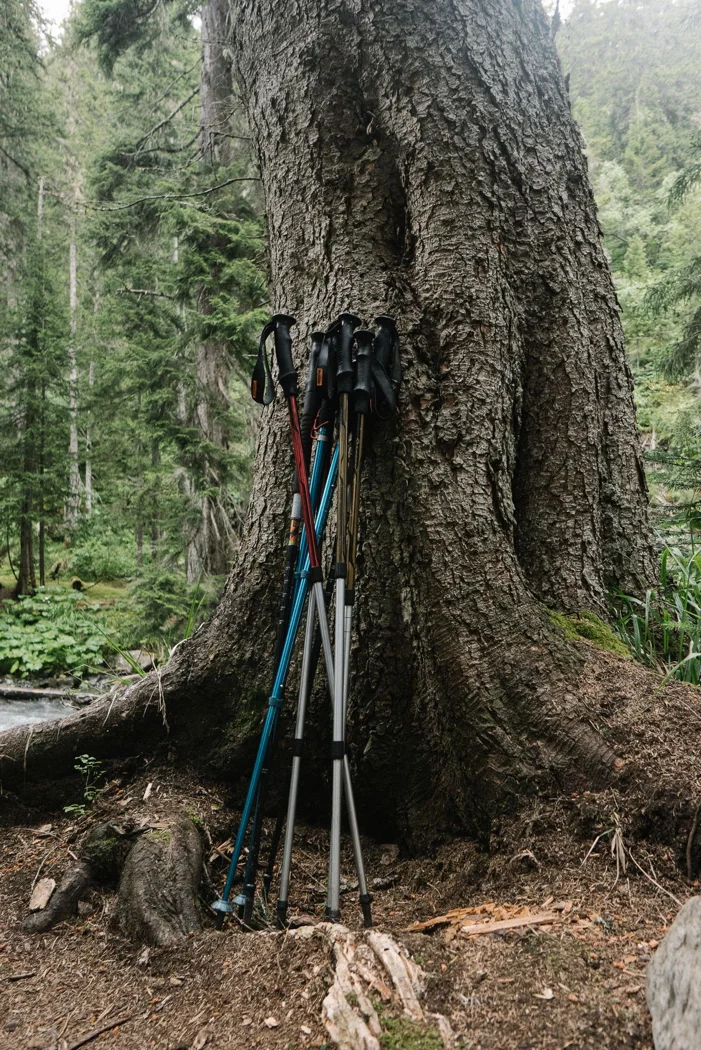
Check baskets and rubber tips for retention and wear. A glued structural tip is not automatically a home-replacement task.
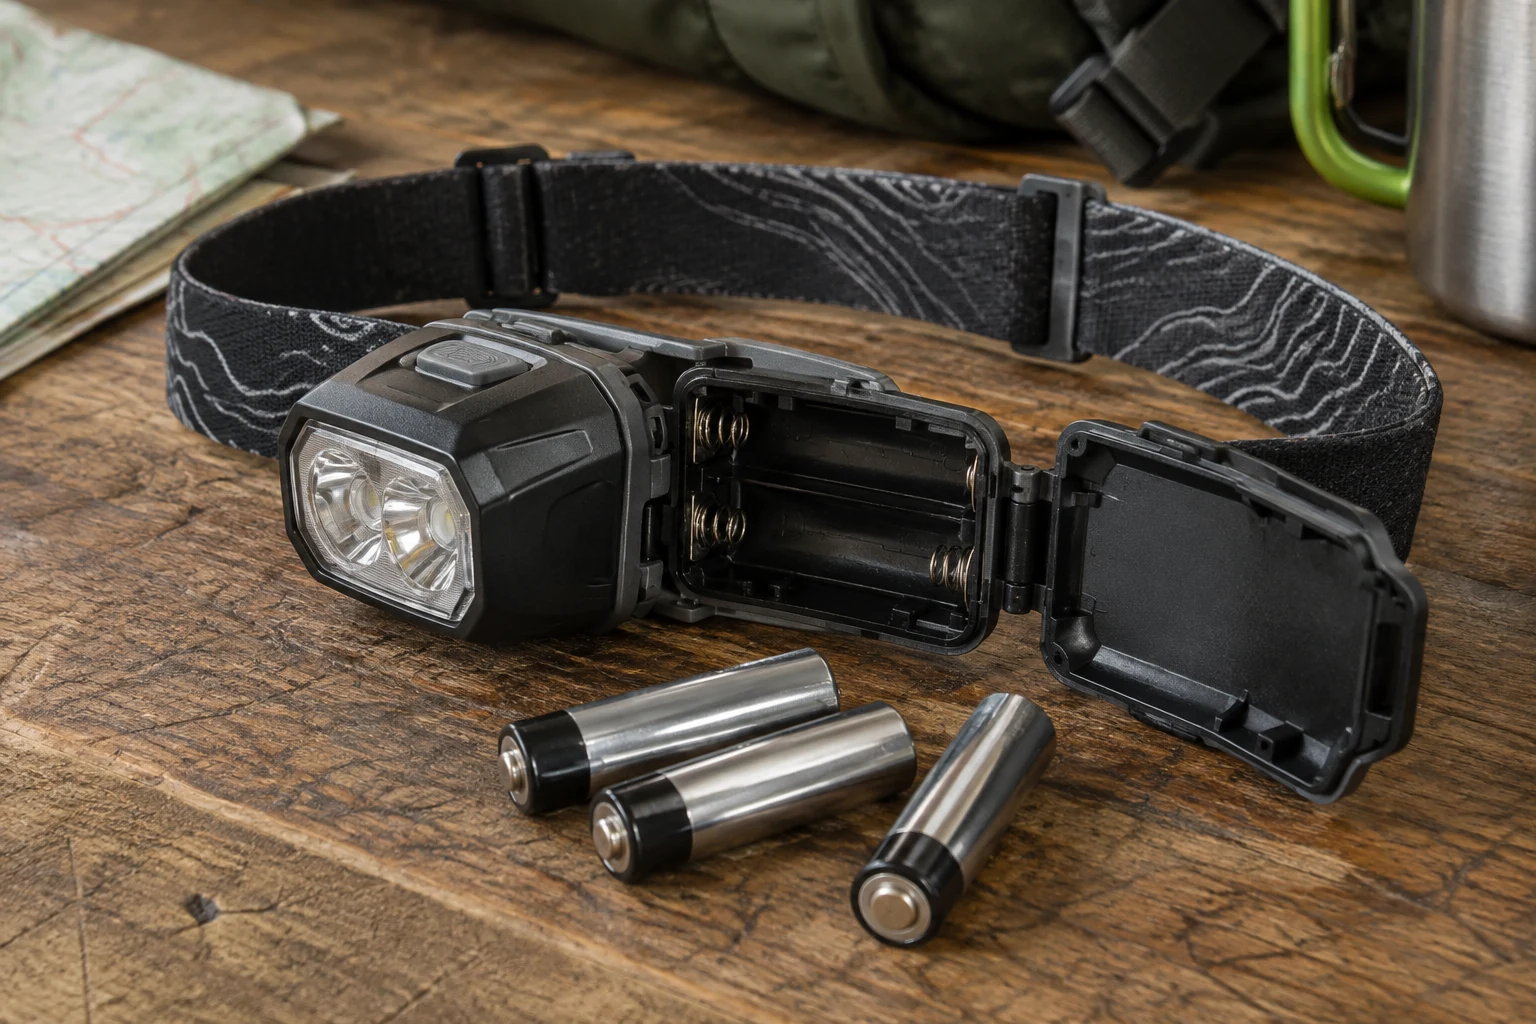
The headband, housing, and battery compartment need different attention. Dry and inspect them according to the lamp's own instructions.

A damp pouch differs from liquid inside the device. Assess both before charging or storing a power bank again.

Leather care starts with clean material. Wax, water-repellent treatment, and lining care perform different tasks and should not be treated as interchangeable.
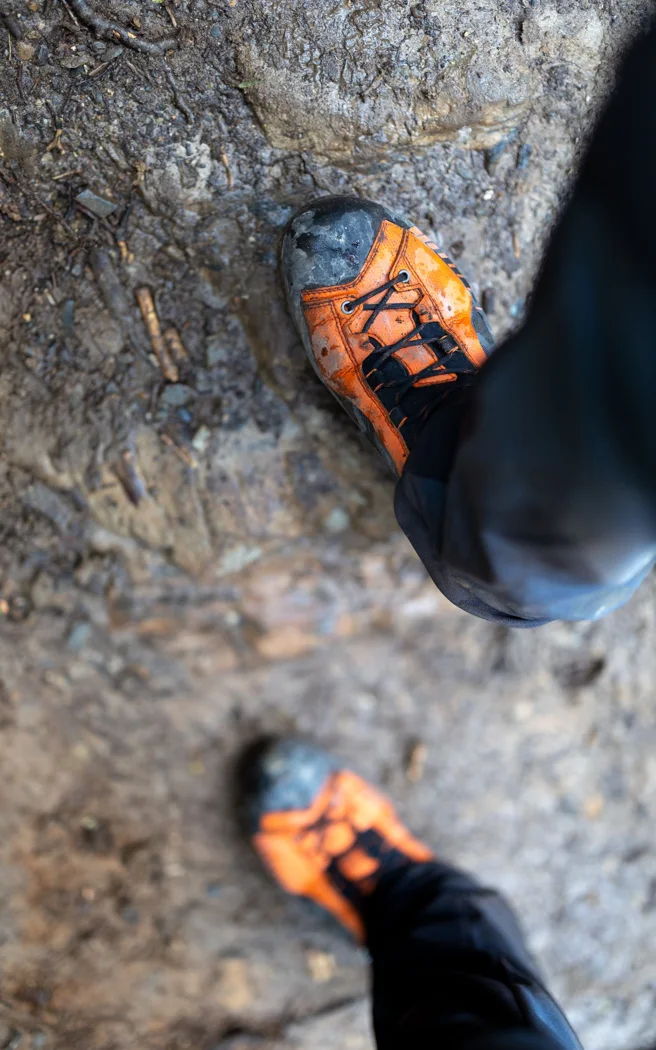
Remove soil gently from textile uppers. Leather wax does not automatically belong on every mesh panel or synthetic section.
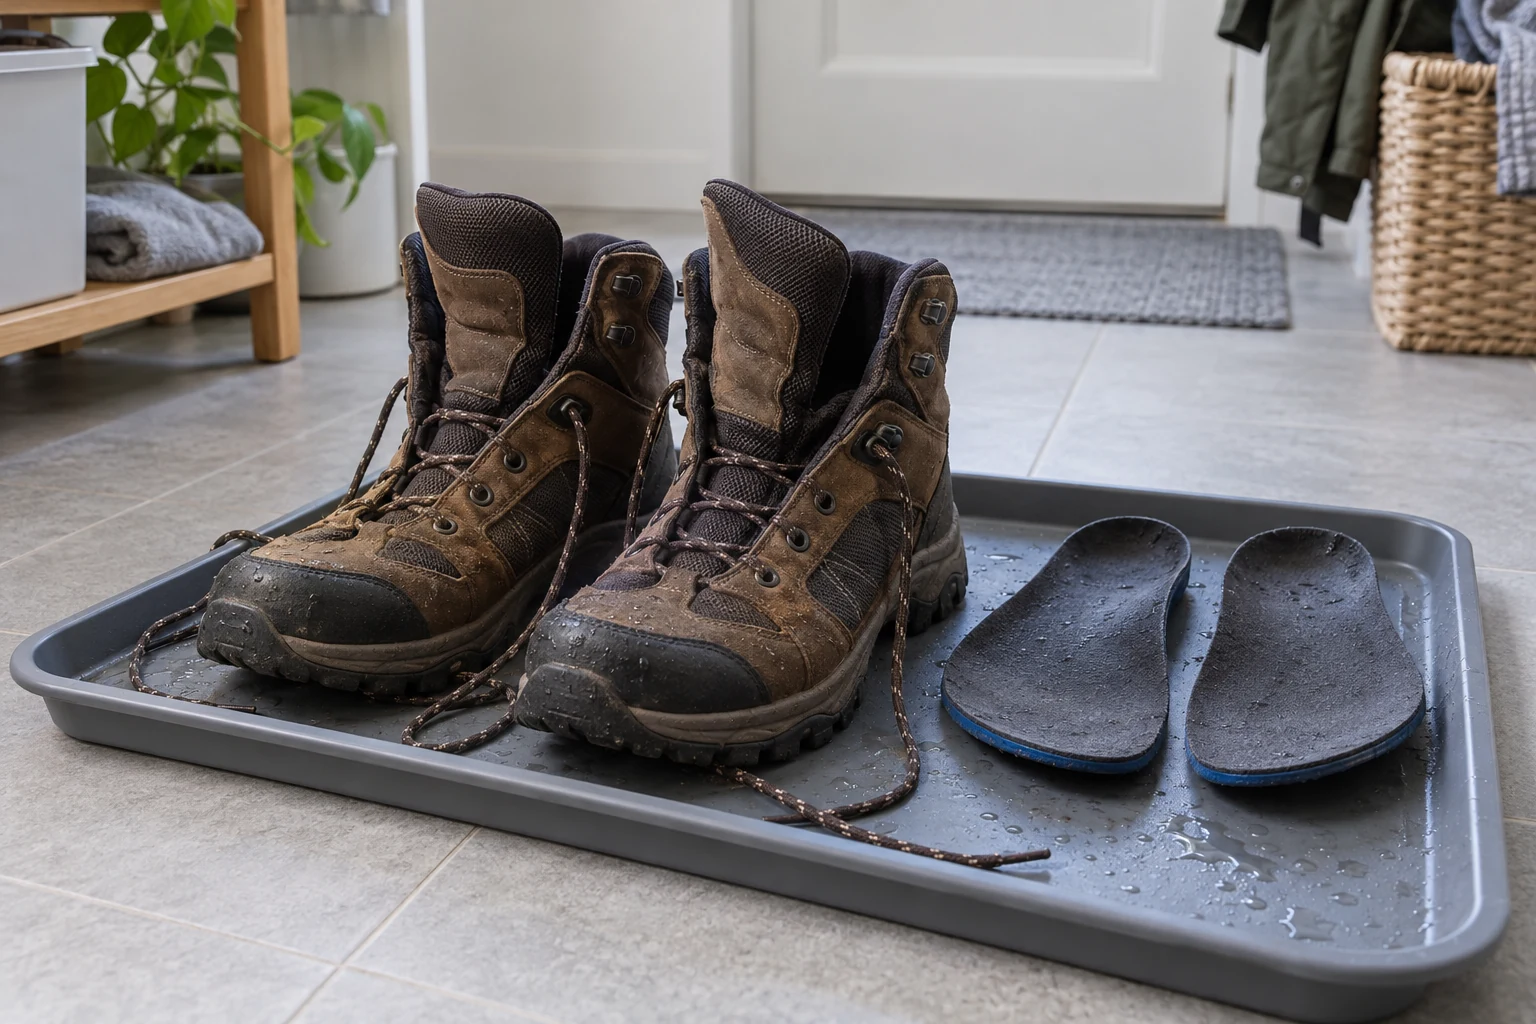
An open collar and separate footbeds improve access for drying. Strong direct heat is not a universal shortcut for wet footwear.
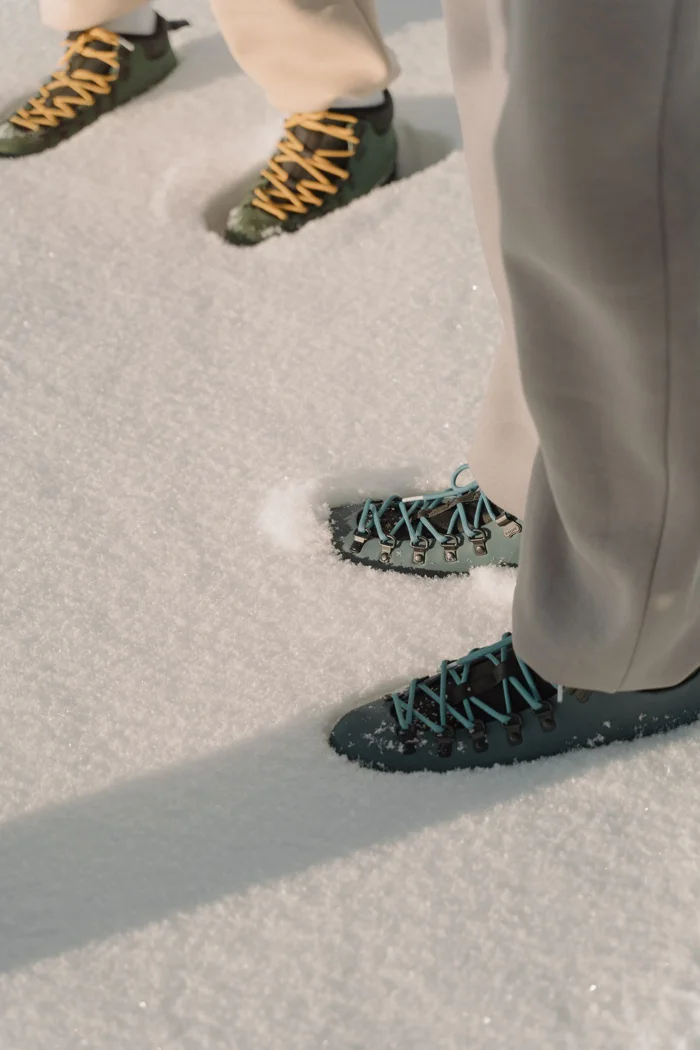
Laces and removable footbeds can often be cared for separately. Material, dimensions, and correct refitting matter when a replacement is needed.
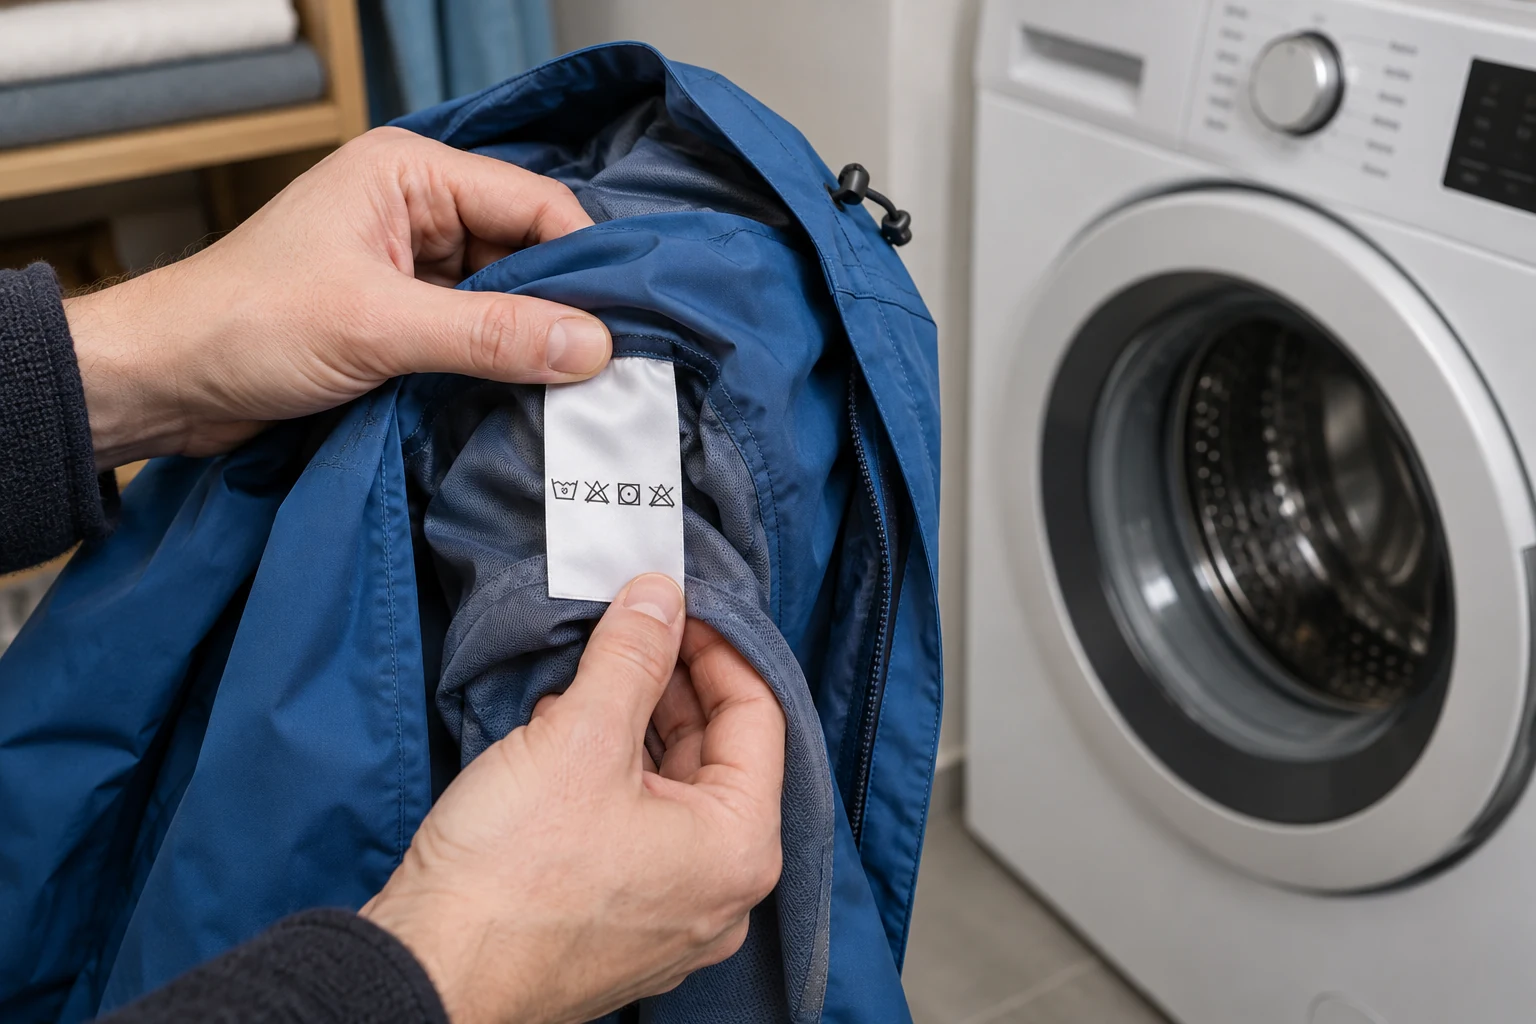
The care label determines washing and drying. Outer fabric, membrane, and water-repellent treatment are different layers of the garment.

Reduced beading can concern dirt or the exterior treatment. Check cleaning and permitted reactivation before choosing a fresh application.

Wash merino by its care label and dry without unnecessary stretching. Blended garments still need their own material and construction check.
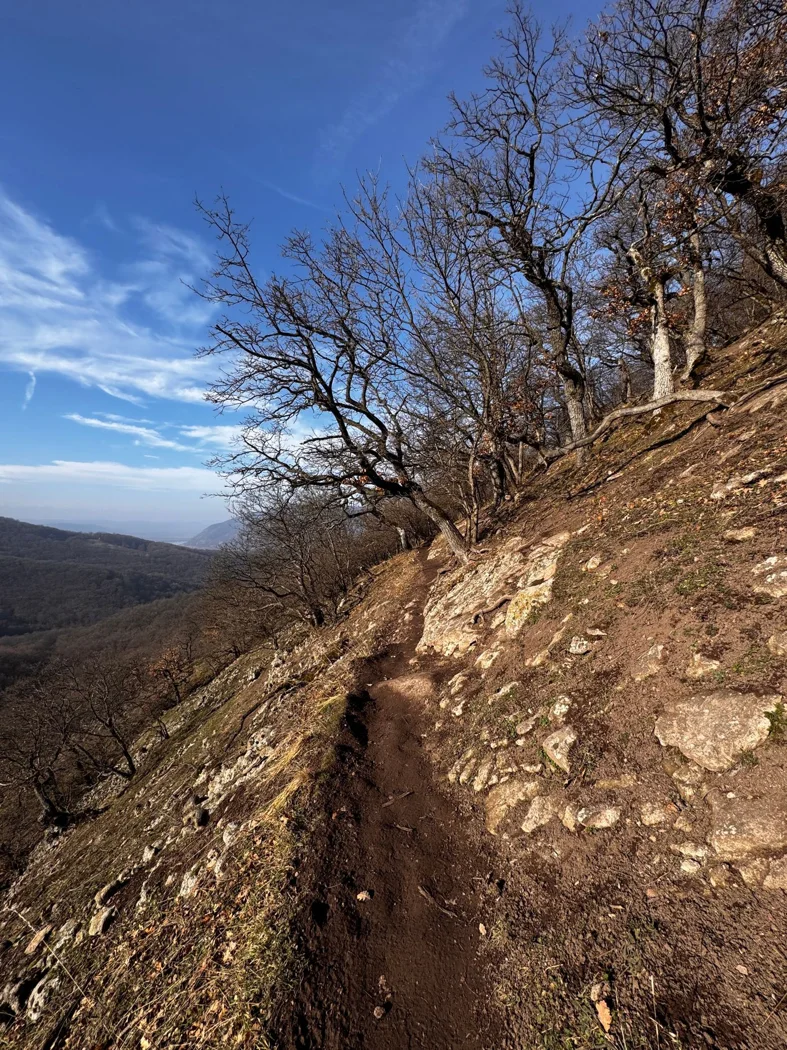
Two walks of equal length can make very different days. Look at the distribution of climbs, the surface underfoot, and the places where a shorter version remains possible.

A loop offers changing scenery, while returning the same way often makes shortening a walk simpler. Choose according to your time window and how firmly the destination is fixed.
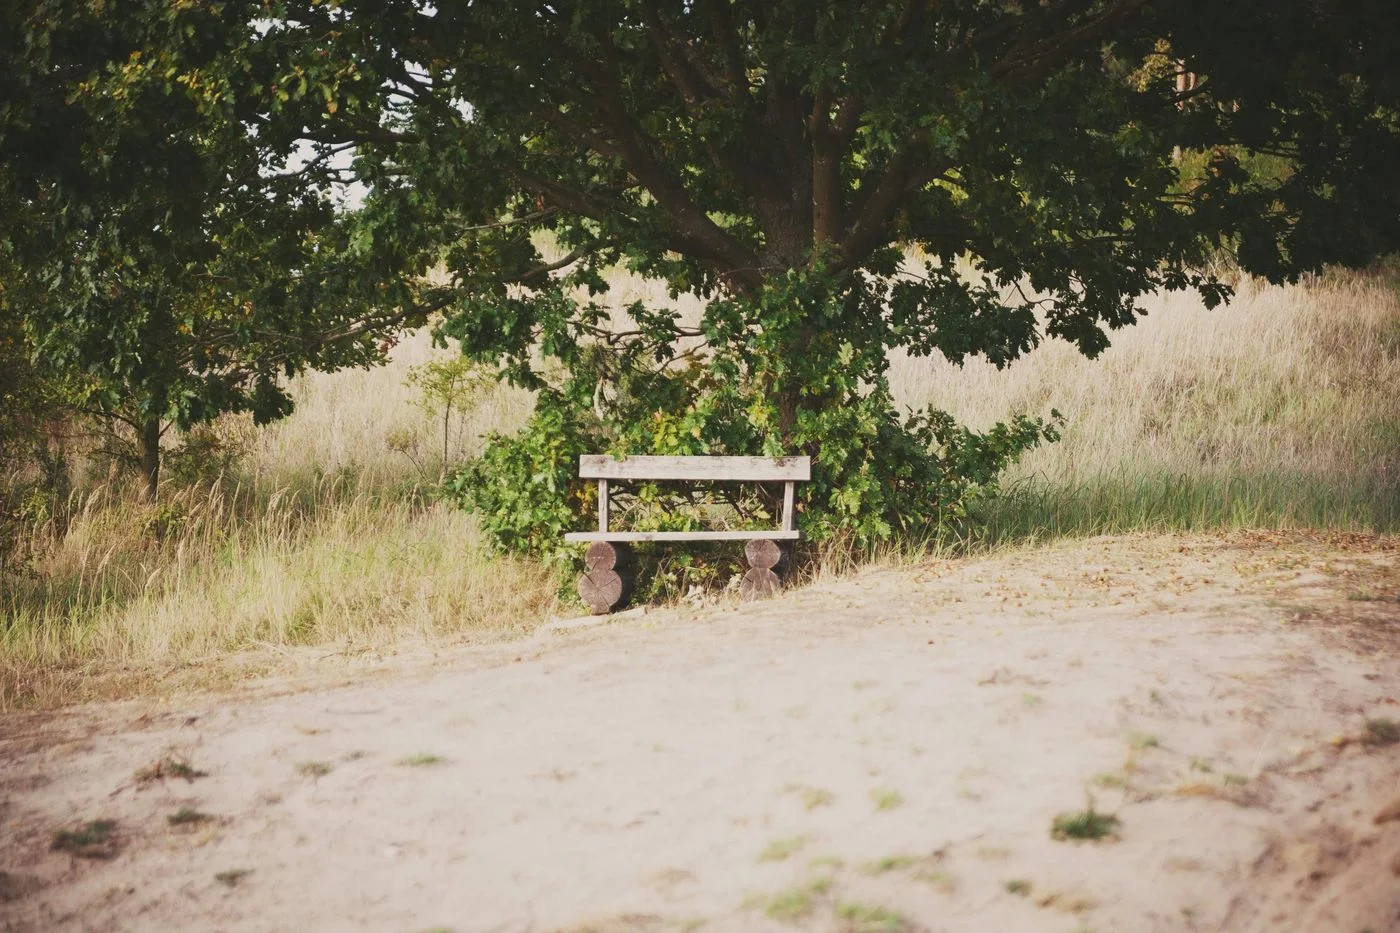
A route's time estimate covers only part of the day. Separating walking, stops, and travel creates a plan that can be checked while you are actually outside.

An early start is not the only answer for every short walk. A useful time connects daylight, travel, weather, and the part of the day you want to spend outside.
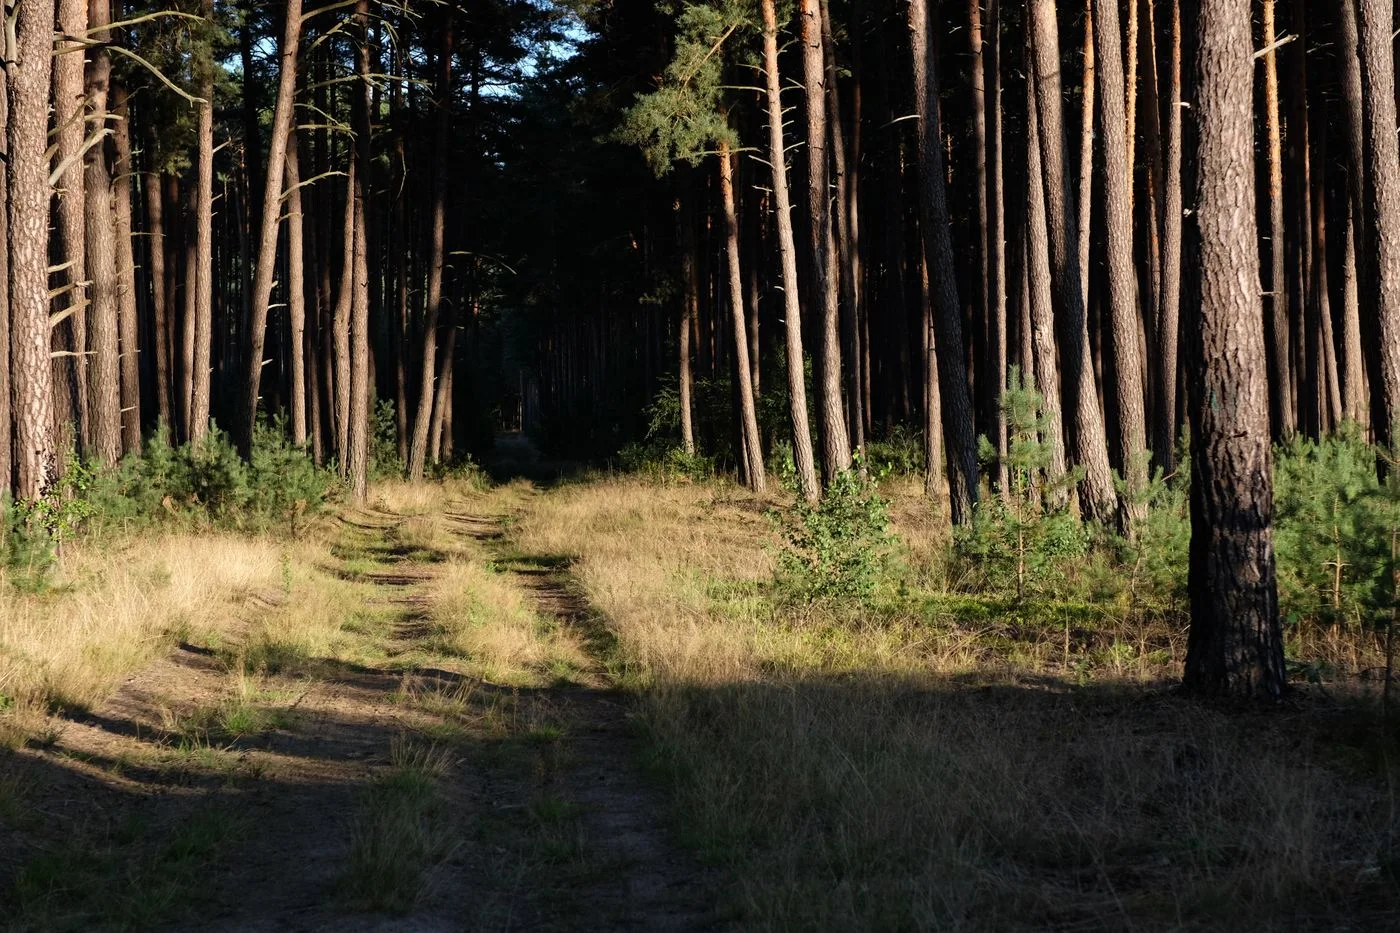
The end of daylight should not coincide with the end of the trail. Include the walk to transport and room for sections that take longer than expected.
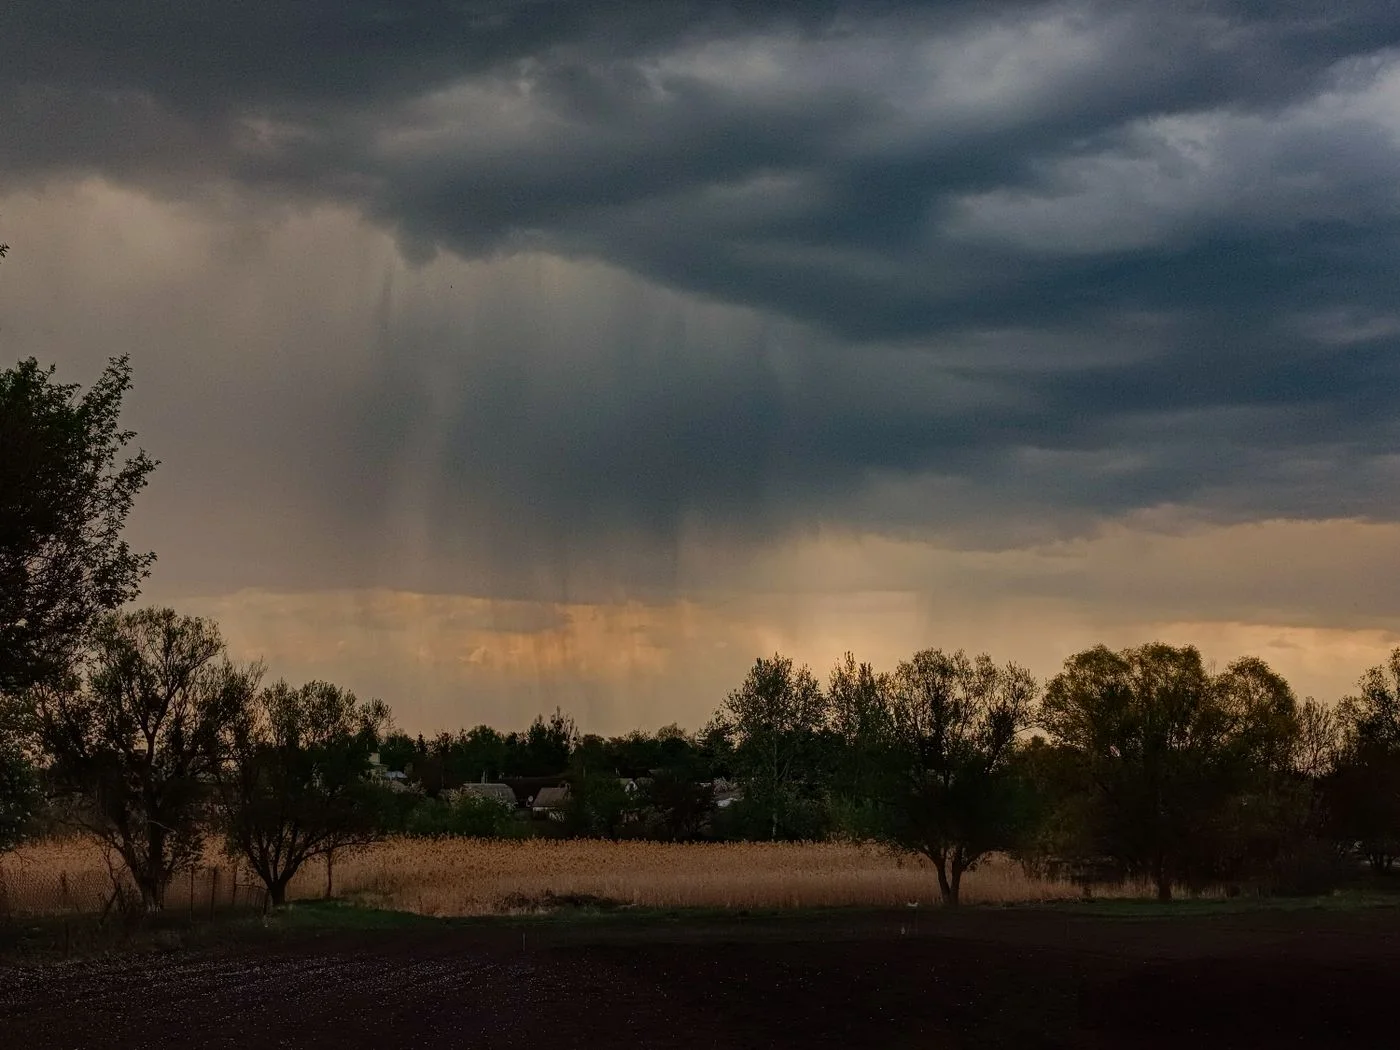
A weather symbol cannot describe a whole outing. Connect the forecast with timing, terrain, and the points where you can shorten the walk or move it to another day.

Woodland on a map does not automatically mean shade on the trail. Check open links, timing, and return options before selecting a longer loop for a warm day.
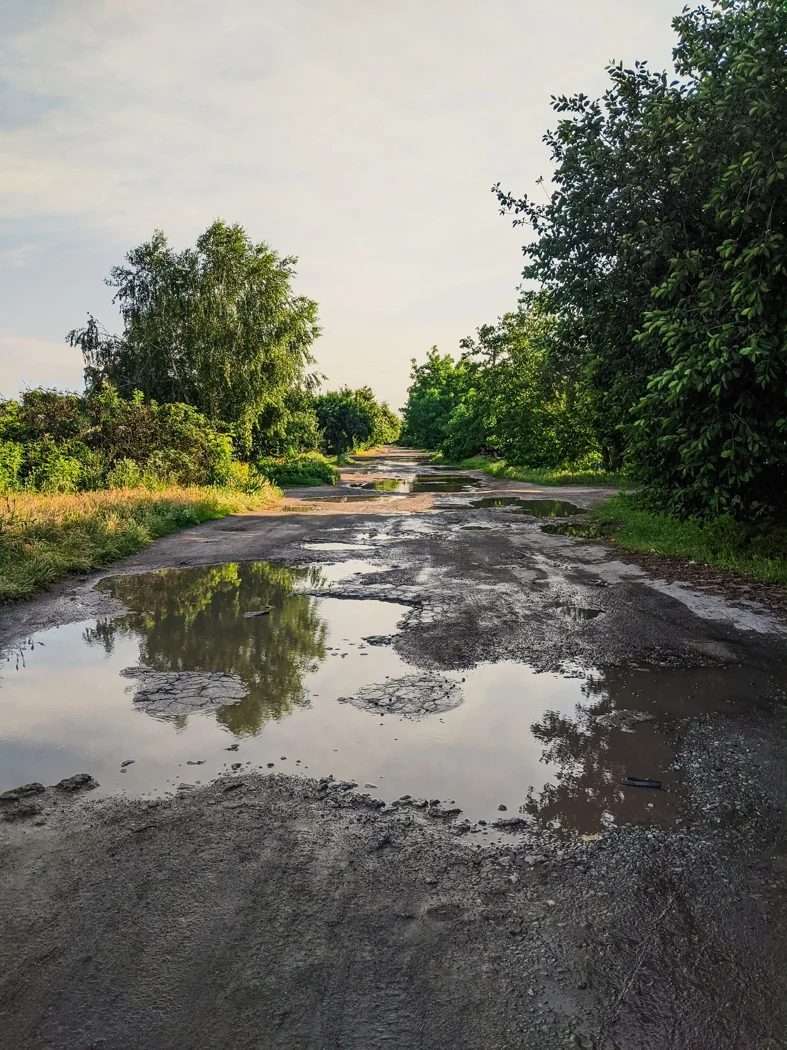
A dry morning says little about an unsurfaced path after several wet days. Distinguish an inconvenient muddy section from a route that is better replaced for this outing.
Wind can change the choice of route and sometimes the whole outing. Examine exposed sections and current notices rather than treating a sheltered-looking map as evidence of suitable conditions.
When the view disappears, the same route does not have to remain. A simpler walk or another date may fit better than a circuit without its useful landmarks.

A saved outing and a usable offline map are not always the same thing. Test what remains available without a connection, and understand the route before setting out.
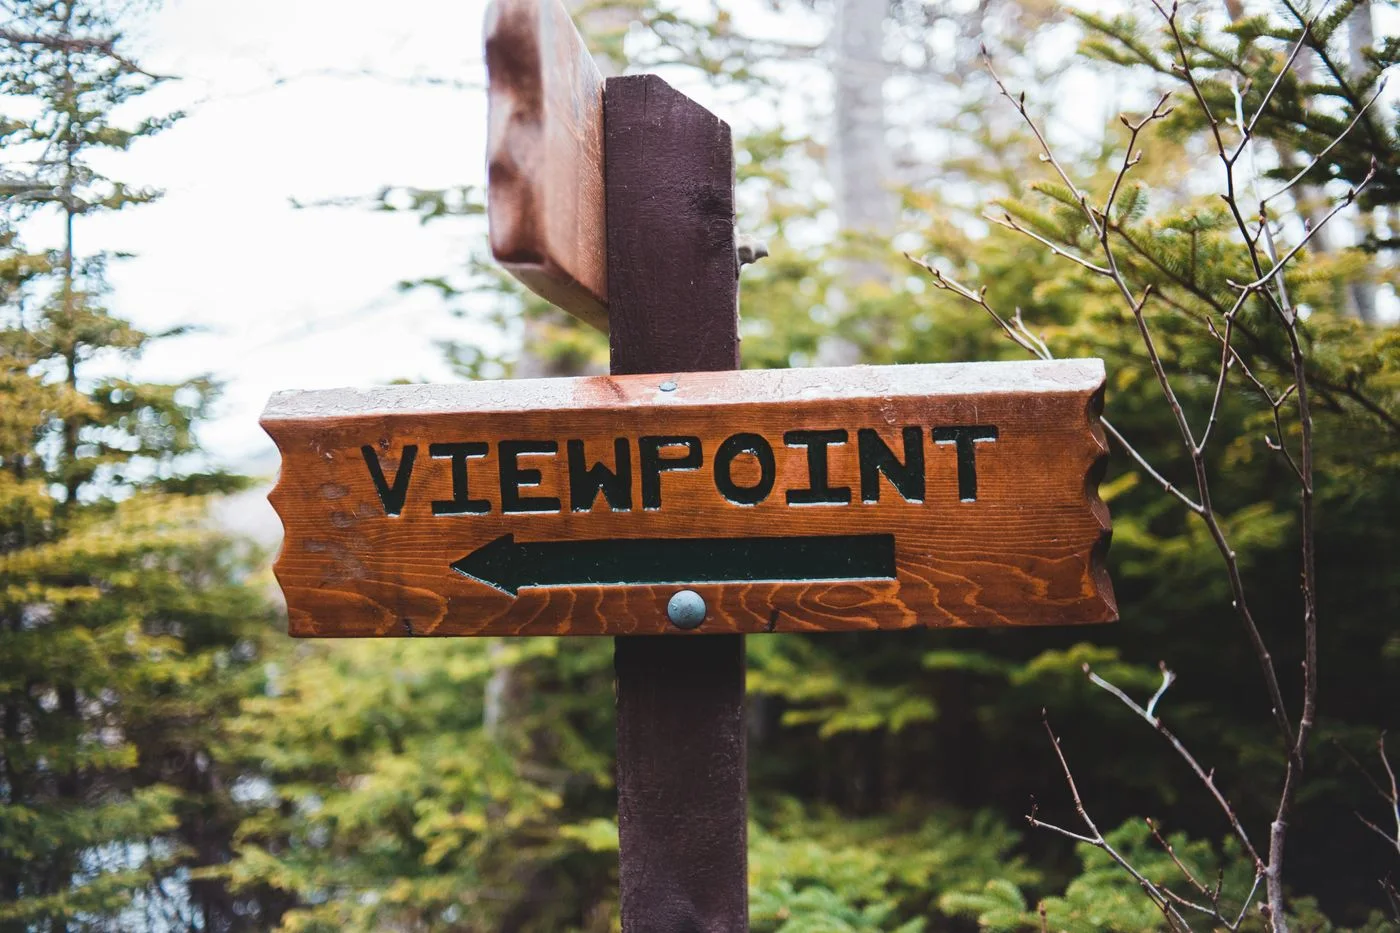
A marker helps only when you know which route it identifies. Connect symbols with destinations, the map, and the actual direction of the path at a junction.
An elevation profile shows how climbs and descents are distributed. Read it beside the map: its line does not describe every surface feature or establish the walk's actual difficulty.

A useful pause needs more than a point on a map. Choose places that fit the route and keep an alternative in case the preferred spot is occupied or unavailable.

A shortcut helps only when its route and connections are already understood. Prepare shorter options before starting, and choose them while their useful junctions still lie ahead.
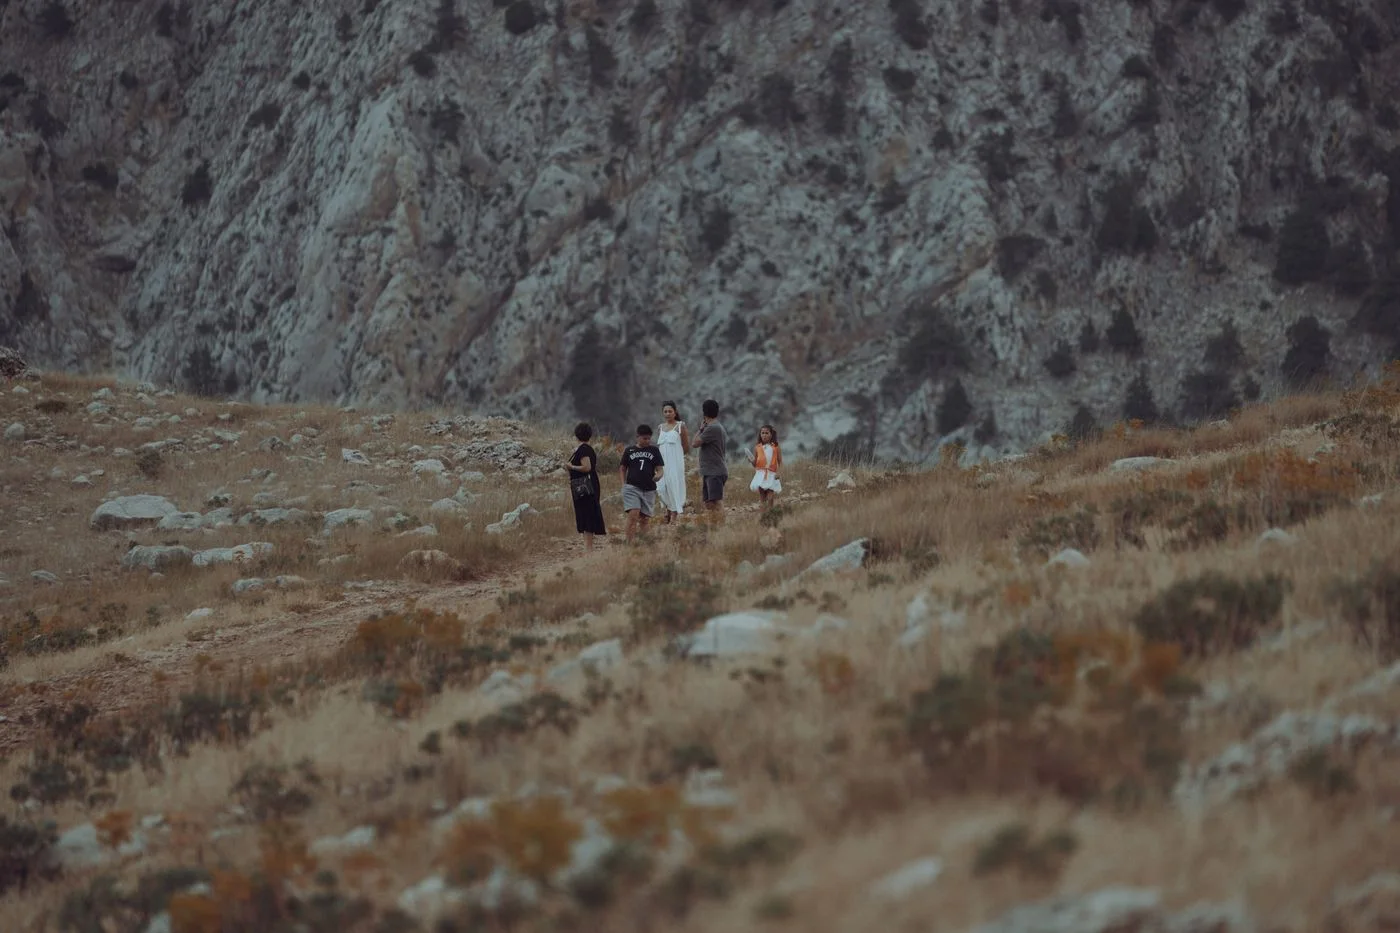
A group need not consist of equally fast walkers. Clear agreements, suitable sections, and a genuine shorter option help shape the shared day before anyone arrives at the start.
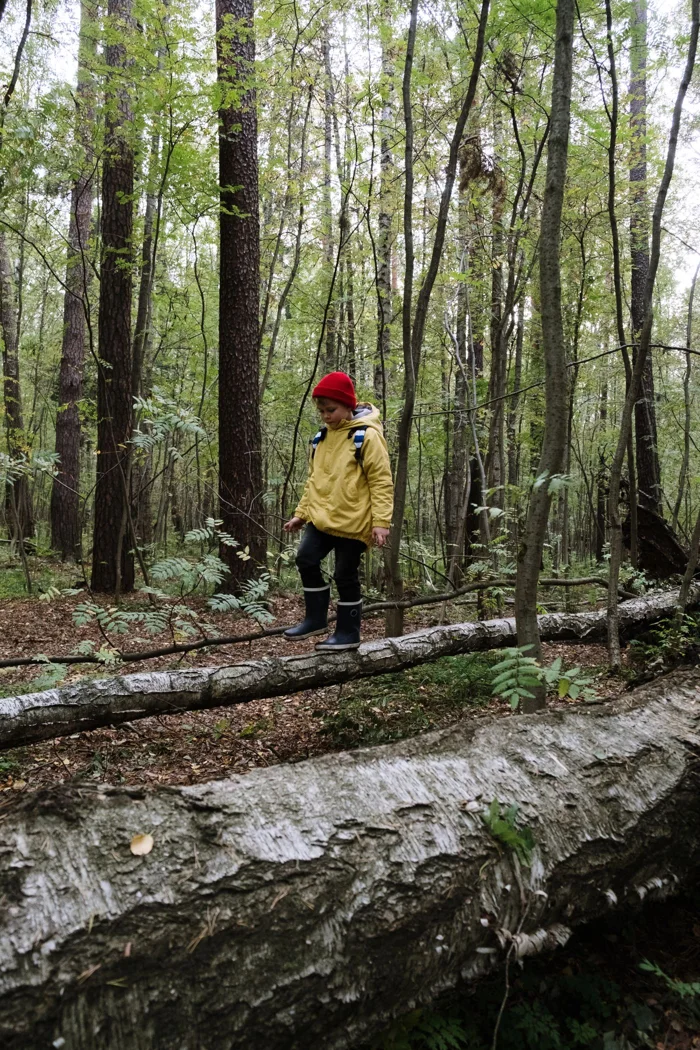
Interesting sections and flexible expectations often matter more than a distant destination. Choose paths where a shorter version remains possible without creating a complicated journey back.
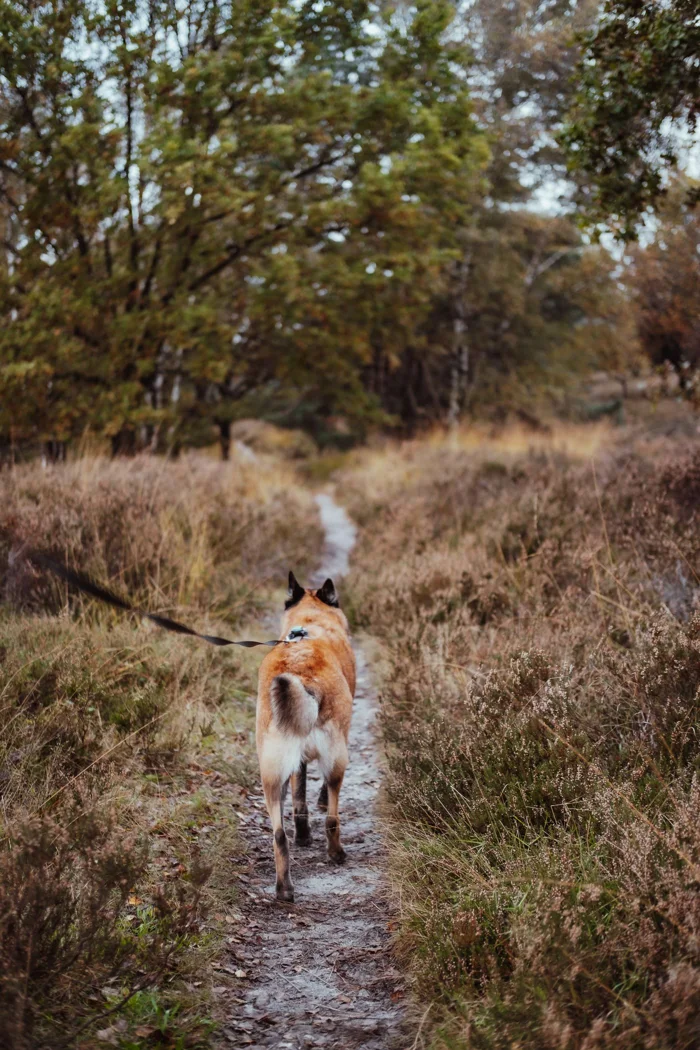
An appealing day walk does not automatically suit an outing with a dog. Check access, physical features, and planned stops before reaching a gate or café that changes the day.
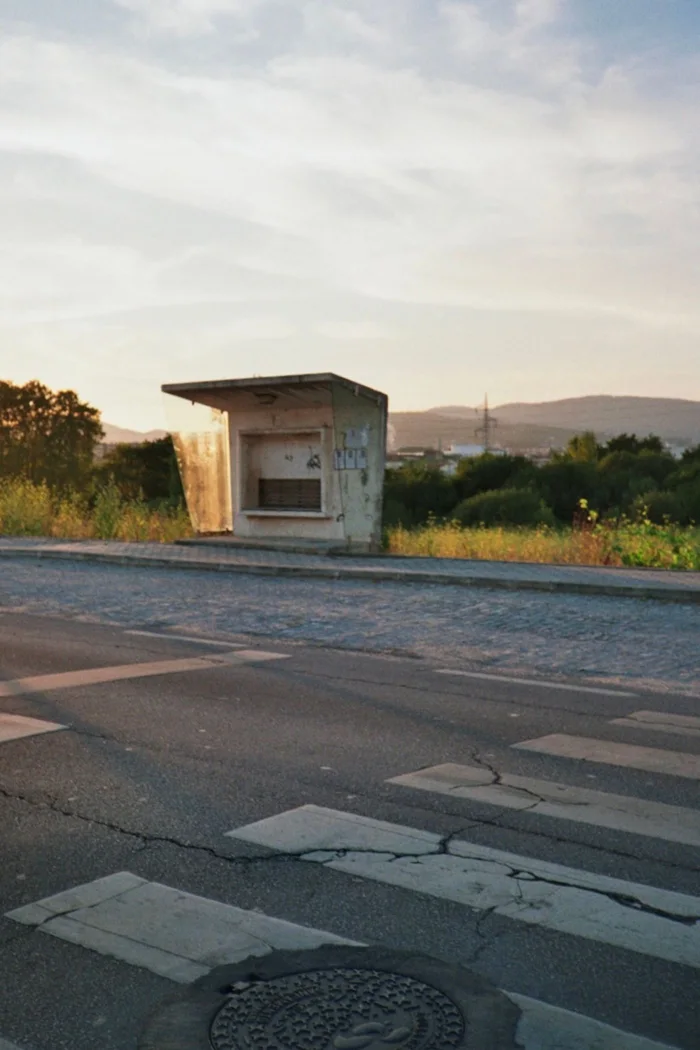
For a point-to-point walk, the journey home belongs to the route. Check the real paths to stops, useful connections, and a shorter version before fixing the start and finish.

The season alone does not describe a path today. Connect typical changes with current notices and choose a walk whose actual condition fits the outing you intend.

One crossing can determine whether a loop works at all. Check its type, access, and current notices before making it an essential connection in the walk.
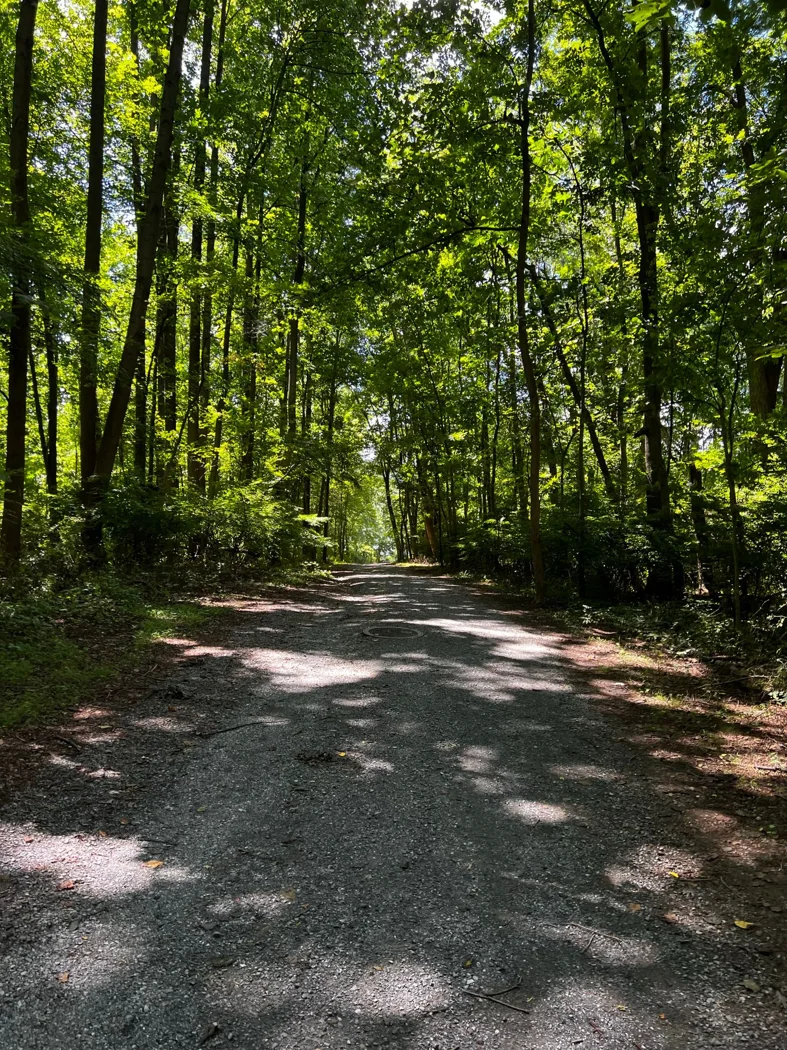
Path width changes conversation, pace, and encounters. Choose the surface for the outing you want rather than assuming narrow trails automatically make a better walk.
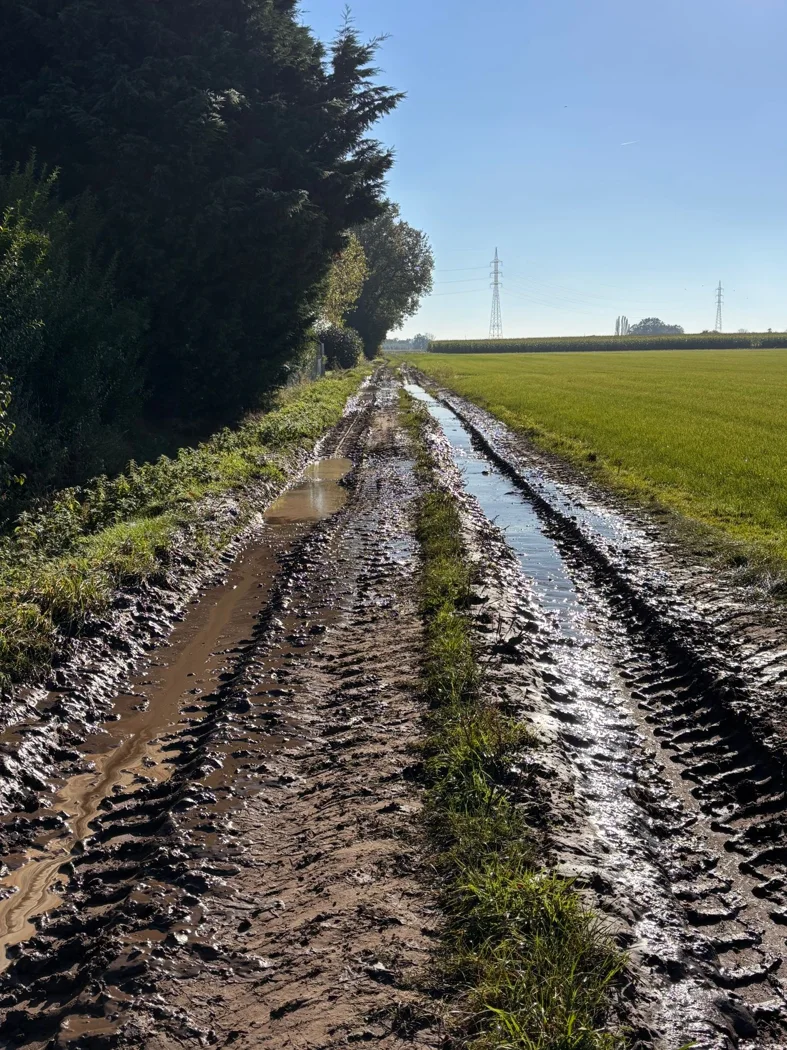
Field paths combine open views with land where work takes place. Check the intended route and avoid treating the ground beside it as a freely available extension of the walk.

For an ordinary coastal outing, continuous land paths and understandable exits matter more than the longest possible waterside line. Check the full route and current local information.
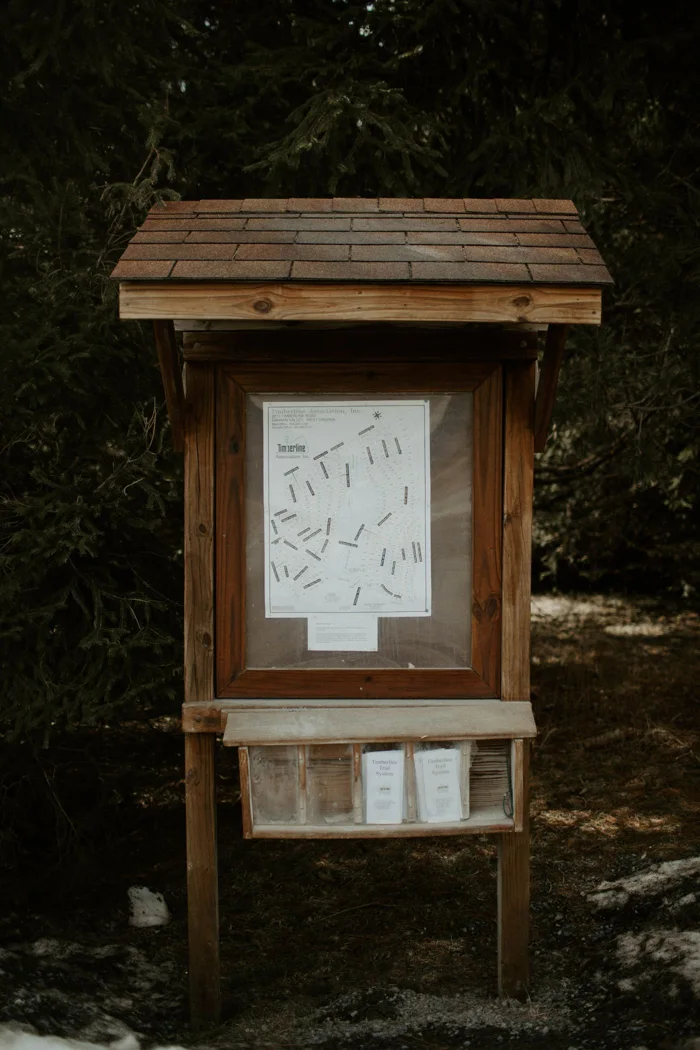
An information board can change a walk in concrete ways. Look for visitor routes, temporary restrictions, and the access points that connect with the circuit you planned.
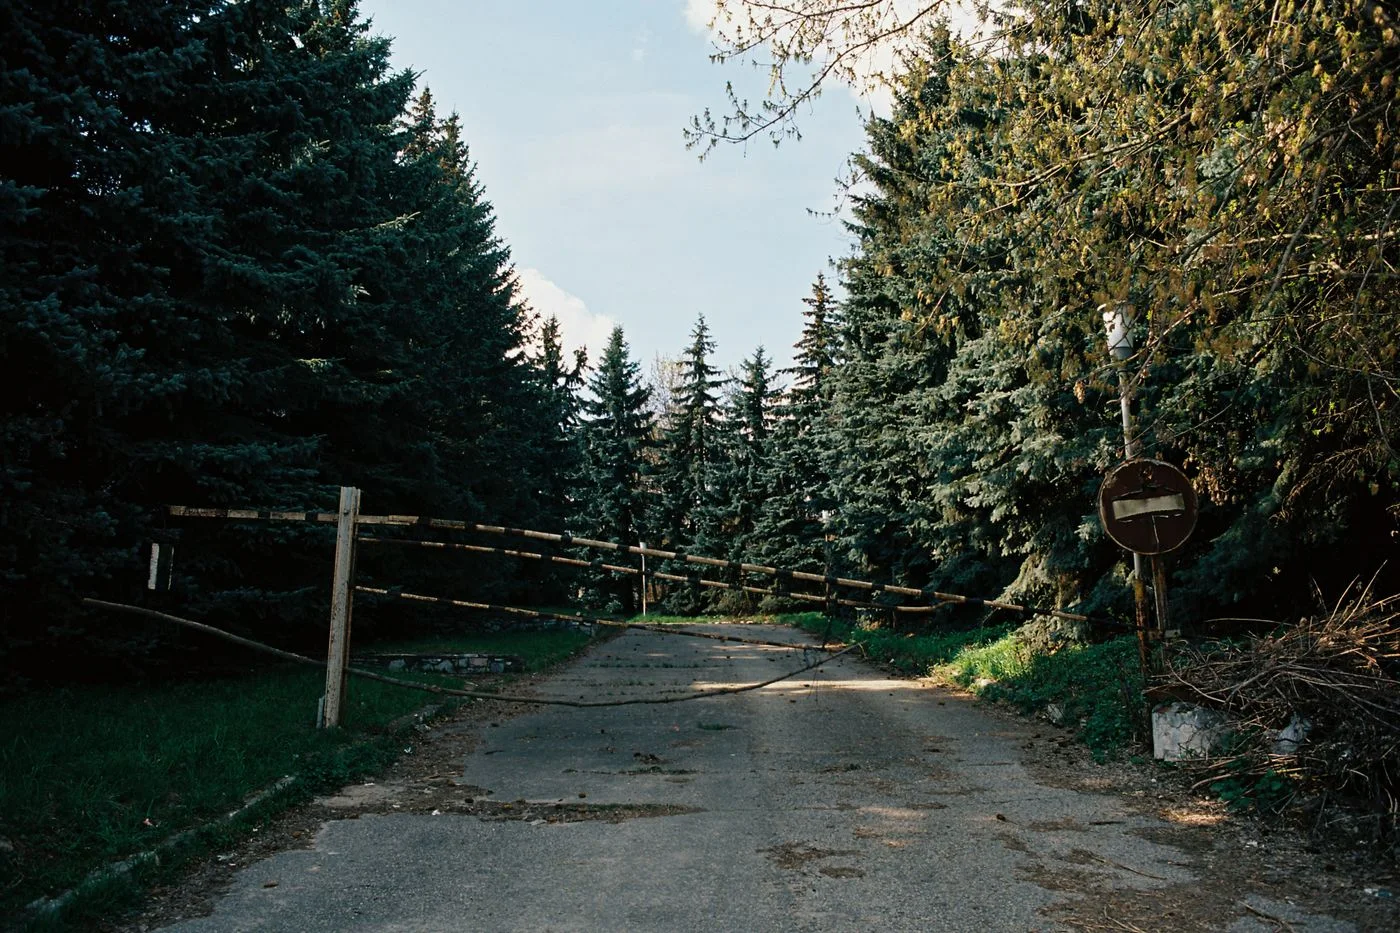
A closure supplies new information for the plan. Check a signed diversion or a known return instead of trying to preserve the original route through an unverified detour.

A few specific observations can improve the next plan. Record what actually changed the day rather than feeling obliged to finish every walk with a long review.

A small walk is easier to repeat when the return remains clear. Begin with the time genuinely available and choose one nearby destination rather than trying to connect many stops.

Shopping or a brief appointment can provide a reason to walk. Choose the extra section so that opening times, carrying purchases, and the necessary return remain straightforward.

A familiar park can contain several different walks. Change an entrance, direction, or stopping place deliberately without turning every side path into a route you must complete.
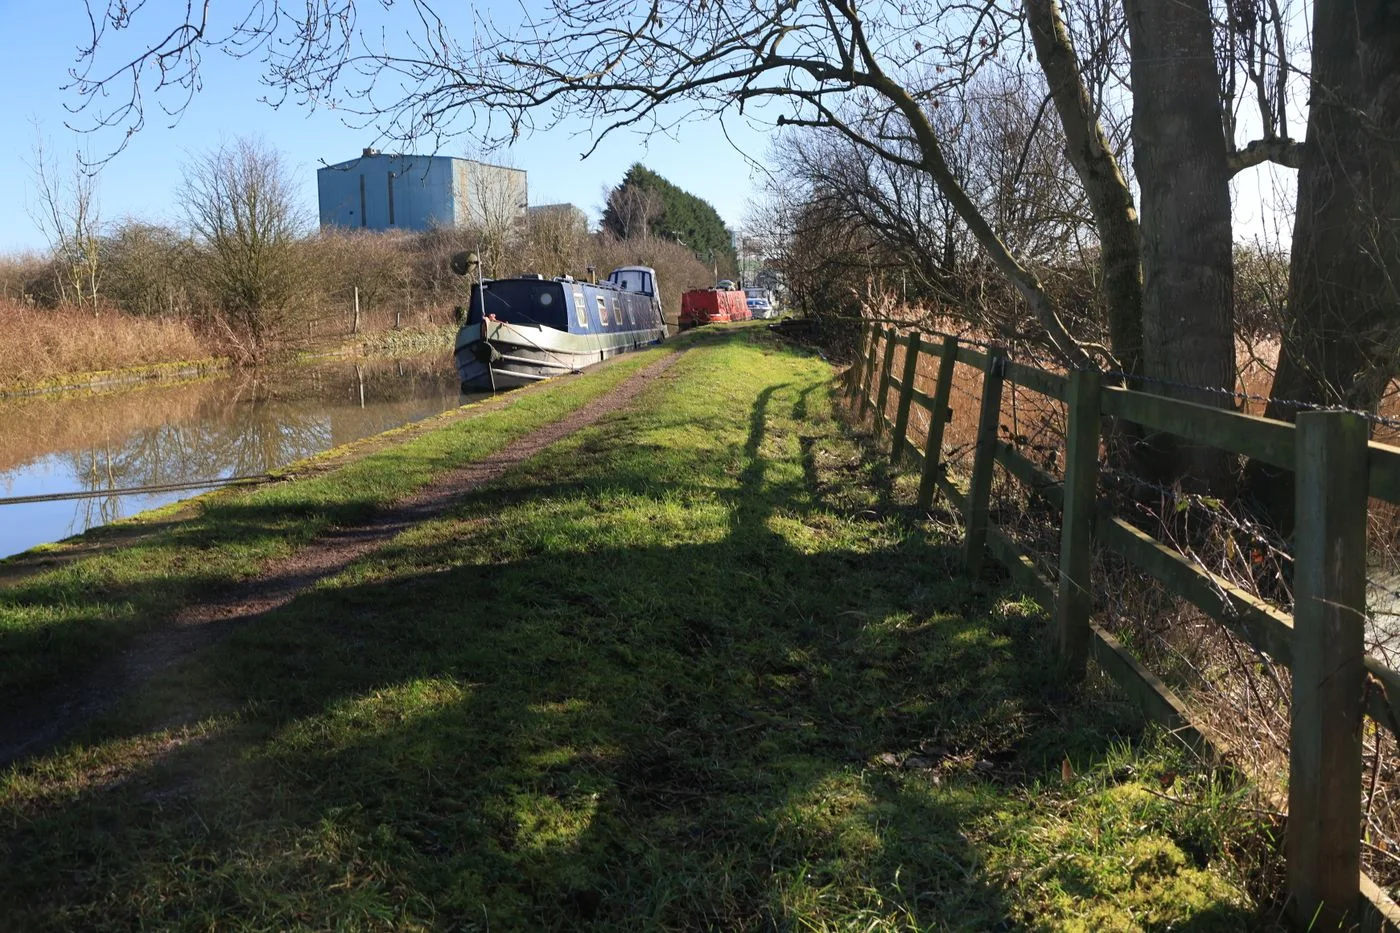
A canal path looks straightforward but may vary in width, surface, and access. Choose an appropriate section and leave room at narrow points for the waterway's other uses.

Two bridges can turn a riverside path into a circuit. Check whether their approaches and both banks actually create a pleasant, continuous walk before committing to the loop.
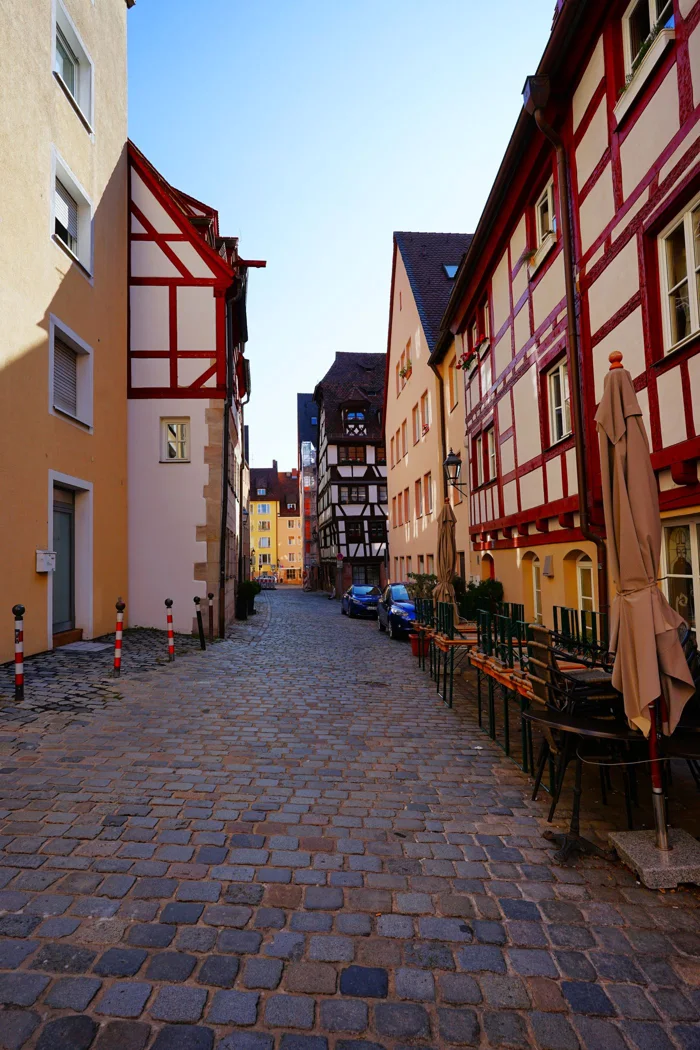
An old-town walk need not connect every landmark. A small area, recognisable starting point, and a few deliberate questions leave room to look closely at streets and squares.

Brick buildings, rail traces, and former entrances can shape a city walk. Stay on public routes and distinguish visible features from history that needs reliable local information.

An everyday loop connects appealing sections with understandable transitions. Begin with two familiar points and change only enough to keep the way home clear without extra effort.
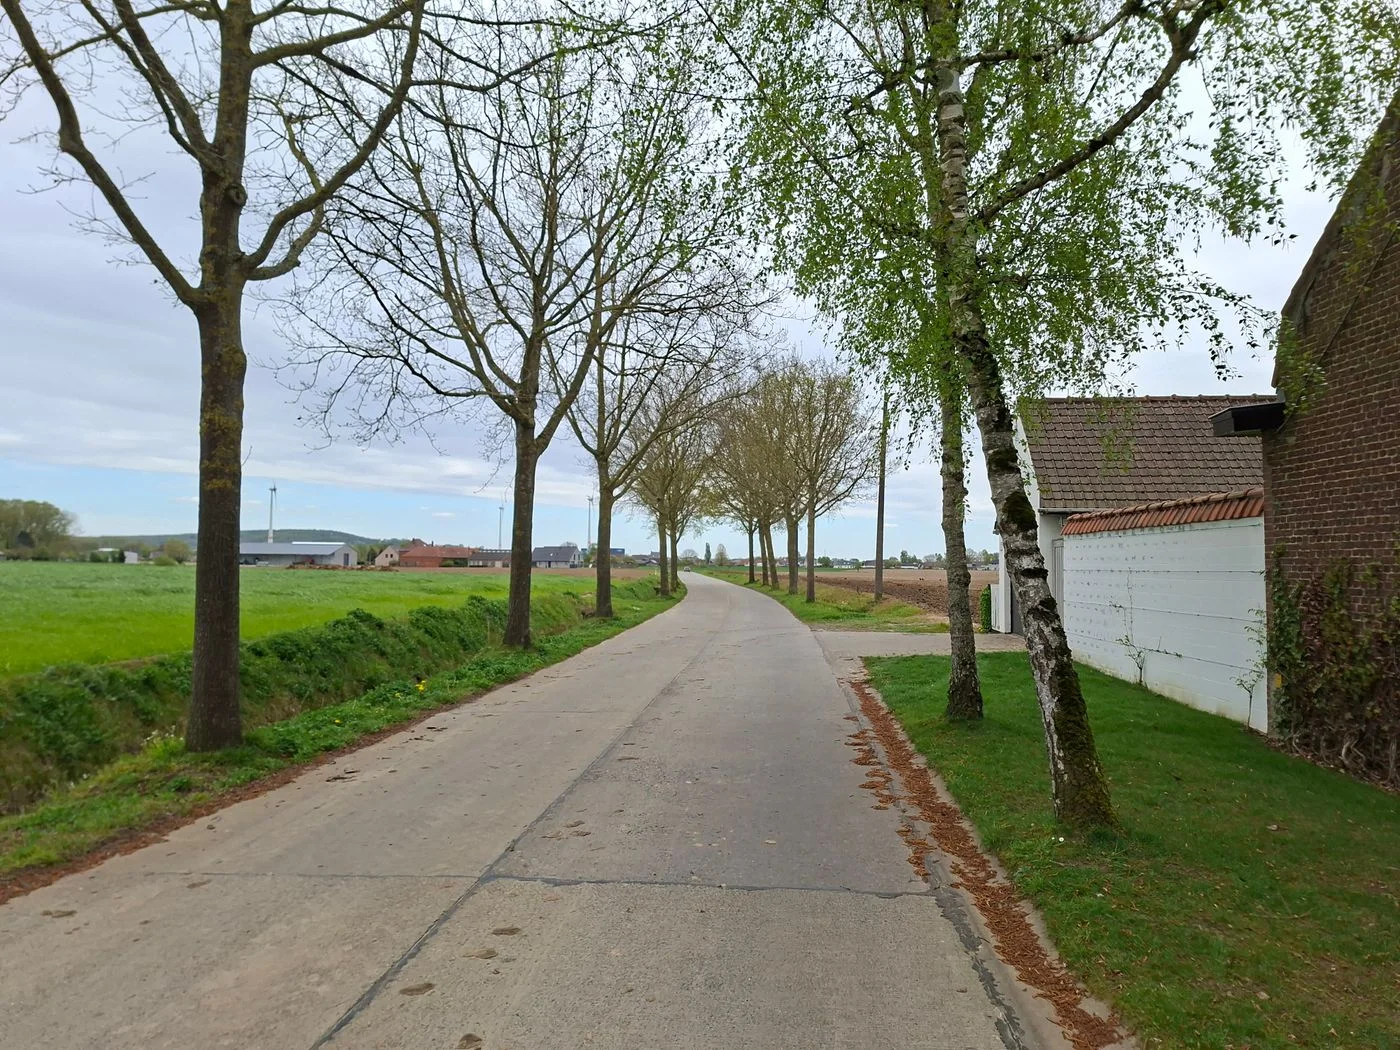
A narrow lane between hedges can look appealing without providing a suitable walking connection. Check actual pedestrian space and the links between the settlement and surrounding countryside.
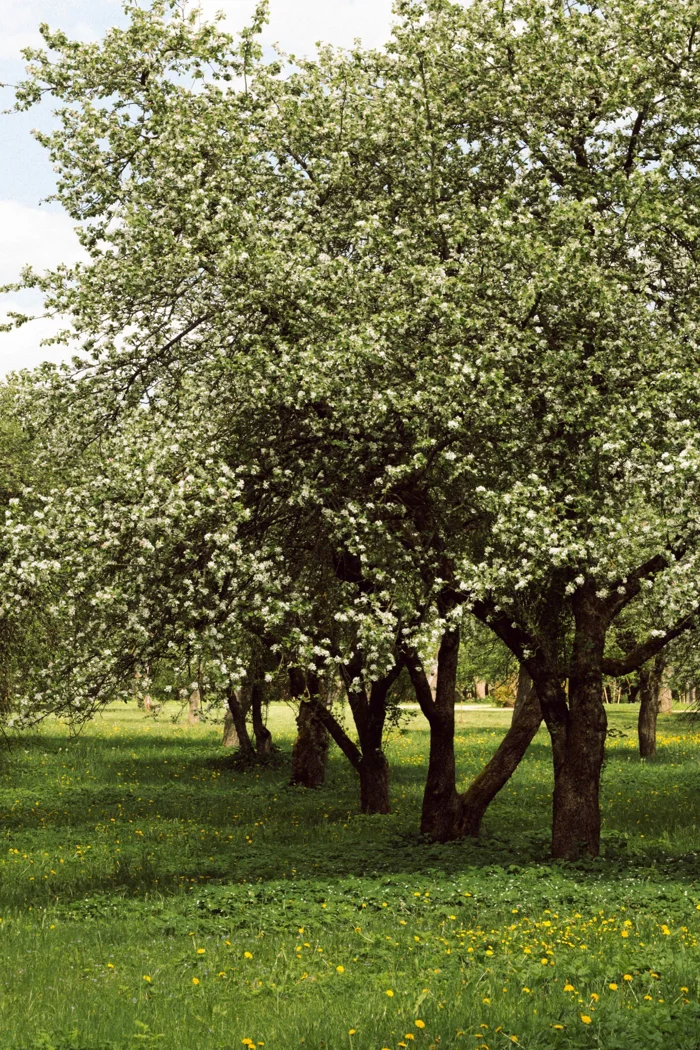
Fruit trees and meadows give a short walk a clear subject. Use accessible paths, notice seasonal changes, and continue treating the surroundings as both working land and habitat.

A staircase can connect levels and open new views. Check its place in the complete route and an appropriate alternative instead of treating it as a decorative extra on the map.

A terminus can offer another view of the city's edge. Check the actual pedestrian route from it and a return service that fits the size of the outing.

A converted railway section can provide a clear line through town and countryside. Check access, surface, and shared use instead of inferring the present path from its former purpose.
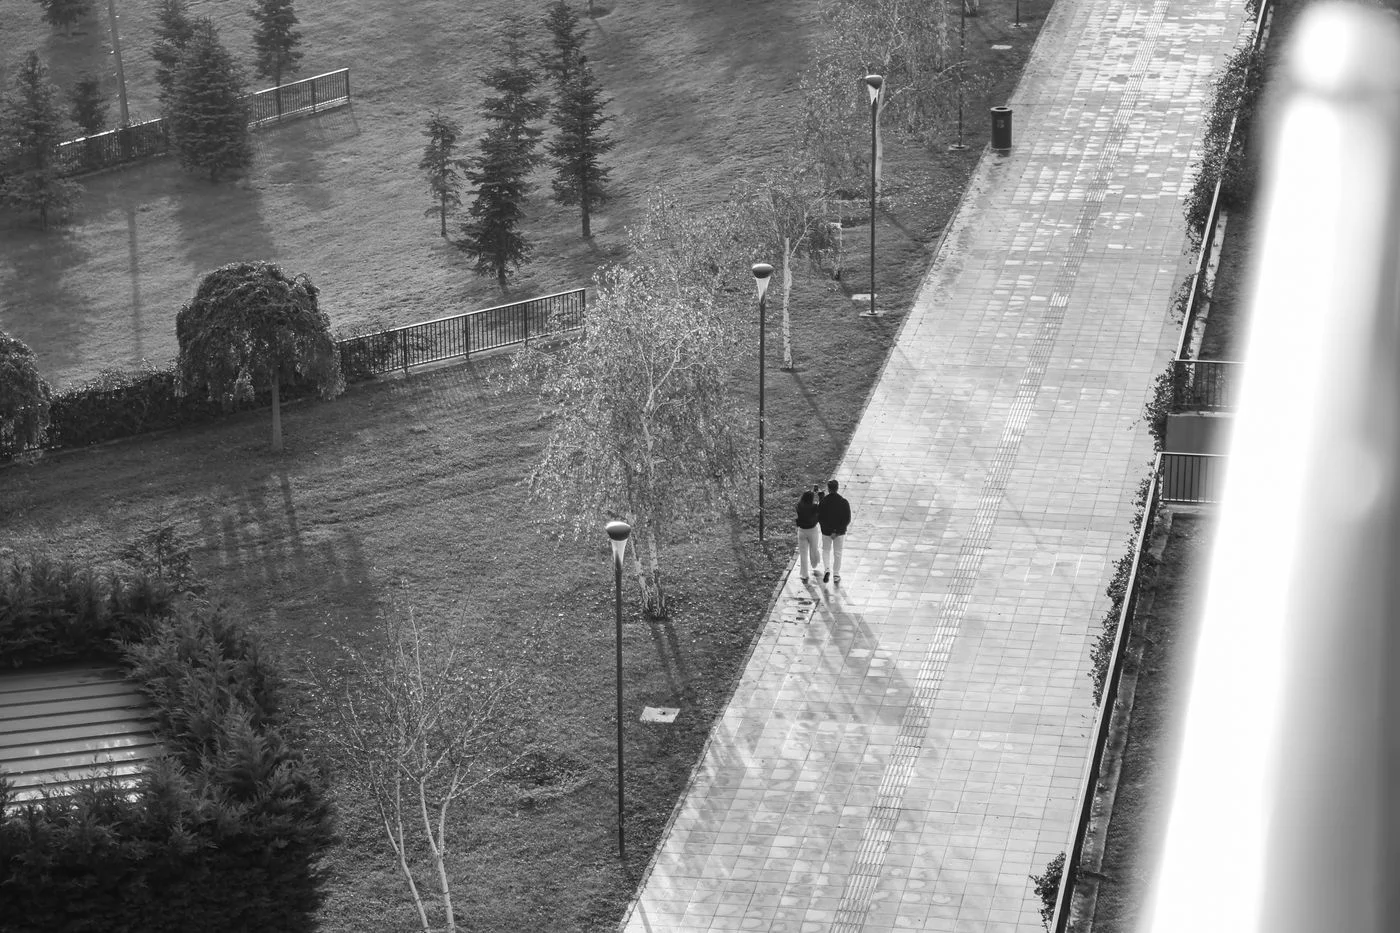
A rainy walk can be shaped through surface, length, and clear returns. Choose a small familiar route rather than transferring an unsurfaced hike unchanged into different conditions.
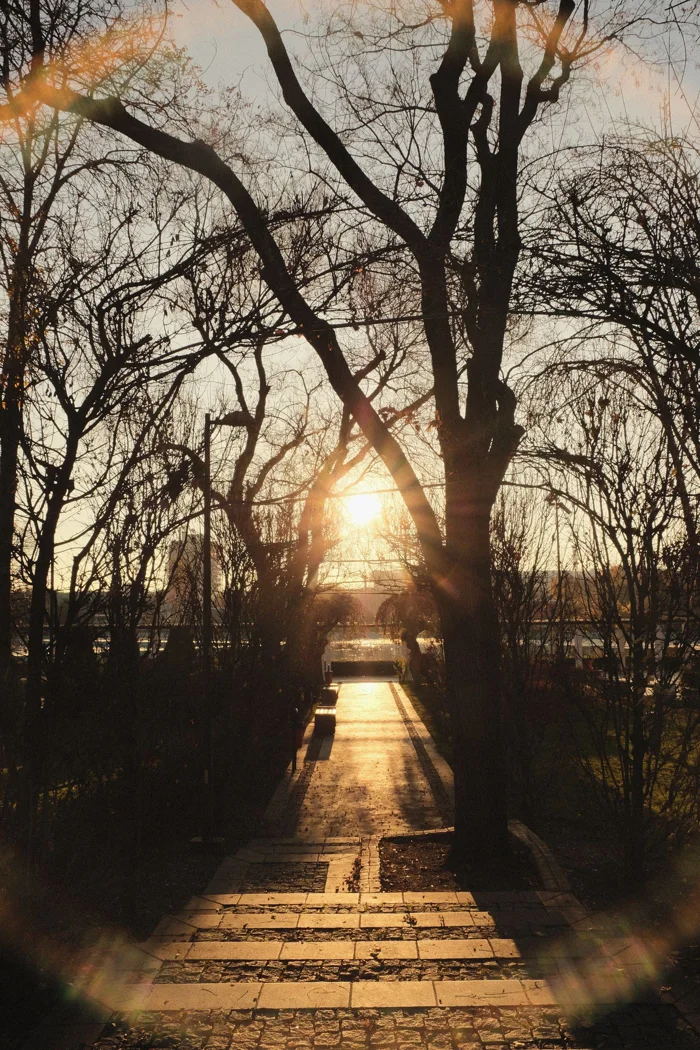
A short winter day suits a small, clear route. Choose familiar lowland paths according to current conditions and plan the return before daylight becomes tight.

A limited theme directs attention without turning the outing into a hunt. Use suitable public positions and leave time for a few images as well as walking between them.

A path changes with the people using it. Compare small familiar sections at different times instead of assuming that all mornings or weekdays provide an empty route.
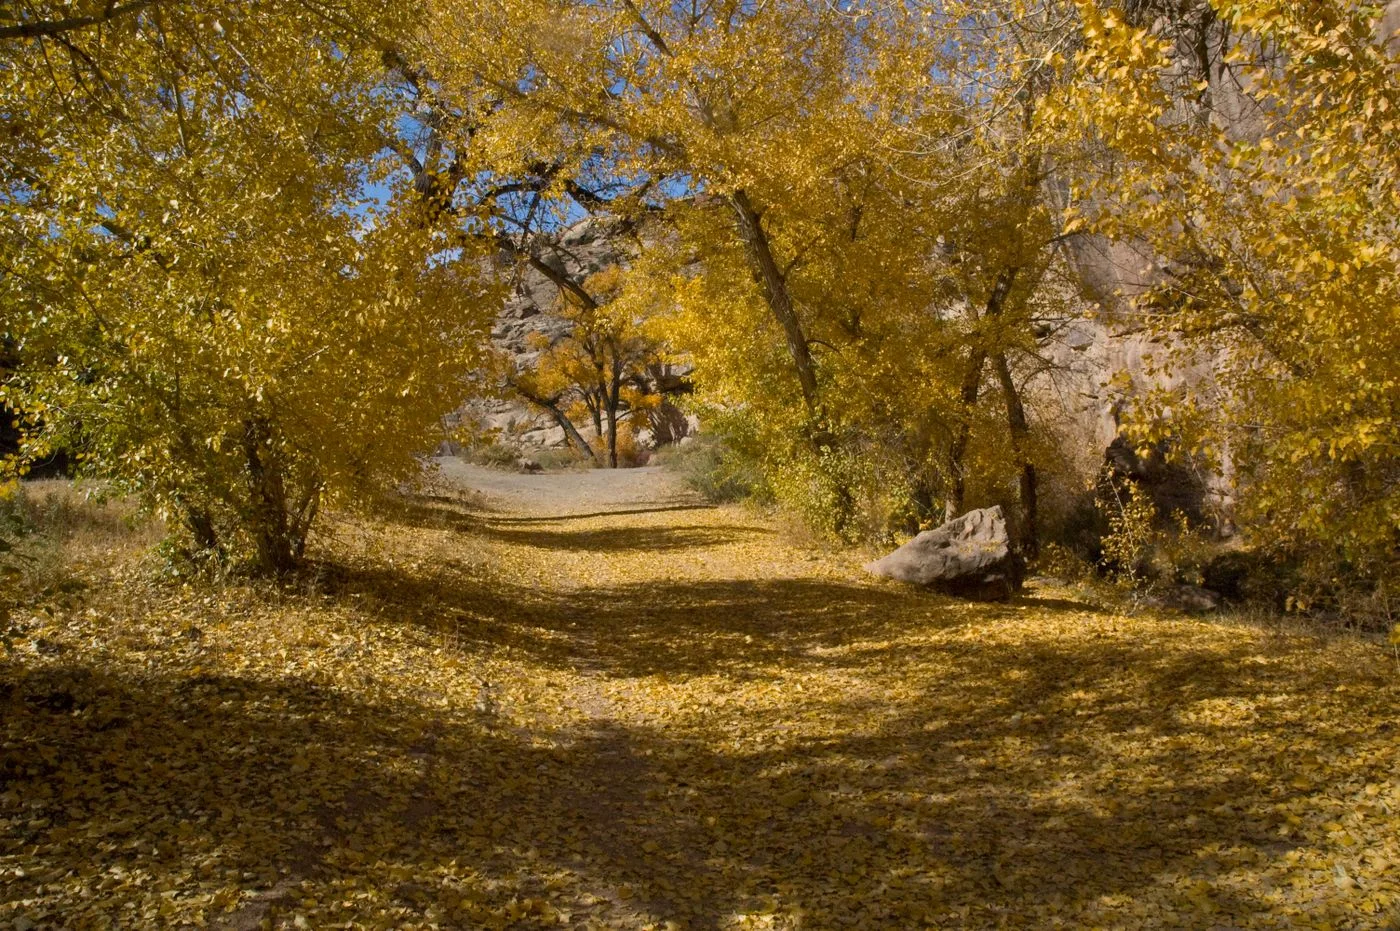
A familiar loop can reveal change more clearly than constantly seeking new destinations. Choose a few accessible reference points and notice what actually differs between visits.
No matching articles. Try a different search term.