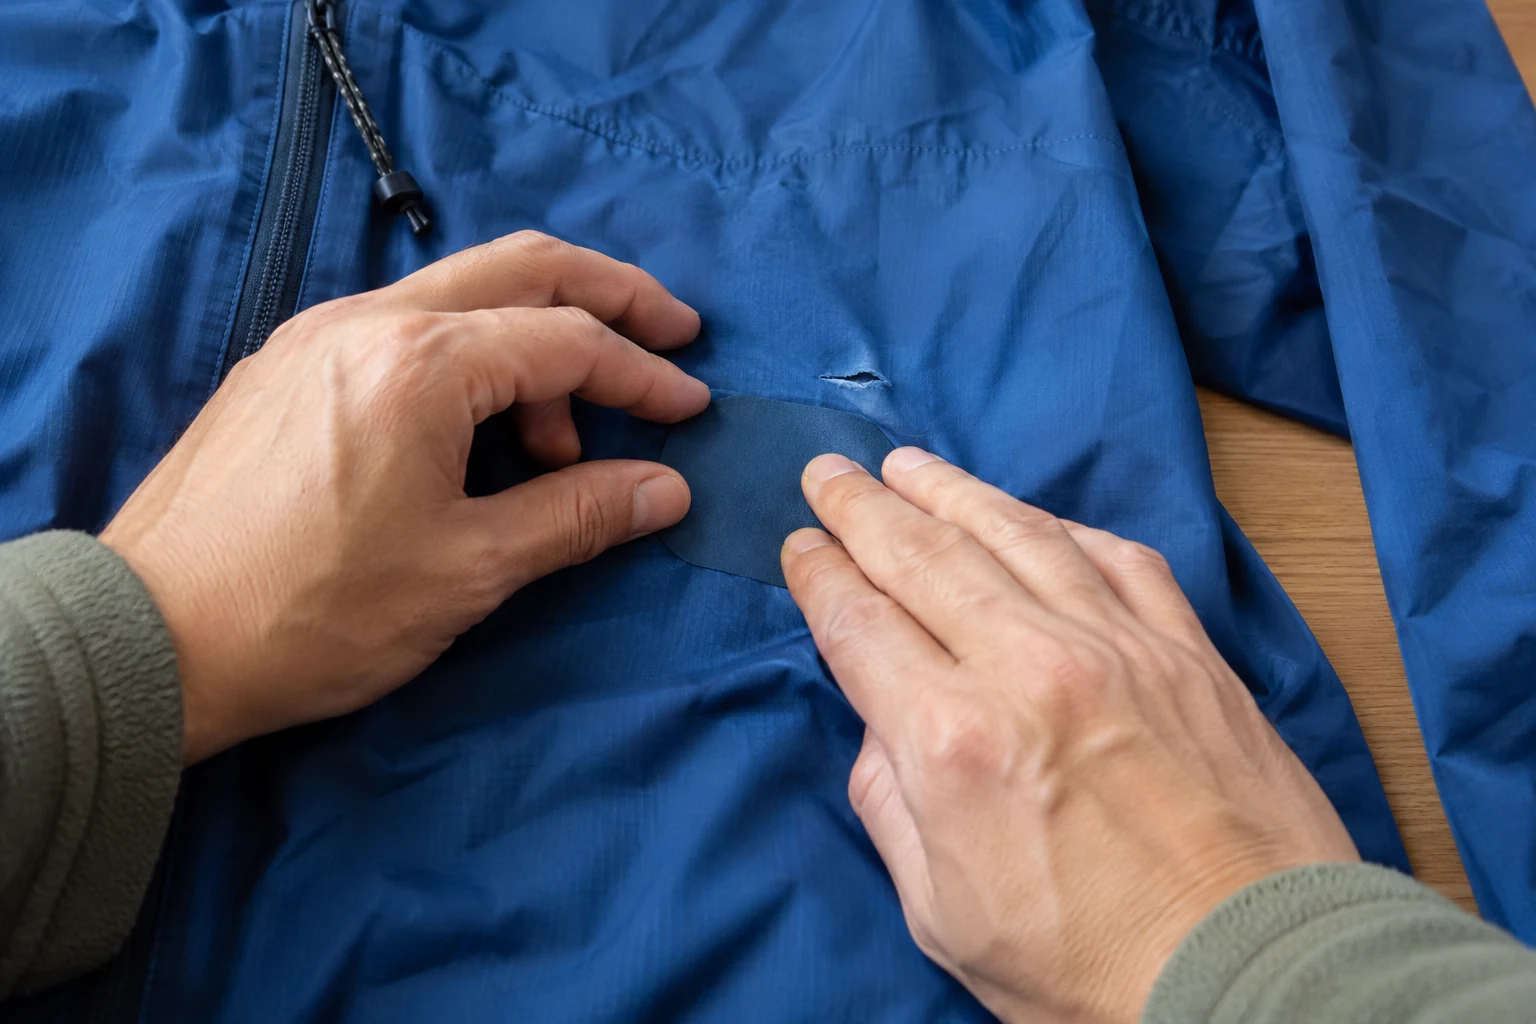
A small tear does not automatically end a jacket's life. It is also not a reason to apply any available adhesive strip. Material, location and loading determine which repair is relevant. Inspect the area carefully first and avoid adding tension to the damage.
Identify the damage type
Lay the garment on a suitable clean surface in good light. Is only a small fabric area affected, or does the damage follow a seam? Is it beside a zip, at a loaded pocket edge or near an adjuster? Include those distinctions in an enquiry to the manufacturer or repair service.
Photograph the damage alongside a view of the whole garment. The close image shows the tear, the wider one its location. Record model and composition from the label. This lets you ask without guessing material solely by appearance.
If warranty or service coverage may apply, clarify it before treatment. An attached patch changes the condition the service must assess. You need not repair immediately merely because a product is sold for that purpose.
Check compatibility explicitly
GEAR AID provides different repair tapes and patches for different materials. A standard tape is not automatically suitable for every coating. Read the exact product's applications alongside the garment maker's instructions. A brand name alone is not a compatibility statement.
Establish which property needs restoring too. Covering fabric does not prove complete restoration of an original waterproof construction. Ask whether the proposed repair serves that function or whether professional work is more appropriate.
Keep the product instructions when carrying a patch on a walk. Correct application should not depend on a vaguely remembered tip. A small repair item helps only when its process and limits are understood.
Prepare an approved application carefully
For suitable uses, GEAR AID specifies steps including a clean dry surface and rounded corners on cut tape. The cleaning method must also suit the garment. Do not use a solvent merely because it worked on another object.
Arrange the fabric without strong tension. Choose or cut the patch according to the instructions, positioning it for reference before exposing adhesive. Respect the specified overlap rather than inventing a universal edge allowance.
Avoid unnecessary contact with the adhesive and follow the intended sequence. Observe pressure, waiting periods and any additional treatment. Briefly touching the repair does not prove that it is ready for washing or loading.
Inspect the repair again later
After the specified period, check that the patch lies flat with edges attached. Reinspect after use and care. A lifting corner should not be ignored until the entire patch disappears.
Seek assessment if the tear grows or more areas are affected. Repeated arbitrary tape layers can hide the underlying problem. An understandable repair records material, product, damage and limits on later use.